Integrating product filters into your website using Elementor enhances user experience and streamlines product discovery. This guide provides detailed steps on how to utilize the Dynamic Ajax Product Filter for WooCommerce within the Elementor page builder.
1. Accessing Elementor
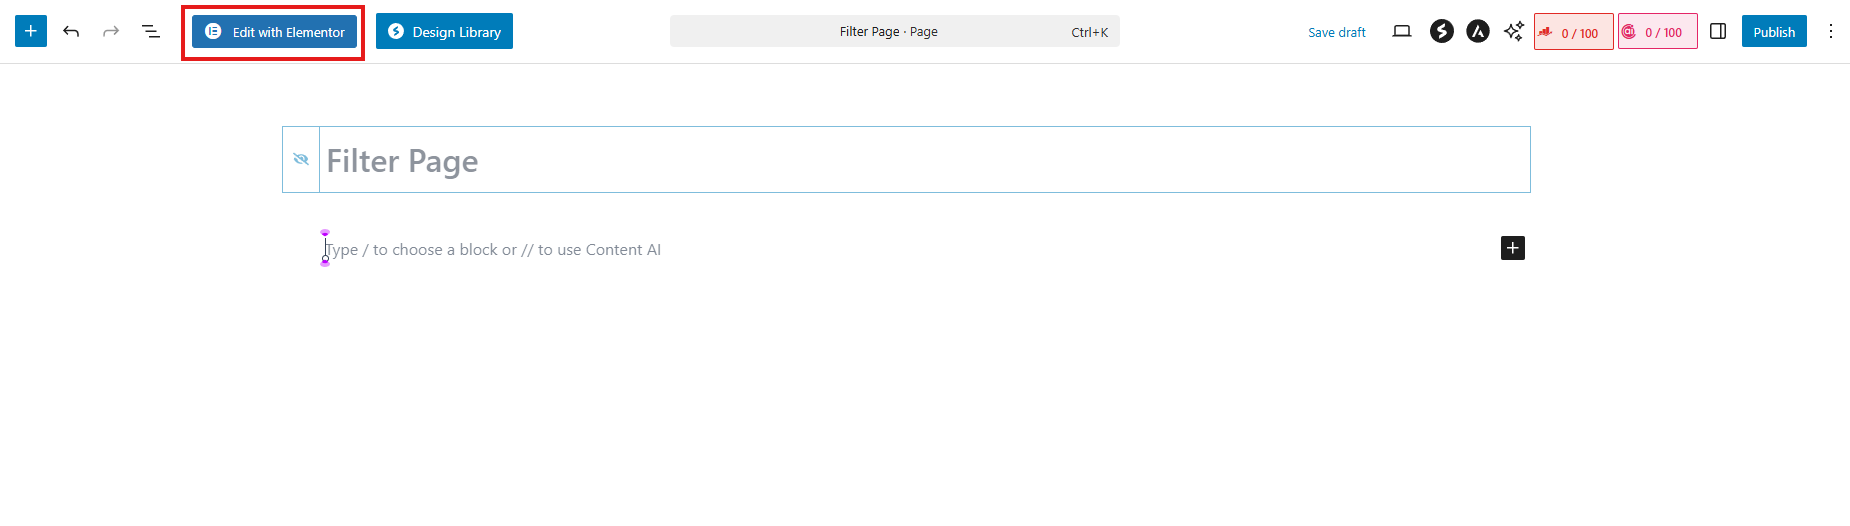
- Navigate to: Go to your WordPress admin dashboard, and select Pages or Posts to create or edit a page where you want to display the filters.
- Edit with Elementor: Click on the “Edit with Elementor” button to launch the Elementor editor.
2. Adding a New Section
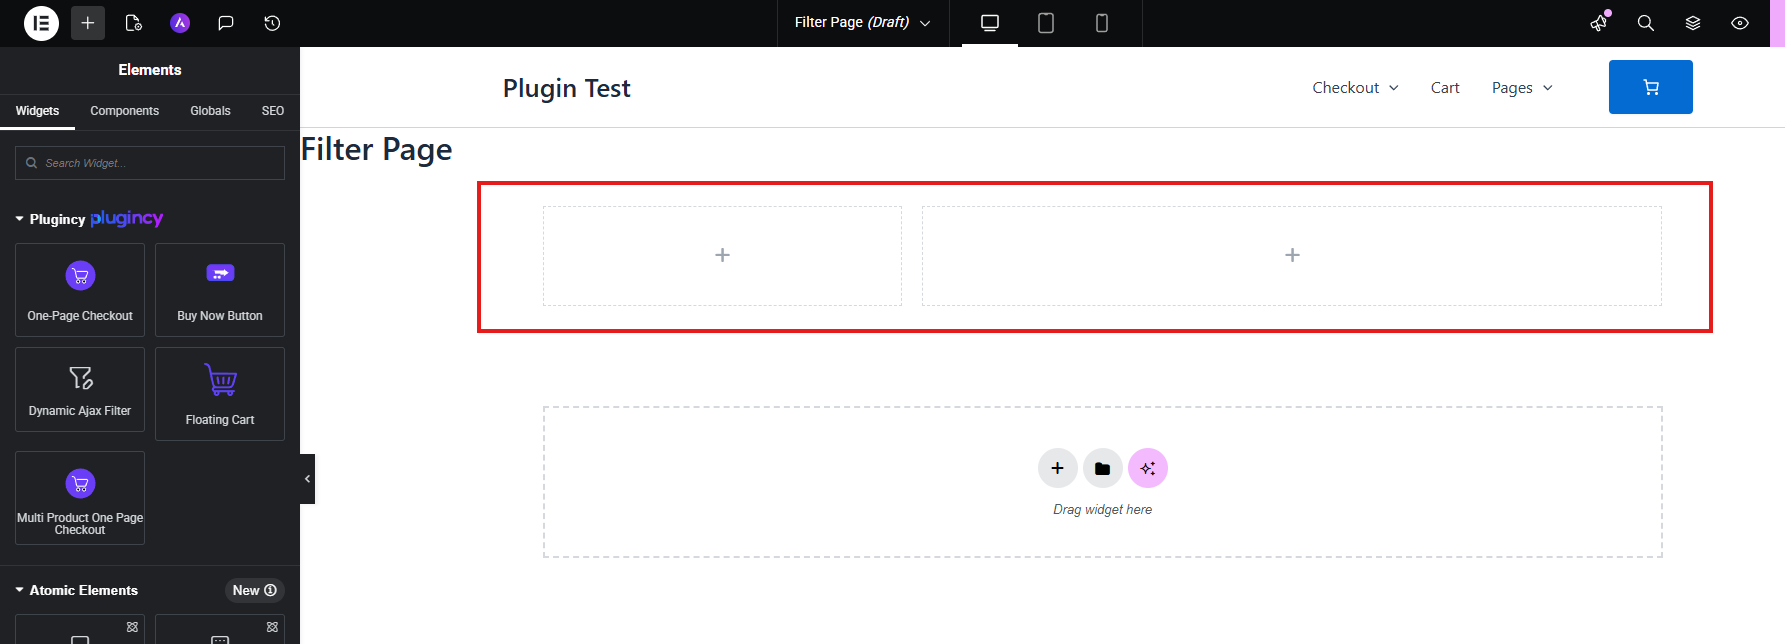
- Add Section: Click on the “+” icon to create a new section in your layout.
- Choose Structure: Select a structure that best fits your design needs (e.g., single column, two columns).
3. Inserting the Dynamic AJAX Filter Widget
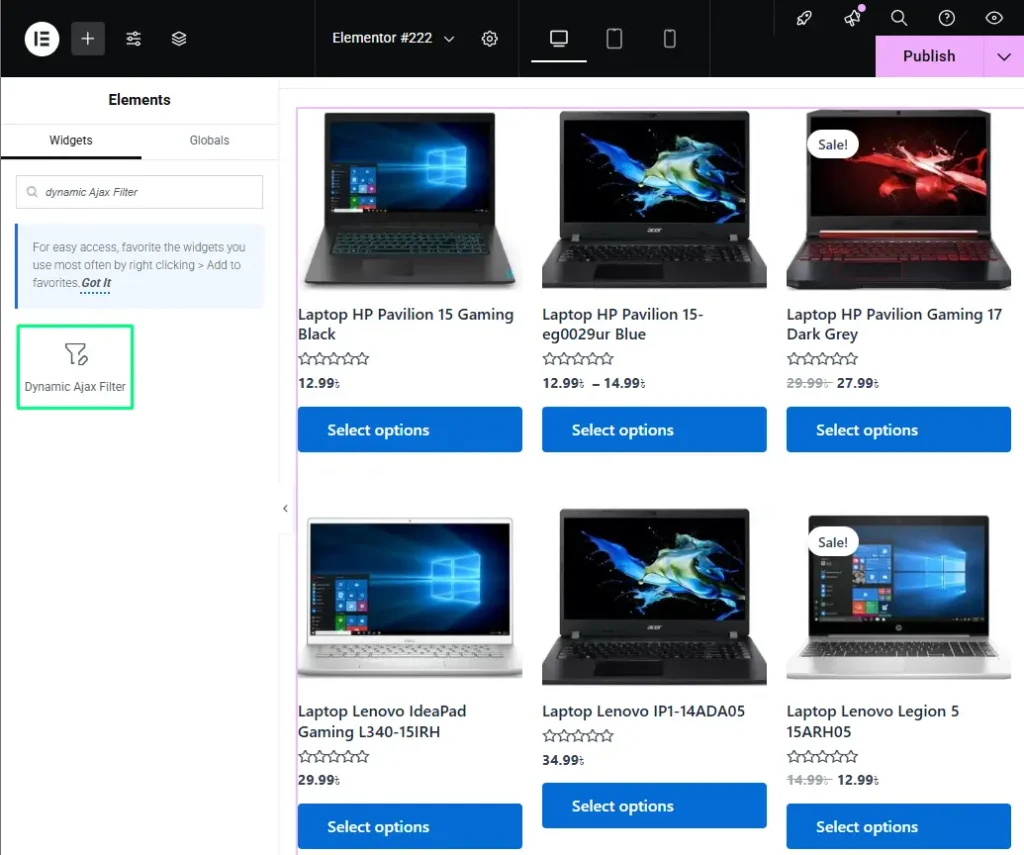
- Search for the Widget: In the Elementor panel on the left, type “Dynamic AJAX Filter” in the search bar.
- Add the Widget: Drag and drop the Dynamic AJAX Filter widget into your newly created section.
Configuring the Filter Options
- Select Filter Type: Choose the desired filter type:
- All: Displays all available filter options, enabling users to refine their product searches comprehensively.
- Single: Displays a single filter option styled as a button. You must set the Attribute ID to specify which attribute to filter.
- Selected: Shows the currently selected filters, helping users keep track of their choices.
- Product Selector & Pagination Selector (if using “All”):
- Product Selector: Define how products will be displayed (e.g., grid or list format).
- Pagination Selector: Configure pagination behavior for product lists that span multiple pages.

4. Customizing the Appearance
- Style Settings: Once the widget is added, you can customize its appearance using the Style tab in the Elementor panel:
- Colors: Adjust background, text, and button colors to enhance visibility.
- Typography: Modify font styles and sizes to align with your site’s branding.
- Spacing: Change margins and padding to ensure the filter integrates seamlessly within your layout.

Advanced Styling Options
- Custom CSS: If additional customization is needed, you can add custom CSS in the Advanced tab, allowing for targeted styling beyond the standard options.
5. Previewing and Testing the Filter
- Preview the Page: Use the preview function to see how the filter appears on your page.
- Test Functionality: Interact with the filter to ensure it updates the product display dynamically without requiring a page reload.
6. Publishing the Changes
- Save or Publish: Once you are satisfied with the setup and appearance, click the Update or Publish button to make the changes live.
7. Additional Considerations
- Mobile Responsiveness: Ensure that the filter widget is responsive and functions well on mobile devices. Test the layout and usability across various screen sizes.
- Performance Monitoring: Keep an eye on the performance of the filter. If users report any lag or loading issues, consider optimizing your product database or reviewing your theme’s performance.
By utilizing Elementor to display filters with the Dynamic Ajax Product Filter for WooCommerce, you can significantly enhance the shopping experience on your website. This integration allows customers to quickly and easily find products, leading to improved engagement, satisfaction, and increased sales. Implement these practices to ensure your filter widgets are both functional and visually appealing.