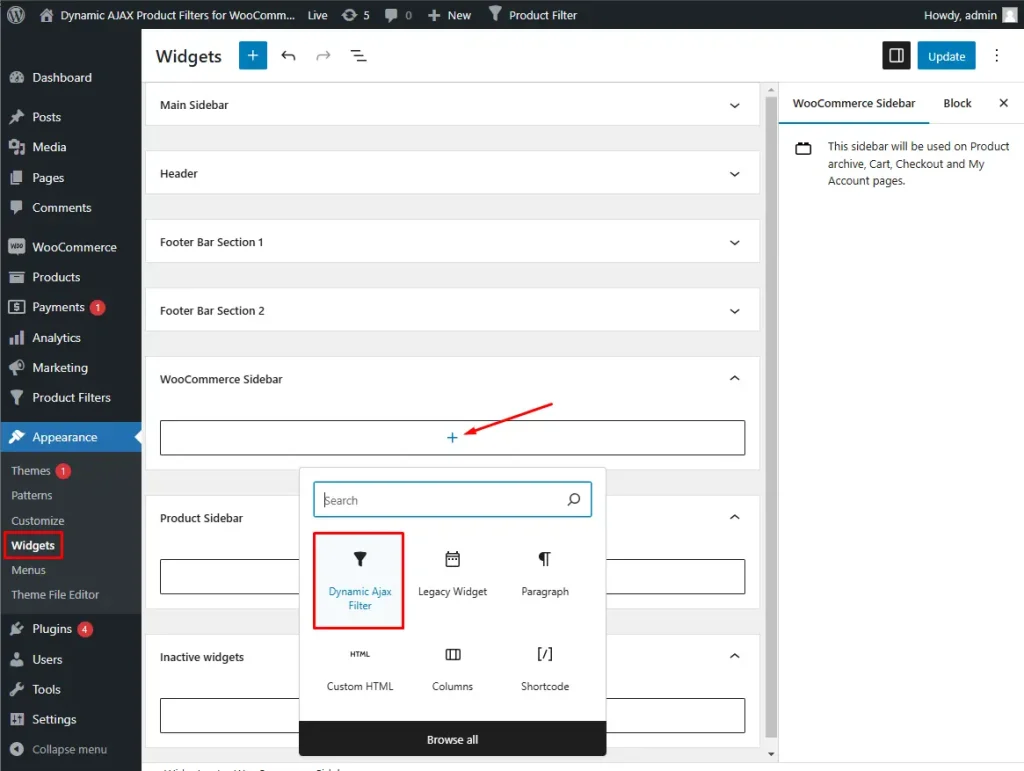
With a Widget
- Go to Appearance > Widgets in your WordPress dashboard.
- Locate the Dynamic AJAX Product Filters widget.
- Drag and drop the widget into your desired sidebar or widget area.
- Configure the widget settings as needed.
- Save your changes.
Display Filters with a Page Builder
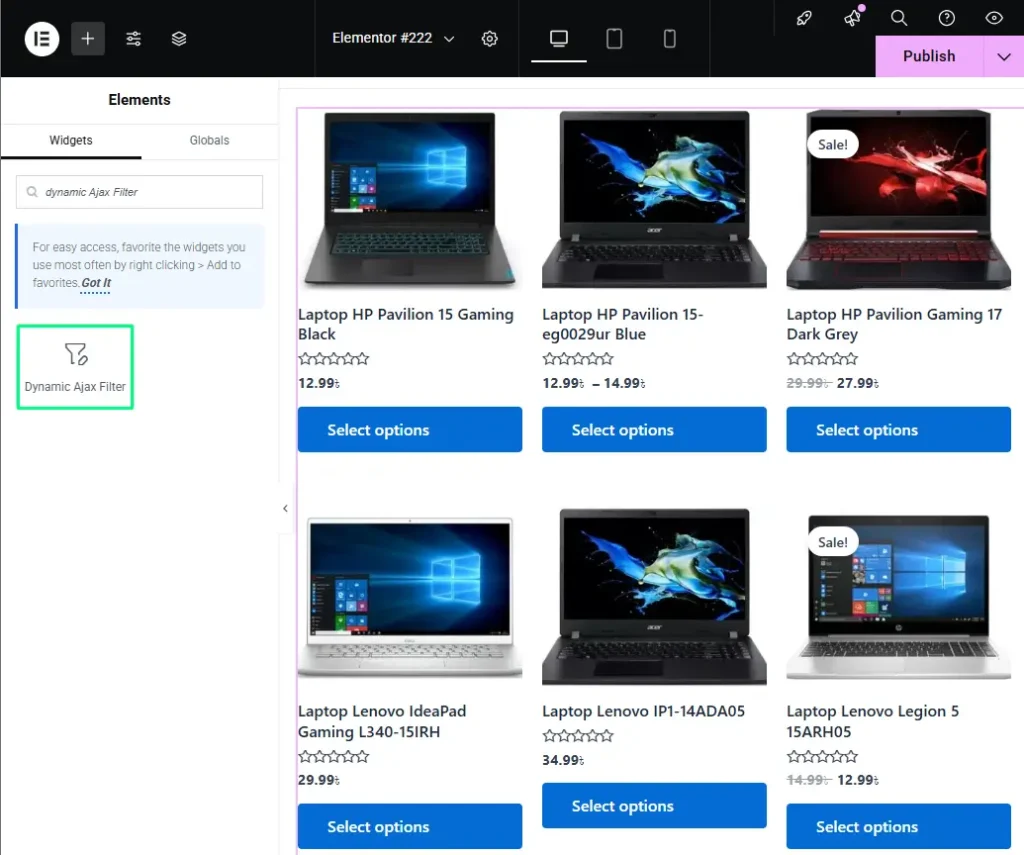
You can easily add Dynamic AJAX Product Filters using popular page builders like Elementor, WPBakery, or others.
- Edit Your Page/Post: Open the page or post where you want to display the filters.
- Add a New Section/Element: Use your page builder to create a new section or element.
- Search for Dynamic AJAX Product Filters: Look for the Dynamic AJAX Product Filters module or widget in the elements panel.
- Drag and Drop: Drag the filters module into your desired section of the page.
- Configure Settings: Adjust the filter settings as needed within the page builder’s options.
- Save/Update: Save your changes and update the page. Now, the AJAX product filters will be displayed on your page. With a Shortcode You can also display filters using a shortcode. Simply add the following shortcode to any page or post:

With a Shortcode
You can also display filters using a shortcode. Simply add the following shortcode to any page or post:
[plugincy_filters]You can customize the shortcode with additional parameters if needed. Check the plugin documentation for more options.
Displaying Filters Using PHP Code
You can manually add the Dynamic AJAX Product Filters to your theme files using PHP. Here’s how:
- Open Your Theme File: Access the theme file where you want to display the filters (e.g., `header.php`, `sidebar.php`, or a custom template file).
- Insert the Following PHP Code:
<?php echo do_shortcode('[plugincy_filters]'); ?>- Save Changes: Save the file and upload it back to your server if you edited it locally.
- Check Your Site: Visit your site to ensure that the filters are displayed correctly.
This method allows you to integrate the filters directly into your theme’s layout.