The Multi Location Product & Inventory Management for WooCommerce plugin allows you to easily display product locations directly next to the product title — helping your customers identify which store or warehouse a product is available from.
This guide will walk you through the complete process to enable and customize how the location name appears with your product titles across different pages.
Step 1: Install and Activate the Plugin
Before you can use this feature, make sure the plugin is installed and activated.
You can learn how to install both the Free and Pro versions here:
Installation Guide for Multi Location Product & Inventory Management for WooCommerce
Once activated, the plugin will automatically create a new admin menu called “Location Manage” in your WordPress dashboard.
Step 2: Access the Display Settings
- From your WordPress dashboard, go to Location Manage → Settings.
- In the settings panel, open the General tab.
- Look for the option labeled “Location Display Format”.
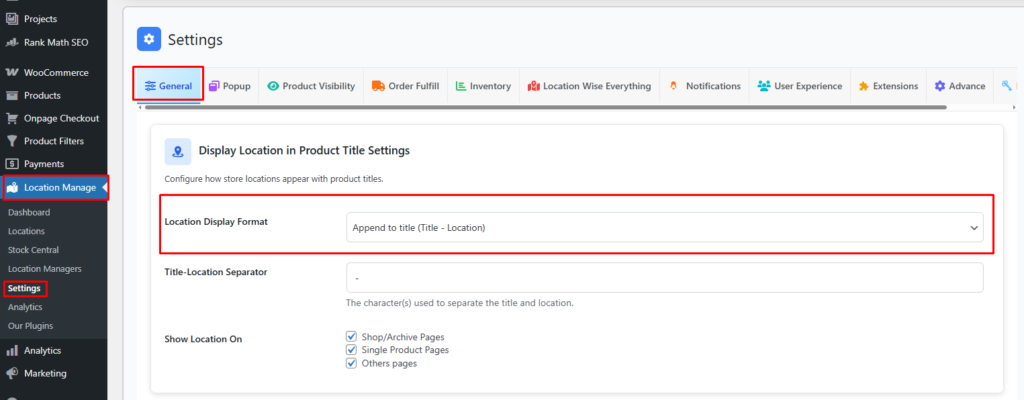
Step 3: Choose a Display Format
The Location Display Format setting controls how the product’s location name appears relative to its title. You can select one of the following options:
| Option | Description |
|---|---|
| Append to Title | Displays the location name after the product title. Example: T-Shirt – New York Store |
| Prepend to Title | Displays the location name before the product title. Example: New York Store – T-Shirt |
| In Bracket | Displays the location name in brackets. Example: T-Shirt (New York Store) |
| Don’t Display | Hides the location name completely from product titles. |
Tip: Choose the format that best fits your theme’s design and readability.

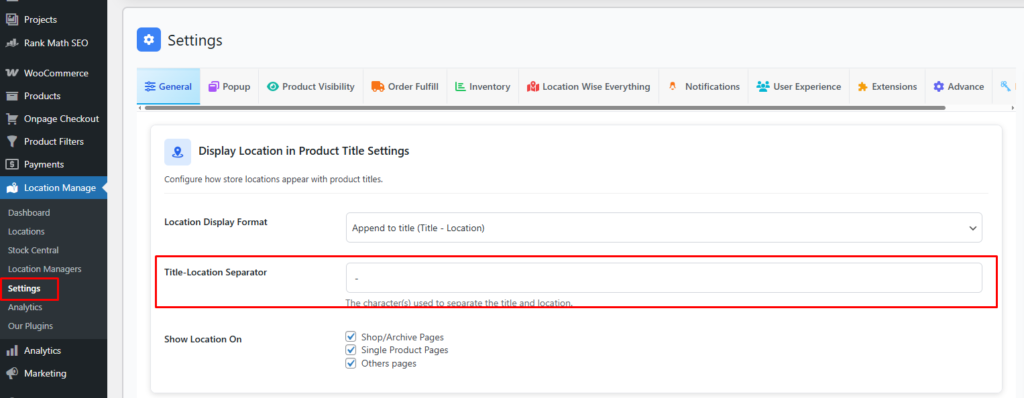
Step 4: Set the Title–Location Separator
You can also customize the separator symbol that appears between the product title and location name.
For example, you can use:
- A dash ( – )
- A vertical bar ( | )
- Parentheses or brackets
Example:T-Shirt | Los Angeles BranchorT-Shirt (Downtown Store)
Simply enter your preferred separator in the Title–Location Separator field.
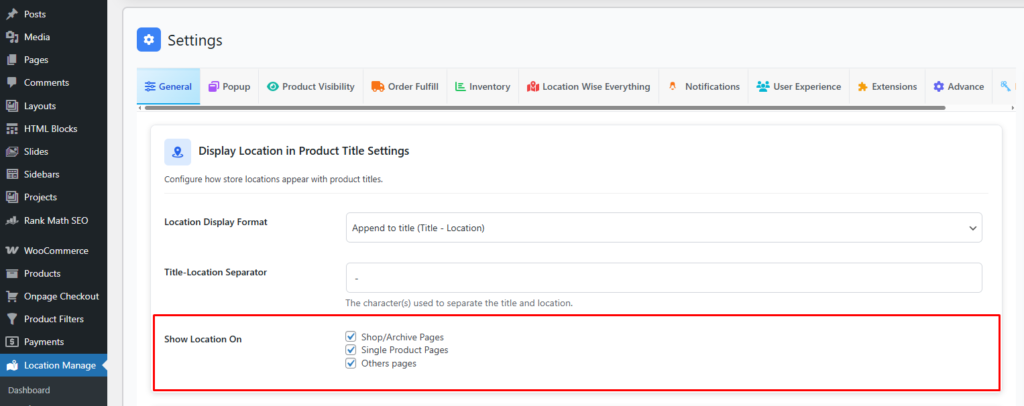
Step 5: Choose Where to Display the Location
Decide where the product location should appear throughout your WooCommerce store. Under “Show Location On”, select one or more of the following display areas:
- Shop / Archive Pages – Display location in product listings or category pages.
- Single Product Pages – Show location above or below the title on product detail pages.
- Other Pages – Display location in Related Products, Search Results, Widgets, Shortcode Used Pages
You can select multiple areas based on your shop layout and customer experience preference.
Final Output Example
If you set the display format to “Append to Title” with a dash separator, your product titles will look like:
T-Shirt – New York Store
Leather Jacket – Chicago Warehouse
Sneakers – Los Angeles Branch
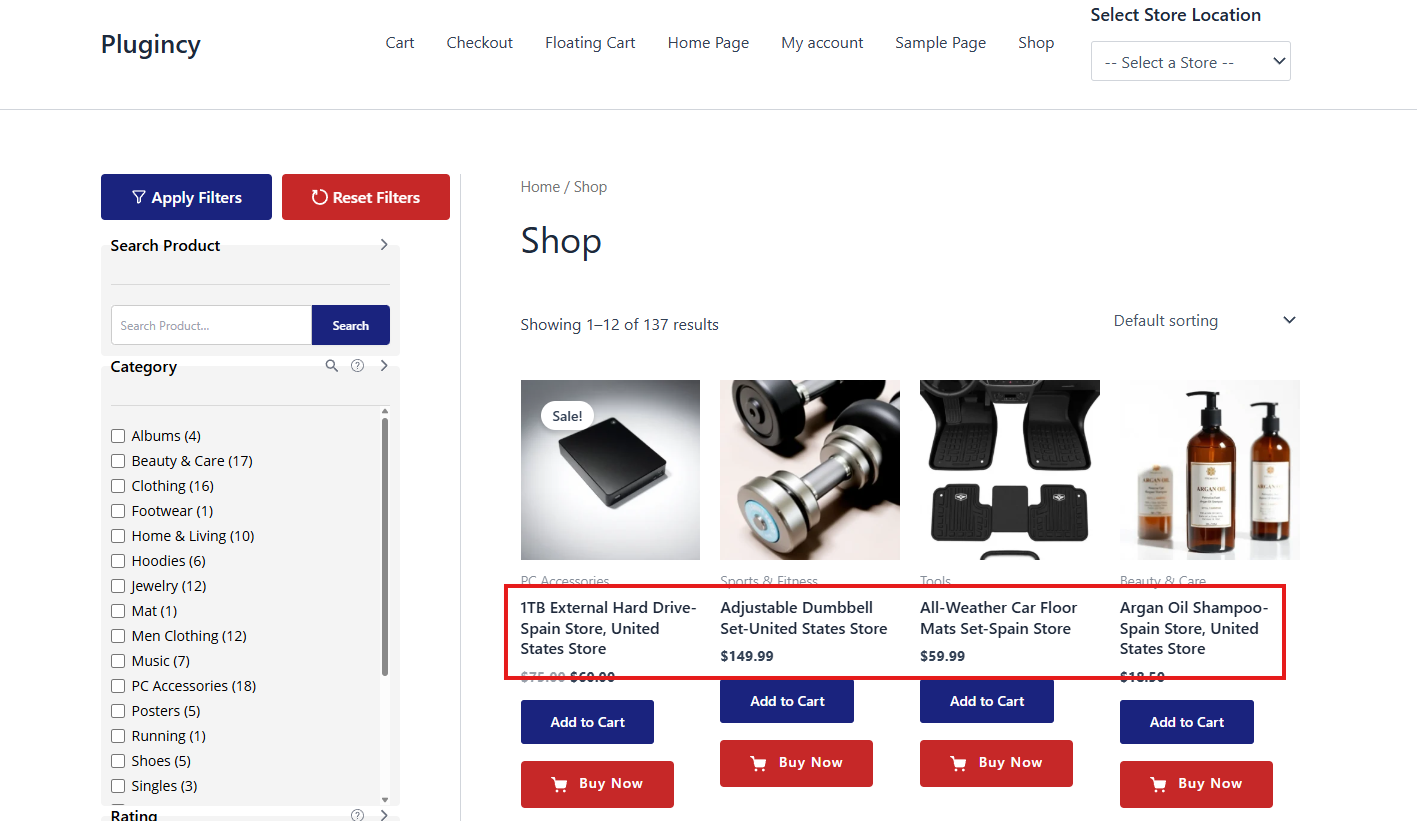
This helps customers instantly recognize product availability by location, improving trust and conversion rates.