The Location Selection Popup allows customers to choose their preferred store, warehouse, pickup point, or service location before viewing location-based stock, pricing, and availability.
After a customer selects a location, the plugin saves that selection and the store can show product data based on the selected location.
Before You Start
Before enabling the popup, complete the basic location and product setup first.
- Create your store locations.
- Keep the required locations active.
- Assign products to the correct locations if you want location-based product filtering or availability.
- Configure location-wise stock and price where needed.
- For stock-managed products, enable WooCommerce stock management and add stock quantity.
- If using a cache plugin, CDN, or optimization plugin, clear cache after changing popup settings.
Where to Configure
Go to:
WordPress Admin → Location Manage → Settings → Popup
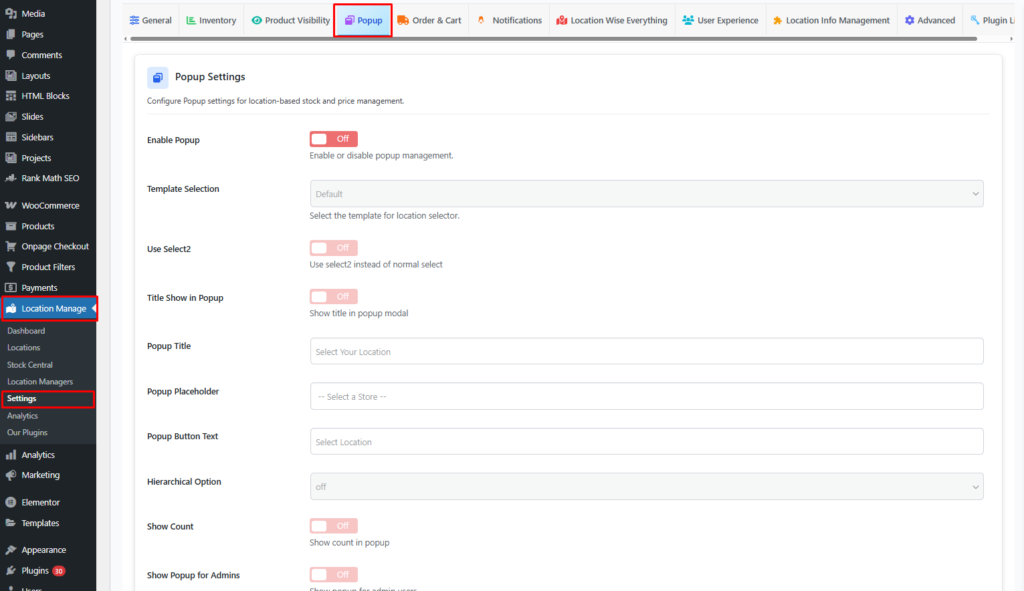
Configuration Steps
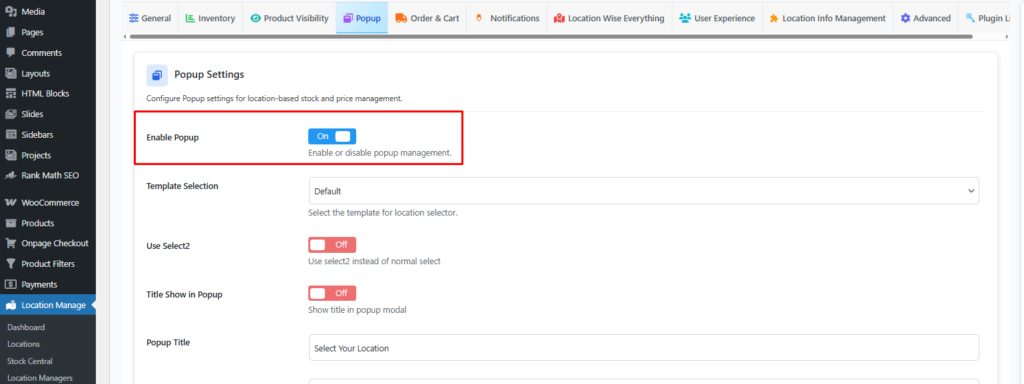
Step 1: Enable the Popup
Turn on the Enable Popup option.
- When enabled, the location selection popup can appear on the frontend.
- When disabled, the popup will not appear automatically.
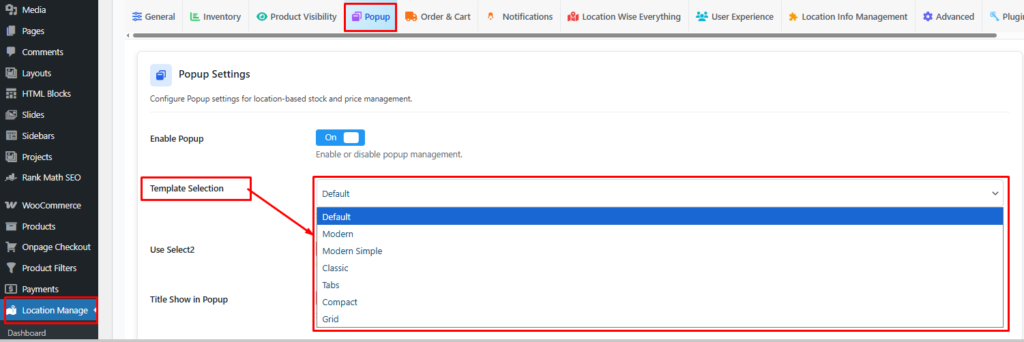
Step 2: Select a Popup Template
Choose the popup layout you want to use.
Available templates may include:
- Default
- Modern
- Modern Simple
- Classic
- Tabs
- Compact
- Grid
Each template changes how locations are displayed inside the popup. Choose the layout that fits your store design and number of locations.
Step 3: Enable Select2 if Needed
The Use Select2 option changes the normal dropdown into a searchable dropdown.
- Enable it if your store has many locations.
- It helps customers search and select locations more easily.
- For only a few locations, the default dropdown is usually enough.

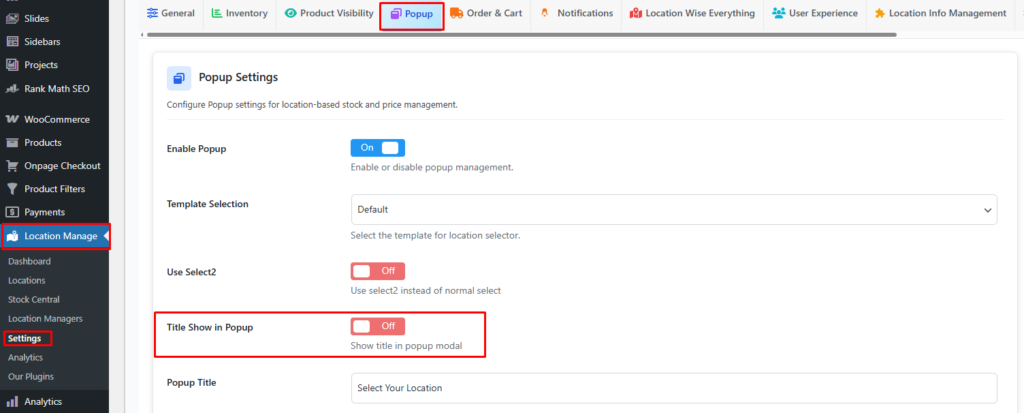
Step 4: Show or Hide the Popup Title
Use Title Show in Popup to control whether the popup title appears.
- Turn it on if you want a clear heading above the location selector.
- Turn it off if your selected popup template already explains the purpose clearly.
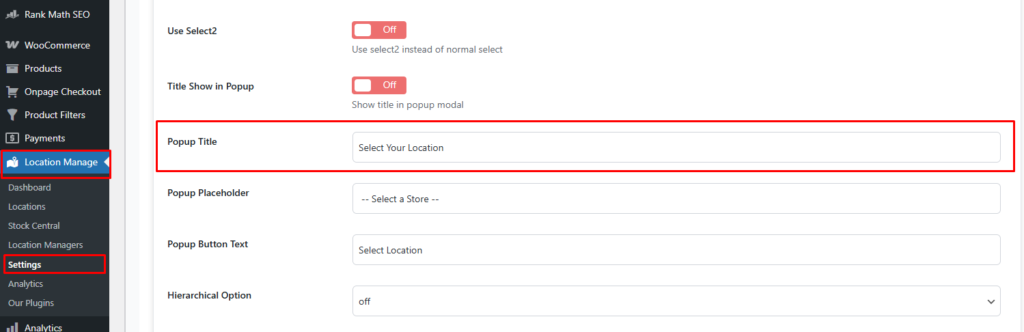
Step 5: Add the Popup Title
Enter the title customers will see at the top of the popup.
Default example: Select Your Location
Recommended examples:
Select Your Store LocationChoose Your Delivery AreaSelect a Pickup Location
Step 6: Add the Popup Placeholder
The placeholder appears before the customer selects a location.
Default example:
-- Select a Store --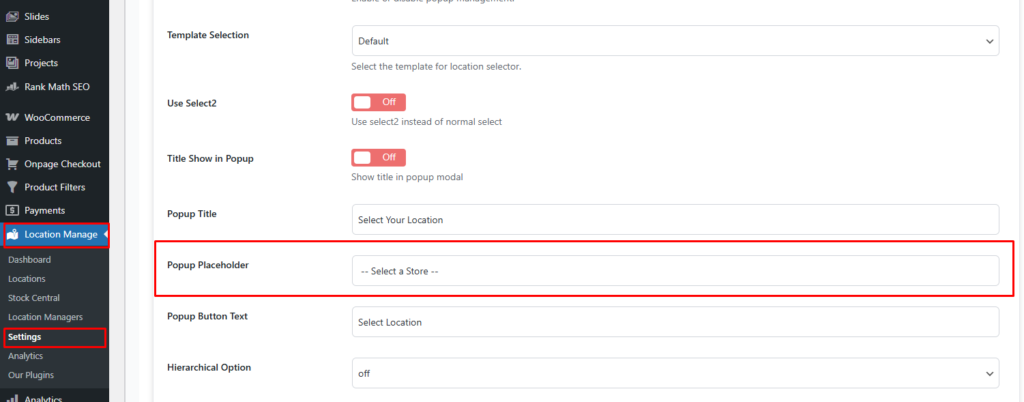
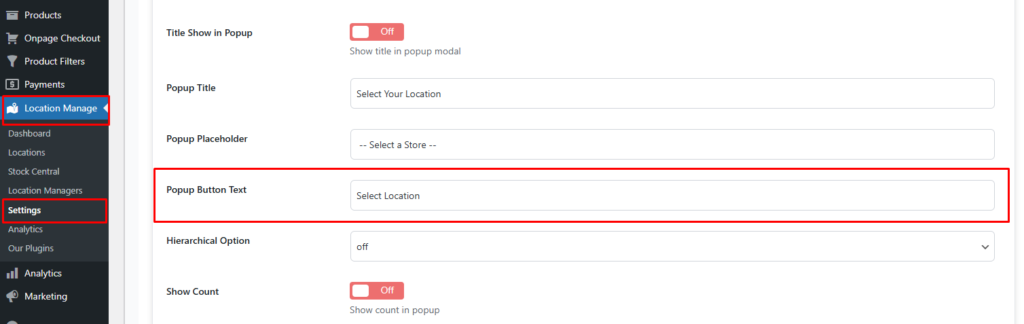
Step 7: Set the Popup Button Text
The button text appears on the popup confirmation button.
Default example: Select Location
You can also use:
ContinueConfirm LocationShop This Location
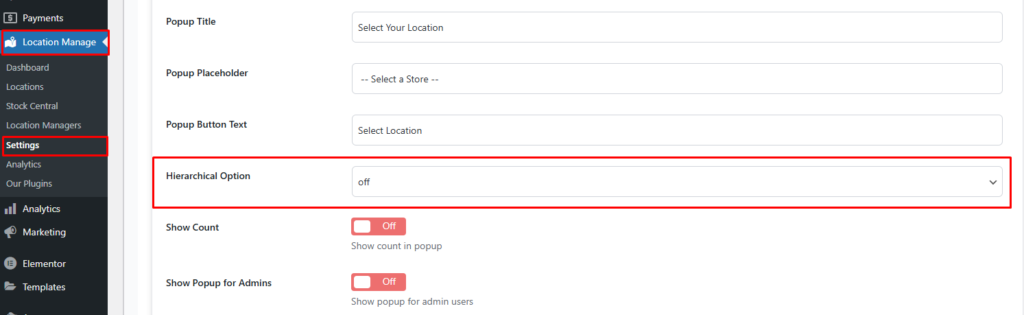
Step 8: Configure the Hierarchical Option
The Hierarchical Option is useful when locations have parent and child relationships.
Examples:
- Country → City
- City → Branch
- Region → Warehouse
Enable this option when your locations are organized in levels. If your locations are simple standalone stores, keep the location list flat.
Step 9: Show Location Count
The Show Count option displays a count beside locations when supported by the selected template and location structure.
This is most useful when using hierarchical locations, because it can show how many child locations are under a parent location.
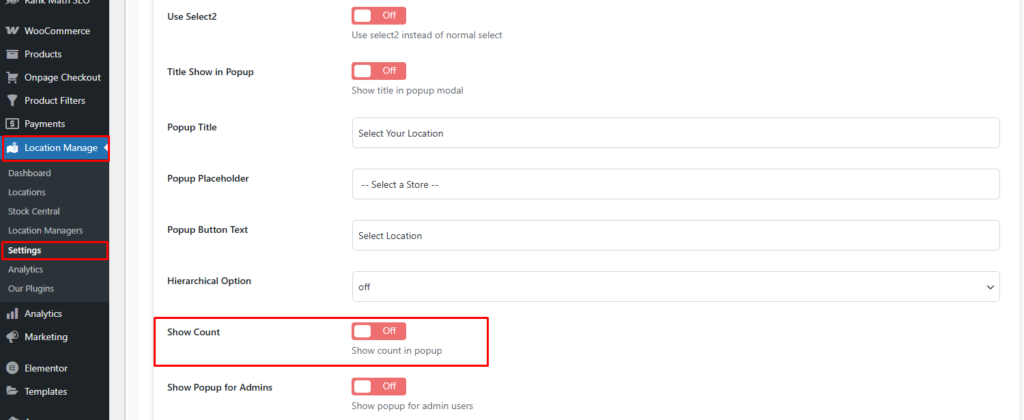
Step 10: Show Popup for Admins
Enable Show Popup for Admins if you want logged-in admin users to see the popup on the frontend.
- Enable it while testing the frontend behavior as an admin.
- Disable it later if admins do not need to see the popup repeatedly.

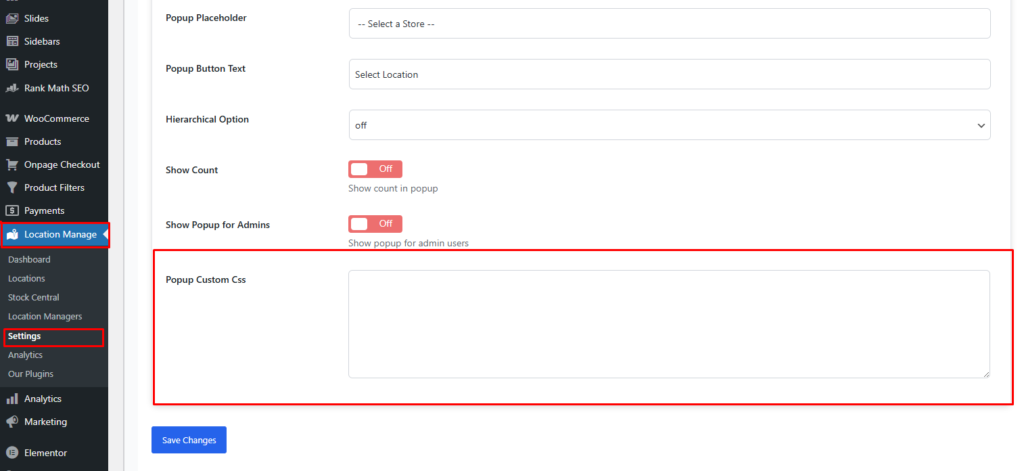
Step 11: Add Popup Custom CSS
Use Popup Custom CSS to customize the popup design.
You can use custom CSS for spacing, colors, borders, typography, or brand-specific design changes.
Example:
.lwp-store-selector-modal .lwp-store-selector-content {
    border-radius: 8px;
}
How the Popup Works on the Frontend
- A customer visits the storefront.
- The popup appears based on your popup settings and the customer’s current location state.
- The customer selects a store/location.
- The customer clicks the confirmation button.
- The selected location is saved in the browser.
- The page reloads or refreshes location-related data.
- Products, stock, pricing, cart behavior, and availability can update based on the selected location.
Important Behavior Notes
- If a customer already selected a location, the popup may not appear again until the selected location is changed, cleared, or the browser cookie expires.
- If a default location is configured elsewhere, the store may use that location when no customer-selected location exists.
- If location selection is enforced, customers may need to select a location before adding products to the cart.
- If the cart already has products and the customer changes location, cart items may be refreshed, updated, removed, or preserved depending on your cart/location settings.
- Cache plugins, CDN cache, browser cache, and WooCommerce fragments can affect when the updated location data appears.
Recommended Setup
- Use Modern or Modern Simple for a clean popup design.
- Enable Select2 if your store has many locations.
- Enable Show Popup for Admins while testing.
- Use a short popup title, such as
Select Your Location. - Use a direct button label, such as
Select LocationorConfirm Location. - Use hierarchical mode only when your locations have parent-child structure.
- Clear cache after changing popup template or display behavior.
Best Use Cases
- Require customers to choose a location before shopping.
- Show correct location-based stock and price.
- Support multi-branch retail stores.
- Support pickup-location based stores.
- Support warehouse-based inventory display.
- Improve product availability accuracy by customer location.
Testing Checklist
After saving the popup settings, test the popup carefully.
- Open the storefront in an incognito/private browser window.
- Confirm the popup appears when expected.
- Select a location and click the confirmation button.
- Check whether products, stock, price, and availability match the selected location.
- Switch to another location and test again.
- Test simple products and variable products if your store uses both.
- Test with an empty cart and with products already in the cart.
- Test as a guest user and, if enabled, as an admin user.
- Clear cache and test again if results do not update.

Troubleshooting
Popup does not appear
- Make sure Enable Popup is turned on.
- Check whether the customer already has a selected location saved in the browser. Try an incognito/private window or clear the site cookies.
- If you are logged in as an admin, enable Show Popup for Admins.
- Make sure at least one store location exists and is active.
- Check that the selected popup template is valid and supported by your current plugin version.
- Clear browser cache, page cache, CDN cache, and WooCommerce fragment cache.
- Check whether custom CSS is hiding the modal, overlay, dropdown, or button.
Popup appears once, then does not appear again
This is usually expected behavior. After a customer selects a location, the plugin saves the selected location in the browser.
- Clear the browser cookie for the site and test again.
- Use an incognito/private browser window for fresh testing.
- Change the selected location from the frontend location selector if available.
- Check the location cookie expiry setting if your setup includes one.
Popup does not appear for admin users
- Enable Show Popup for Admins.
- Clear the admin browser’s selected-location cookie.
- Test in an incognito/private browser window while logged out.
- Check whether admin-specific cache or toolbar scripts are interfering with the popup.
Popup appears for admins but not for customers
- Test as a logged-out guest in an incognito/private window.
- Clear page cache and CDN cache.
- Check if a caching plugin is serving an old page without popup markup or scripts.
- Check if popup scripts are delayed, deferred, excluded, or combined by an optimization plugin.
Locations are not showing inside the popup
- Confirm that store locations exist.
- Make sure the locations are active.
- If using hierarchical mode, confirm that parent and child locations are configured correctly.
- If using separate hierarchical dropdowns, choose the parent location first so the child dropdown can appear.
- Disable Select2 temporarily to check whether the normal dropdown works.
- Check for JavaScript errors in the browser console.
Hierarchical dropdown is not working
- Make sure your locations actually have parent-child relationships.
- If all locations are top-level locations, use the normal flat list instead of hierarchical mode.
- Confirm that child locations are assigned to the correct parent locations.
- If Select2 is enabled, test once with Select2 disabled to rule out a script conflict.
- Clear optimization plugin cache if JavaScript files are combined or delayed.
Select2 dropdown is not working
- Temporarily disable Use Select2 and test the normal dropdown.
- Check for JavaScript errors in the browser console.
- Check whether another plugin or theme is loading a conflicting Select2 version.
- Exclude the plugin’s frontend scripts from JavaScript delay/defer if an optimization plugin is active.
Popup opens, but the button does nothing
- Make sure a location is selected before clicking the button.
- Check browser console errors.
- Make sure frontend JavaScript files are loading.
- Check whether JavaScript optimization, defer, delay, or minification is breaking popup scripts.
- Temporarily disable custom popup CSS and test again.
Selected location is not saved
- Check whether browser cookies are blocked.
- If the site is HTTPS, make sure the store is consistently loaded over HTTPS.
- Check whether a privacy, cookie consent, or security plugin blocks the location cookie.
- Test in a different browser.
Stock or price does not change after selecting a location
- Make sure products are assigned to the correct locations.
- Check location-wise stock and price configuration for the product.
- For variable products, check the selected variation’s location-wise data.
- Make sure WooCommerce stock management is enabled where required.
- Clear page cache, object cache, CDN cache, and WooCommerce fragments.
- Switch locations and reload the page using a cache-busting test, such as a private browser window.
Add to Cart button is disabled
If location selection enforcement is enabled, the plugin may require customers to select a location before adding products to the cart.
- Select a location first, then check the product page again.
- Confirm that the selected product is available in the selected location.
- For variable products, select the correct variation and confirm that variation has location-wise stock.
- Clear the selected location cookie and test again.
Cart changes or cart items disappear after changing location
This can happen when cart/location rules are configured to update the cart based on the selected location.
- Check mixed-location cart settings.
- Check location switching behavior settings.
- Check whether cart update or cart cleanup behavior is enabled.
- Confirm that the products in the cart are available in the newly selected location.
- If you do not want cart items removed, review the cart/location behavior settings before going live.
Location changes but cart totals or mini cart still show old data
- Refresh the page once after location change.
- Clear WooCommerce fragments by clearing browser storage or testing in an incognito window.
- Clear cache from cache plugins and CDN.
- If using WooCommerce Blocks cart/checkout, test after refreshing the cart page.
Popup design looks broken
- Switch to another popup template and test.
- Remove custom CSS temporarily.
- Check theme CSS conflicts.
- Clear minified CSS cache.
- Inspect the popup with browser developer tools to find hidden or overridden styles.
Custom CSS does not apply
- Make sure the CSS is valid.
- Use the correct popup class or selector.
- Clear cache after saving custom CSS.
- Check if another style has higher CSS specificity.
Popup trigger button opens the wrong popup or no popup
- Check whether the correct popup template is selected.
- Make sure the popup markup is present on the page.
- Check if duplicate popup shortcodes or duplicate popup instances exist on the same page.
- Check browser console warnings for missing popup modal instances.
Recommended troubleshooting order
- Test in incognito/private browsing.
- Clear selected-location cookies.
- Enable Show Popup for Admins if testing as admin.
- Disable Select2 temporarily.
- Switch to the default popup template.
- Remove custom CSS temporarily.
- Clear all cache.
- Check browser console errors.
- Check product-location assignment and location-wise product data.
Final Notes
The Location Selection Popup helps customers choose the correct store location before browsing or purchasing. When configured properly, it improves the accuracy of location-based stock, pricing, product availability, cart behavior, and checkout experience across your WooCommerce store.