The Store Locations feature allows you to create, organize, and manage multiple inventory locations (warehouses, stores, pickup points) within WooCommerce. Each location can have its own address, stock thresholds, shipping methods, payment gateways, business hours, and more.
How to Add a New Store Location
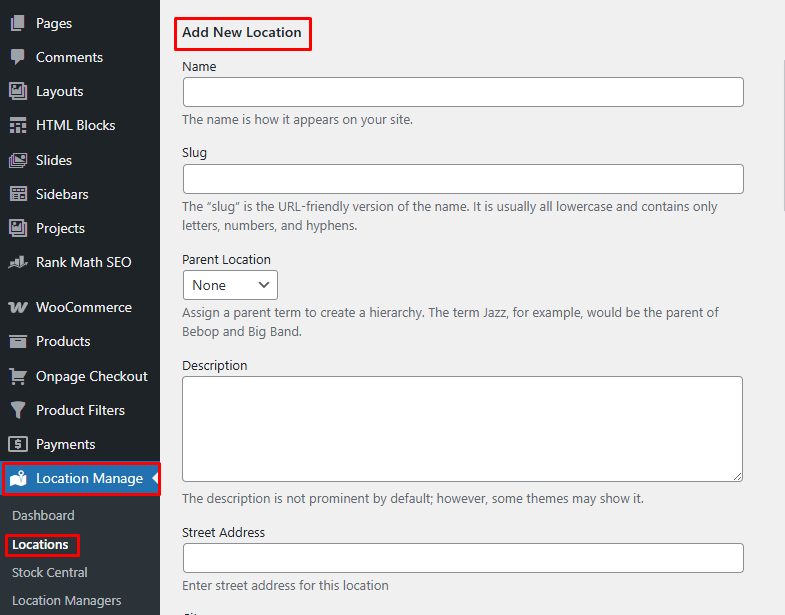
- From your WordPress Admin Dashboard, go to:
Location Manage → Locations - Click Add New Location
- Fill in the location details as described below
- Click Add New Location to save
Location Form Fields Explained
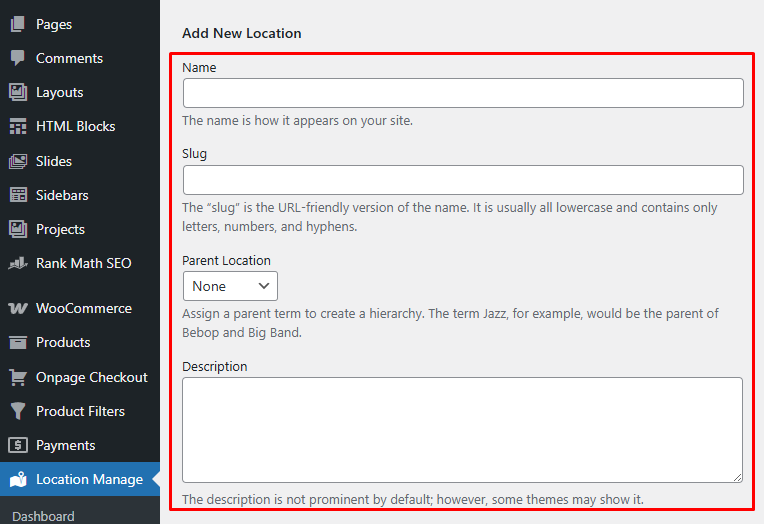
Basic Information
- Name
The display name of the location as it appears on your website and admin panels. - Slug
A URL-friendly version of the name.
Use lowercase letters, numbers, and hyphens only (e.g.canada-warehouse). - Parent Location
Assign a parent location to create a hierarchy.
For example, Jazz can be the parent of Bebop and Big Band. - Description
Optional description of the location.
Some themes may display this on the frontend or archive pages.
Address & Contact Details
- Street Address – Full street address of the location
- City – City name
- State – State or province
- Postal Code – ZIP or postal code
- Country – Country name
- Email – Contact email for this location
- Phone – Contact phone number
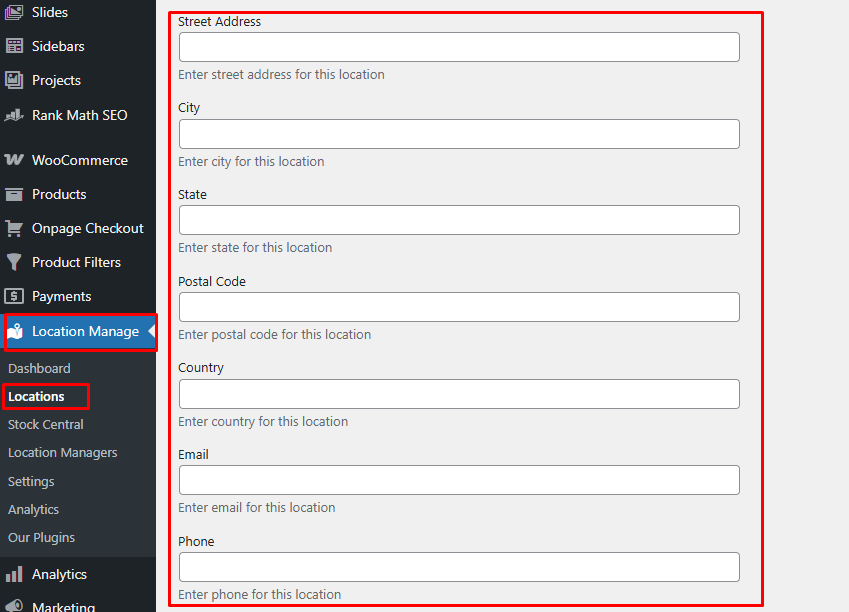
These details can be used for shipping logic, pickup locations, or frontend display.
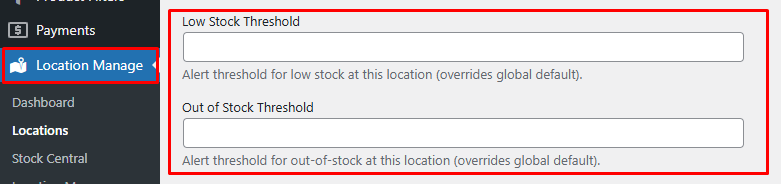
Inventory Thresholds
- Low Stock Threshold
Stock quantity at which a low-stock alert is triggered for this location.
(Overrides global settings) - Out of Stock Threshold
Quantity at which products are marked out of stock for this location.
(Overrides global settings)
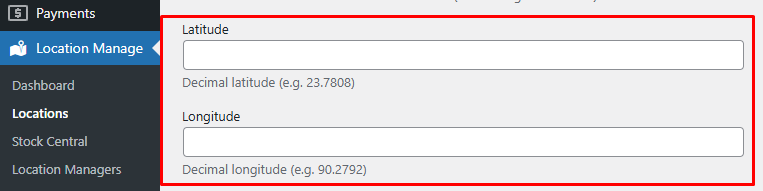
Map & Location Data
- Latitude
Decimal latitude (example:23.7808) - Longitude
Decimal longitude (example:90.2792)
Useful for map integrations, distance-based logic, or store locator features.
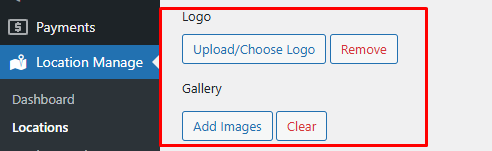
Media
- Logo
Upload or choose a logo for this store location. - Gallery
Add multiple images related to this location (store photos, warehouse images, etc.).
Business Hours
- Timezone
Select the correct timezone (e.g.Africa/Abidjan). - Daily Schedule (Monday – Sunday)
For each day, choose one of the following:- Closed
- 24 hours
- Custom hours (e.g.
09:00 AM – 06:00 PM)
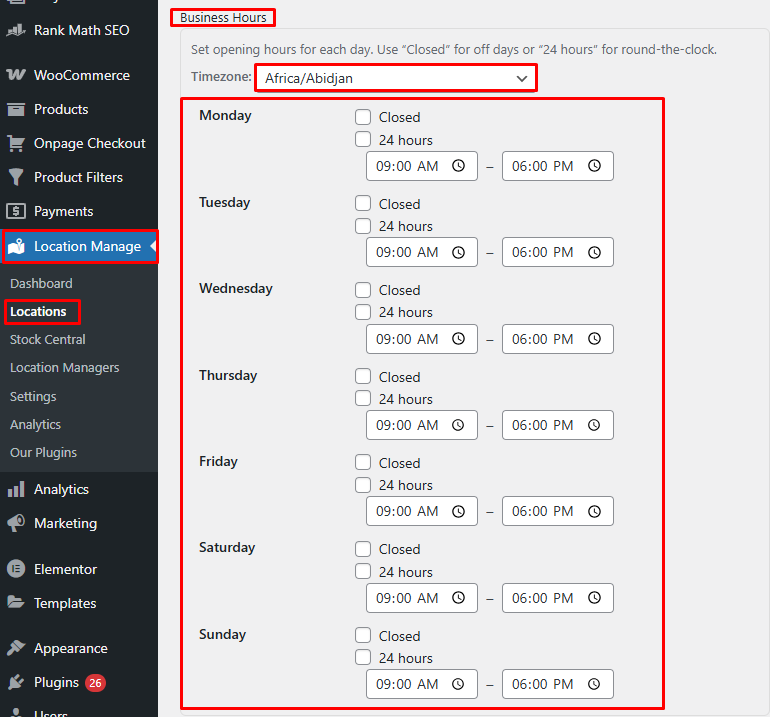
These hours can be displayed on the frontend and used for pickup availability.
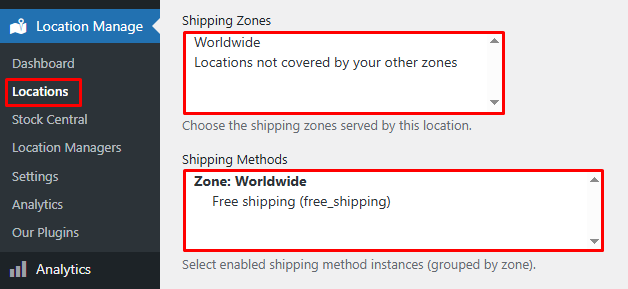
Shipping Configuration
- Shipping Zones
Choose which WooCommerce shipping zones are served by this location
(e.g. Worldwide, Locations not covered by other zones). - Shipping Methods
Select enabled shipping method instances per zone, such as:- Free Shipping
- Flat Rate
Only selected methods will be available for this location.
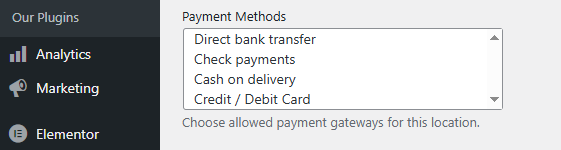
Payment Options
- Payment Methods
Choose which payment gateways are allowed for this location, such as:- Direct bank transfer
- Check payments
- Cash on delivery
- Credit / Debit Card
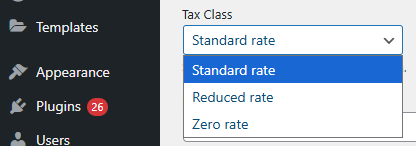
Tax & Display Settings
- Tax Class
Select the default tax class for this location
(e.g. Standard rate). - Display Order
Enter a numeric value to control the order of locations.
Smaller numbers appear first in lists and selectors.

Managing Existing Locations
- Edit Location
Click Edit under a location to modify its details. - Delete Location
Click Delete to permanently remove a location. - View Location
Click View to open the location archive page on the frontend.
If the View option is not available, you may need to Configure-location-based-archive-page in your site settings.

Best Practices
- Use clear, unique names and slugs for better SEO and usability
- Set location-specific stock thresholds for accurate inventory alerts
- Assign shipping and payment methods carefully to avoid checkout issues
- Always configure business hours and timezone for pickup-based stores
With properly configured store locations, you can efficiently manage multi-warehouse inventory, location-based shipping, payments, and pickup options in WooCommerce.