The Dynamic AJAX Product Filters plugin allows you to use image swatches to provide a visually appealing way for users to filter products. Here’s a detailed guide on how to customize the image swatch design, including all available suboptions.
Step 1: Create & Set Your Category, Tag, or Attribute
Before you can use color or image swatches, you need to create and assign the relevant categories, tags, or attributes to your products.
- Create Categories: Learn how to create categories
- Create Tags: Learn how to create tags
- Create Attributes: Learn how to create attributes
Step 2: Access Form Style Settings
- Navigate to Form Style:
- Go to Product Filters > Form Style in your WordPress dashboard.
- Select Attribute:
- From the Select Attribute dropdown, choose the attribute that you want to customize with image swatches (e.g., Image).
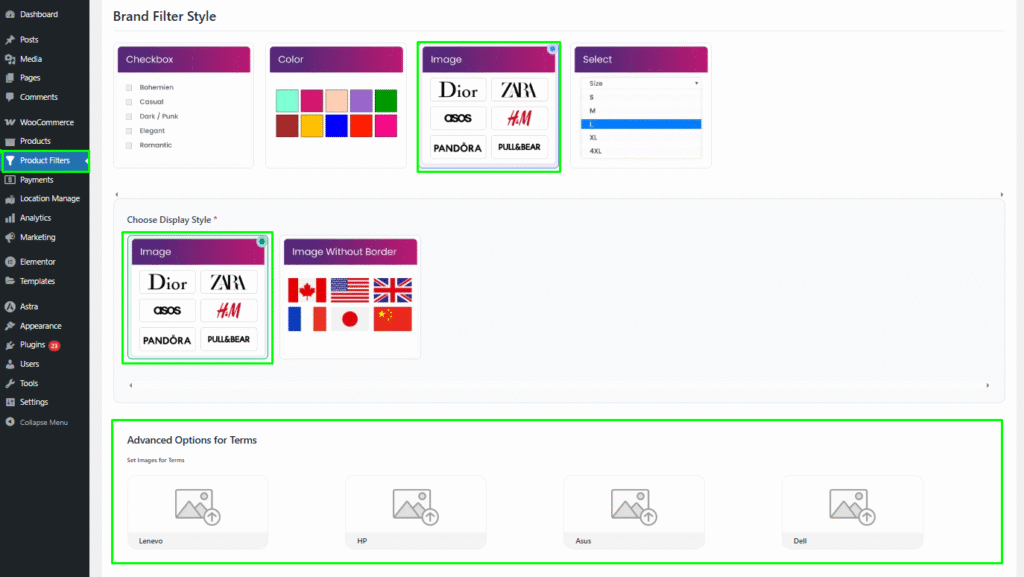
Step 3: Choose Image Swatch Style Options
- Select Attribute Style Options:
- Choose Image as the attribute style option. This will enable the various image swatch design options available for customization.
Step 4: Customize Image Swatch Suboptions
After selecting Image as the style, you will see several suboptions to choose from:
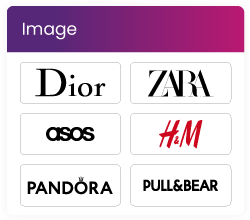
- Image
- This option displays the attribute values as images. Each image represents a specific term associated with the attribute. Users can click on these images to filter products based on the selected image. This design is effective for visual attributes like product colors or styles.
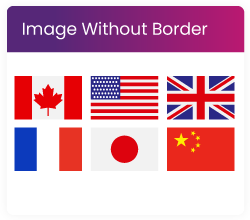
- Image without Border
- Similar to the standard image option, but without any borders around the images. This creates a cleaner and more modern look, allowing the images to blend seamlessly into the design. It’s ideal for minimalist interfaces where a straightforward presentation is desired.
Step 5: Advanced Options for Terms
- In the Advanced Options for Terms section, the images will be auto-set based on the terms you have created. If necessary, you can manually select or adjust the images for each term to ensure they accurately represent the products.
Step 6: Save Changes
After customizing your desired image swatch options, be sure to click the Save button to apply your changes.
Once you have completed these steps and saved your settings, your product filter will display the selected image swatch design options. Users will have a visually appealing and interactive way to filter products based on image attributes, enhancing their shopping experience.