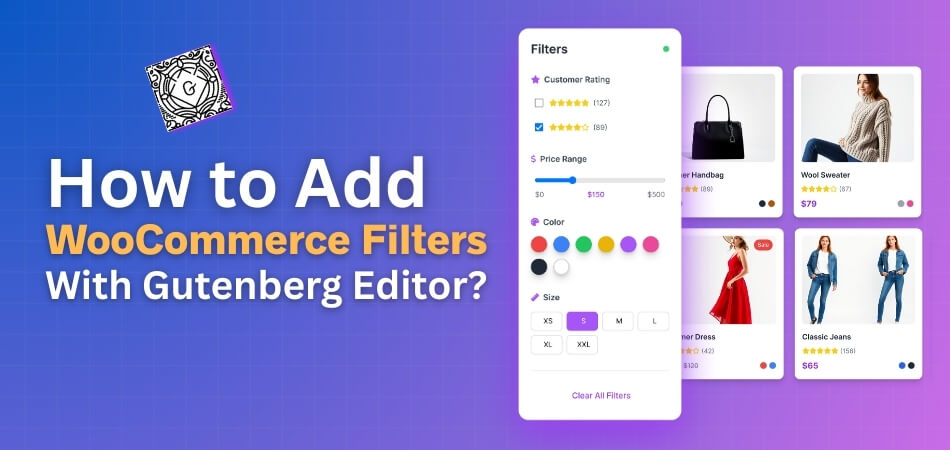
Filters can change the way shoppers find products, and many store owners want a simple way to set them up without using code. If you work with blocks, you might want to know how to add WooCommerce filters with Gutenberg editor.
Add WooCommerce filters in Gutenberg by installing Dynamic AJAX Product Filters, then use the 33/66 column layout. Insert the filter block in the left column and a shortcode block with [[products]] in the right column. This creates a live filtering setup without page reloads.
Are you curious to see how these steps work in a real setup and want to learn every part in a simple way? Read this full article to understand each step, see how filters work with Gutenberg, learn to fix common issues, and set up smooth filters for your store with no hard work.
How to Add WooCommerce Filters With Gutenberg Editor?
You can add basic product filters in WooCommerce using the built-in Gutenberg blocks that come with the WooCommerce plugin. However, these native filters have limited customization options and don’t allow much control over design or functionality.
If you want more flexible, advanced, and customizable product filters, it’s best to use a plugin. For this guide, we’ll use the Dynamic Ajax Product Filters for WooCommerce plugin. It’s easy to use, requires no coding, and comes in both free and paid versions. Using AJAX product filters for WooCommerce gives your store faster loading, smoother filtering, and a better shopping experience because customers can see results instantly without refreshing the page.
Install the Plugin
Before adding the filters, you’ll need to install the plugin. Follow the steps below according to the version you want to use.
Installation (Free Version)
- Go to your WordPress Admin Dashboard → Plugins
- Click Add New Plugin
- In the search bar, type Dynamic AJAX Product Filters for WooCommerce
- Click Install Now, then click Activate
Once activated, the plugin will be ready to use with the Gutenberg editor.
Installation (PRO Version)
If you have purchased the Pro version, install it manually using the ZIP file.

Steps to install:
- Go to Plugins → Add New Plugin
- Click Upload Plugin
- Choose the plugin ZIP file you downloaded after purchase
- Click Install Now, then Activate
Now you have the plugin installed successfully, and you can move on to adding the filters to your store.
Add WooCommerce Filters Using Gutenberg Editor
Once the plugin is active, you can add dynamic filters directly within the Gutenberg editor. Here’s how to do it step by step:
- Go to your WordPress dashboard and open Pages → All Pages, or create a new page where you want the filters to appear.
- Inside the editor, click on the ( + ) icon to add a new block.
- Search for Columns, and select the 33/66 layout. This layout divides the page into two columns — one narrow (for filters) and one wide (for products).
Now you’ll add your filters and products separately into these two sections.
Adding the Filter Block
- Click the ( + ) icon inside the left column.
- Search for Dynamic Ajax Filters, then select the block to insert it.
This block will display your product filters on the page.
Adding the Products Block
If your new page is blank, you’ll need to add the products as well:
- Click the ( + ) icon inside the right column.
- Search for Shortcode and select it.
- Paste this shortcode: [[products]]
(Remember to remove the extra brackets if they appear in your editor.)
This shortcode displays your WooCommerce products beside the filter panel. Once both blocks are added, click Publish (or Update if editing an existing page).
You now have a working product page with WooCommerce filters added using the Gutenberg editor. Customers can use the filter block to view products dynamically — without needing to reload the page.
Common Problems When Adding WooCommerce Filters in Gutenberg
Many users have trouble when adding filters inside the block editor. Some filters do not show right on the product page layout. Other users see missing options that make the filter feel broken. Keep reading to see simple tips that help you fix these common issues.
Missing Filter Options
Some people see empty filter blocks because products lack set terms. You should check if each product has a category, tag, color, or size added. Filters cannot show items that have no set data. If you face layout or compatibility issues while using Gutenberg, some store owners choose to add product filters using Elementor, which offers more flexible design controls and plugin compatibility.
Filter Block Not Showing
Many users think their filter block is gone, but it is often hidden. You may need to place the filter block inside the right template part. Make sure your theme supports filter areas on the shop page. Also, check if you published the page after adding the filter settings.
Plugin Conflict Problems
Some themes or plugins stop filters from working with Gutenberg blocks. You can test this by turning off other plugins one by one and checking the filter. When the filter works again, you know which plugin caused the issue. Updating both plugins and themes also stops many small bugs from appearing.
Filter Not Updating Products
A few shops load the filter but show the same products. This often happens when the shop page uses heavy caching. Clearing the cache can fix the issue at once. You may also turn off page caching for the shop page so filters load fresh results when changed.
Filters Breaking The Page Layout
Some blocks push the layout out of place when styling is missing. You can try resetting filter styles inside the plugin settings. Your theme may have strict layout rules that block filter styles. You should check the theme settings or switch to a theme that supports WooCommerce blocks correctly.
These common filter issues are easy to fix with the right checks. Each small step helps your store work faster and look clearer. Try the tips above and test after each change you make. Your product filters should work smoothly once these fixes are done.
Tips to Test and Make Sure Your Filters Work Correctly
After adding filters to your store, testing is an important step. You need to make sure each filter shows the right products. It also helps check if the filters work well on all devices. Let’s go through some simple tips to make sure your filters work properly every time.
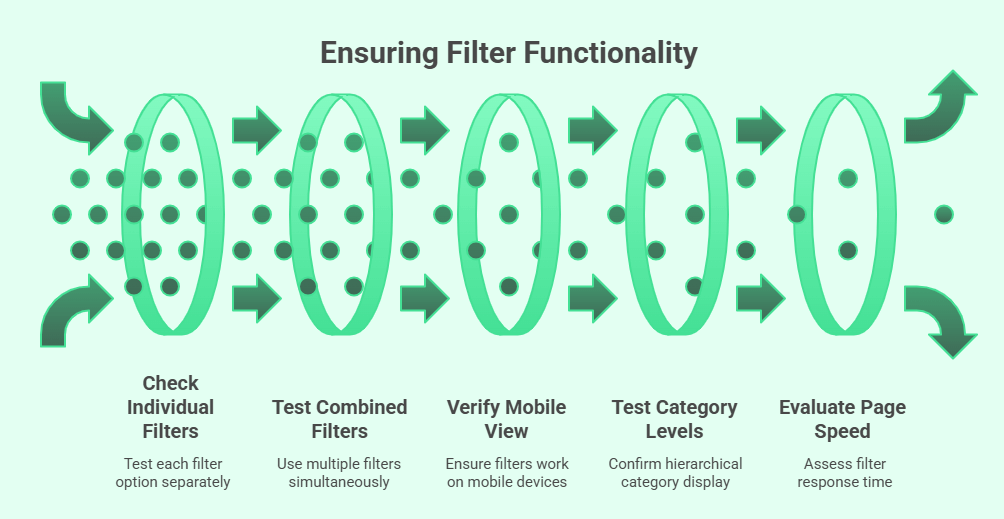
Check Each Filter Option
Start by testing one filter at a time to see how it reacts. Try filtering by color, size, price, and category to confirm all are working. If one filter does not show results, it may not be linked to product data. You can edit the product and add the missing information to fix this issue.
Test Filters Together
Try using two or more filters at once and watch the product results. This test helps you see if the filters work together without breaking the page. If results don’t change correctly, clear the cache and refresh the page. Then test again to see if the filters now load the right products.
Check Mobile and Tablet View
Your filters should work smoothly on every screen size. Switch to mobile and tablet view in your browser to check how filters look. Make sure they open, close, and display properly. Buttons or dropdowns should not overlap other sections. Fix spacing or width settings if something looks off.
Test Category Levels
When testing your filter setup, make sure all category levels display correctly. For example, if you want users to browse through main and subcategories, you’ll need to enable hierarchical category filters in WooCommerce for accurate product sorting. These filters are important because they help shoppers move smoothly from broader categories to more specific ones.
Check Page Speed and Reload Time
Some filters reload the whole page, while others load results faster using AJAX. Try clicking a few filters and see how quickly products appear. If it feels slow, you may need to adjust plugin settings. A quick filter response keeps users happy and helps them find products faster.
Testing filters after setup keeps your store running without small errors. Each test helps you find tiny issues before they bother your visitors. Take time to test across devices and browsers for smooth results. With these steps, your filters will always stay accurate and user-friendly.
How to Improve Store Speed After Adding Multiple Filters?
Adding many filters can make your WooCommerce store slower. This happens because each filter loads new data from the database. But you can fix this easily. Follow these simple tips to keep your store fast and smooth.
- Use Caching Plugins: Store pages load faster when caching is active because it saves ready versions of product pages, so filters do not reload everything each time.
- Try Lazy Loading: Images and product lists load only when users scroll down, reducing the first load time and helping your filters work more smoothly.
- Optimize Database Queries: Clean old or unused product data so your database stays light, making filter requests faster and improving overall site speed.
- Limit Filter Options: Too many filters can overload your page. Keep only the useful ones that shoppers often use, so your website runs faster and cleaner.
- Use AJAX Filters: These filters update products without reloading the whole page, saving time and improving user experience during browsing and searching.
- Reduce Heavy Plugins: Extra plugins slow down your site’s loading speed. Keep only the needed ones to help your filters and pages load quickly.
- Optimize Images: Compress product images before uploading them to reduce size, which helps filters and product pages display faster without hurting quality.
Keeping your store fast helps customers browse without waiting. Small changes like caching and lighter plugins make a big difference. Test your filters often and keep updates active for smooth and quick loading every time.
When to Use Custom Code for Advanced WooCommerce Filters?
Sometimes, plugins are not enough for special filter needs in a store. You may want filters that show data in a certain way. Coding gives more control over how filters behave and display. Read below to learn when using custom code is the better choice.

Custom Layouts and Unique Designs
Plugins often limit how your filters look or where they appear. If your design needs something different, coding gives full styling freedom. You can place filters exactly where you want them. This helps match the layout to your theme for a smooth shopping look.
Better Speed and Lighter Setup
Adding many filter plugins can slow your store’s speed. Writing custom code removes extra plugin weight, making filters load faster. With PHP or shortcode edits, you can create lightweight filters. This keeps the store responsive without extra scripts or background tasks.
Complex Filter Rules and Data
Some stores need filters that use special product data or mix rules. You can write PHP code to filter products by hidden or combined values. For example, show only items that match stock levels and colors together. Such complex filter types work better with custom coding.
Missing Features in Plugins
Many free plugins miss advanced features like grouped filters or range sliders. Coding lets you add these without waiting for plugin updates. You can include custom ranges, dropdowns, or buttons. This helps create filters that fit your exact store setup and product types.
Full Control Over How Filters Work
With code, you can decide how each filter affects page results. You can also change how fast data updates or how results appear. This method works well for developers who want detailed control. Once done right, the setup runs clean and needs fewer updates.
Choosing custom code helps when ready-made plugins cannot meet your goals. It allows complete control and cleaner results for your store. Still, start with simple plugins before adding complex code. This way, you keep a stable setup that stays easy to manage.
Commonly Asked Questions
Many store owners want to use filters inside the Gutenberg editor, but still feel unsure about the setup. These FAQs will help clear common doubts and guide you through simple steps. You will learn useful details that make filter setup easier and more flexible. Use these answers to improve your WooCommerce store without confusion.
How Can I Add WooCommerce Filters in Gutenberg Without Using Code?
You can add filters in Gutenberg by inserting filter blocks from a plugin like Dynamic Ajax Product Filters. These blocks work inside any page or layout you build in the editor. You only need to choose the filter block and place it where you want it to appear. After that, you can design the page the way you like without writing code.
Can I Add WooCommerce Filters to Any Page Made With Gutenberg?
You can add filters to any custom page or shop layout you build in Gutenberg. The plugin blocks work on normal pages, landing pages, and product listing pages. You only need to place the filter block in the column or section you prefer. Once saved, the filters will load and help customers narrow down products.
Do WooCommerce Filters Work With Gutenberg Templates?
Filters can work with Gutenberg templates if your theme supports block-based layouts. Some themes block filter placement, so choosing a block-ready theme helps. You can place filters inside template parts like the sidebar or custom columns. Once added, the filters will show on all pages that use that template.
Can I Show Filters Only on Certain Pages in Gutenberg?
You can choose where your filters appear by placing the block only on the pages you want. This gives you full control over filter placement. Many store owners use filters only on category pages or custom shop layouts. It helps create a clean design that shows filters only where they are needed.
How Do I Style WooCommerce Filters Inside Gutenberg?
You can style the filter blocks using the block settings panel in Gutenberg. These settings let you change spacing, alignment, and layout. Some plugins offer extra styling options for colors and shapes. If you want more control, you can add simple CSS inside your theme or plugin settings.
Can I Add Multiple Filter Blocks in Gutenberg?
You can add more than one filter block on the same page to create a full filtering panel. Many stores use several filters like price, size, brand, or rating. You only need to add each block one by one inside the same column. This makes the filter area more complete for shoppers.
Do Filters Added in Gutenberg Work With WooCommerce Sorting?
Filters and sorting can work together if the plugin supports both features. Sorting helps users choose product order, while filters narrow down choices. When both work together, it creates a smooth shopping experience. You can place the sorting option near the product list for easy use.
Last Words
Setting up product filters becomes much easier when you follow simple steps and use a plugin that works well with Gutenberg. This guide helps you understand how to add WooCommerce filters with Gutenberg editor so you can set clear filters and let shoppers find products without trouble. Once you know the basic setup, your pages load smoothly and feel more organized for visitors.
After finishing the setup, try to test your filters on different devices, clear cache when needed, and remove plugins that slow down your store. These small steps keep your site fast and easy to use. Thanks for reading, and best wishes as you build a cleaner and more helpful WooCommerce store.