An attribute filter helps shoppers narrow products based on exact requirements such as size, material, storage, capacity, or compatibility. Instead of browsing visually or by category, users can refine results using precise specifications that matter for fit and functionality.
In this guide, you will learn how to add an attribute filter in WooCommerce using built-in tools and advanced AJAX methods. We will also cover proper attribute setup, common problems, and fixes so that attribute filtering improves precision without creating confusing or low-value pages.
Quick Answer
Attribute filters in WooCommerce are created using product attributes. Once attributes are defined and assigned to products, you can display them as filters on shop or category pages using widgets, blocks, or AJAX-based plugins.
Use this basic process. Advanced and scalable methods are explained later in the guide.
- Go to Products → Attributes and create the required attributes
- Assign attribute values to your products
- Add Filter Products by Attribute to the shop layout
- Test the filter on a shop or category page
What an Attribute Filter Does in WooCommerce
An attribute filter allows shoppers to narrow WooCommerce products by specific product details such as size, color, material, storage, capacity, brand, or technical specifications. Unlike categories, which group products broadly, attributes describe the exact features or values that help shoppers compare similar items.
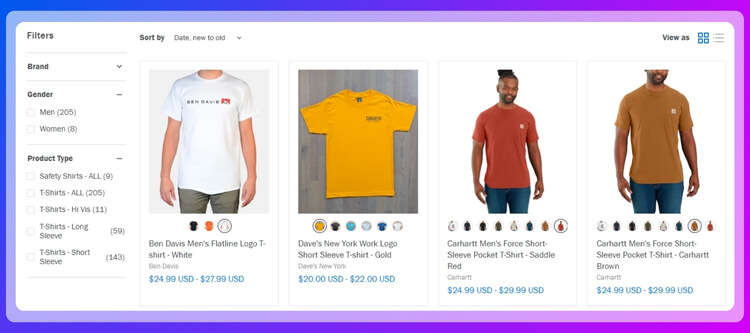
Attribute filtering is most useful when shoppers already know what they need. It helps them match products by fit, compatibility, specification, or preference before opening individual product pages.
Example:
In an electronics store, a shopper looking for a laptop with 16GB RAM and 512GB storage can use attribute filters to remove products that do not meet those specifications. This saves time and reduces the chance of choosing an unsuitable product.
When Attribute Filters Are the Right Choice
Attribute filters are the right choice when shoppers need to narrow products by specific requirements, not just browse by general interest. They work best when product details affect fit, compatibility, performance, or suitability.
Attribute filtering is especially useful when:
- Products have technical or size-based differences
- Shoppers need to compare exact specifications
- Fit or compatibility affects the buying decision
- A category includes many similar products
- Buyers already know what product features they need
For example, attribute filters are helpful for shoe size, laptop RAM, phone storage, fabric material, screen size, vehicle compatibility, or appliance capacity. These are details that can decide whether a product is suitable or not.

What to Prepare Before Adding Attribute Filters in WooCommerce?
Before adding an attribute filter, you need to create the product data that the filter will use. WooCommerce attribute filters work best when attributes are created globally, terms are clearly named, and the correct values are assigned to each product.
Step 1: Create Product Attributes in WooCommerce
Start by defining attributes at the global level so WooCommerce can use them across your store. These attributes become the filter options shoppers can select on shop or category pages.
Step-by-Step Setup: Attributes
- Go to Products → Attributes
- Create attributes such as Size, Material, Storage, Capacity, or Brand
- Add attribute terms, such as Small, Medium, Large, Cotton, 128GB, or 500ml
- Save the attribute
This creates the structure needed for attribute filtering. Without global attributes, WooCommerce may not have consistent filter values to display across your product catalog.
Step 2: Assign Attributes to Products
After creating attributes, assign the correct values to each product. Attribute filters only return accurate results when product-level attribute data is complete and consistent.
Step-by-Step Setup: Product Level
- Edit a product from Products → All Products
- Go to Product Data → Attributes
- Select the relevant global attribute
- Assign the correct attribute values
- Save the attribute and update the product
If attributes are not assigned to products, the filter may appear empty or return no results. Always check that each filtered product has the right attribute values before adding the filter to your shop layout.
How to Add Filter by Attribute in WooCommerce?
Once product attributes are created and assigned, you can display them as filters on your shop or category pages. WooCommerce supports basic attribute filtering through widgets and blocks, while AJAX-based plugins provide more control for advanced filtering needs.
Method 1 (Built-in): Add Attribute Filter Using Widget
WooCommerce’s built-in widget system may show attribute filtering in different ways depending on your theme, WooCommerce version, and widget area. This method is suitable for classic themes, sidebar-based layouts, and simple stores with limited attribute combinations.
Step-by-Step Setup (Widgets)
- Go to Appearance → Widgets
- Open the Shop Sidebar or product archive sidebar
- Add Product Filters to the sidebar
- open its filter options
- Add the desired attribute based on your products
- Save the widget area
- Test the filter on the shop or category page

Limitation
- Page reloads may happen after selection
- Filter layout control is limited
- Advanced multi-attribute filtering options may be limited
- Mobile usability depends heavily on the theme
- Less suitable for large catalogs with many attribute combinations
Method 2 (Block Themes): Add Attribute Filter Using Blocks
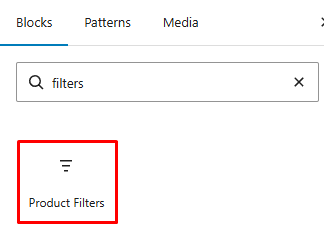
Block-based WooCommerce themes usually use the Product Filters block to add filters inside shop or product catalog templates. The attribute appears as an option inside the Product Filters block instead of showing as a separate block in the main inserter.
This method is useful when your shop layout is managed through the WordPress Site Editor.
Step-by-Step Setup (Block Editor)
- Go to Appearance → Editor
- Open Templates
- Choose the Shop, Product Catalog, or product archive template
- Add the Product Filters block
- Open the Product Filters block settings or inner filter options
- Select the attribute you want to display
- Save the template
- Test the filter on the shop or category page

This ensures the attribute filter appears correctly in block-based layouts and stays connected to the product archive design.
Method 3 (Recommended for Precision): Use AJAX Attribute Filtering
An AJAX filter setup gives the store owner more control over the filter form, display style, and front-end filtering experience. With Dynamic AJAX Product Filters for WooCommerce, you can turn product attributes into interactive filters, choose how each attribute should appear, and place the filter form on shop or category pages using a shortcode.
Free Version
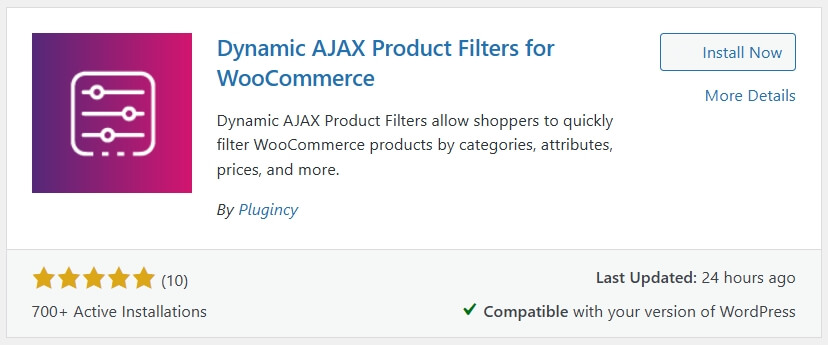
- Open Plugins → Add New Plugin
- Search for Dynamic AJAX Product Filters for WooCommerce
- Click Install Now
- Activate the plugin after installation

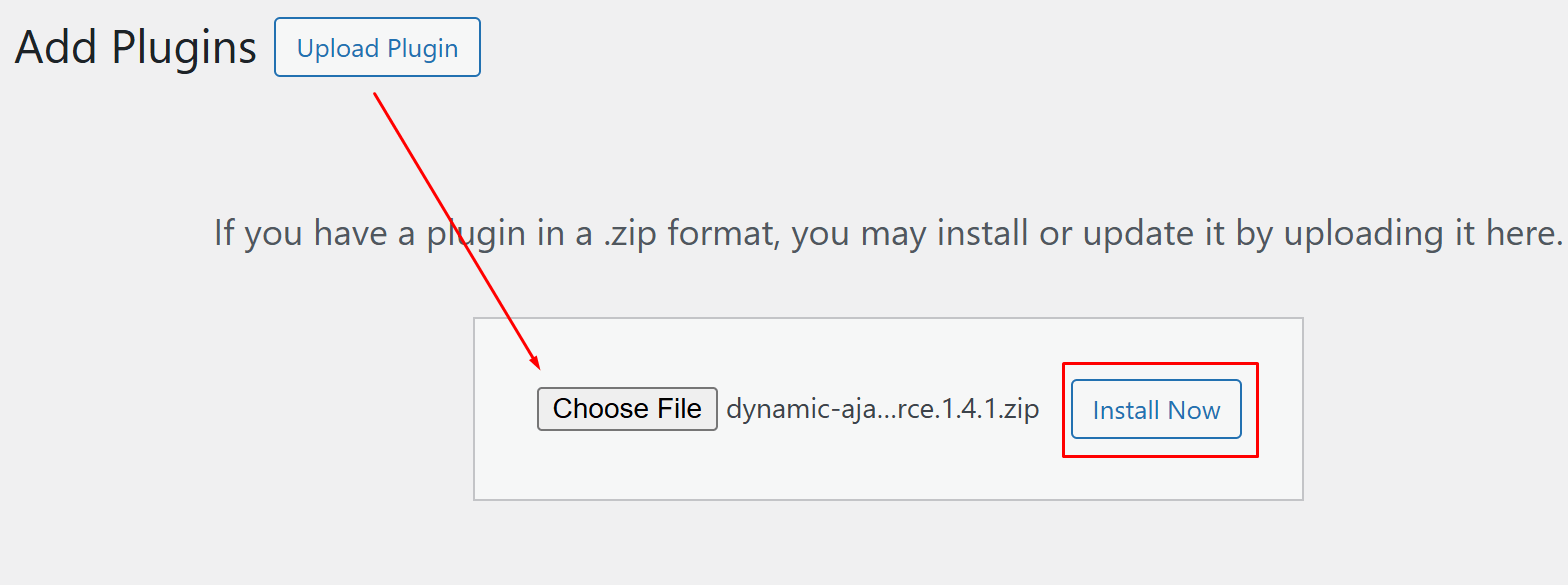
Pro Version
- Download the Pro ZIP file from the official source
- Go to Plugins → Add New Plugin → Upload Plugin
- Choose the ZIP file from your device
- Install the plugin
- Activate it after upload

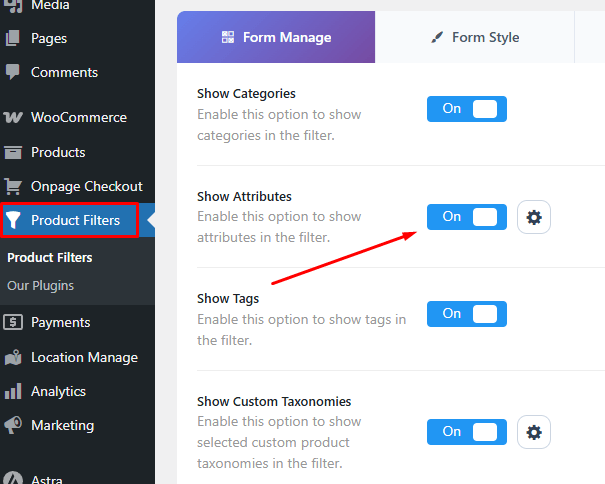
Step 2: Turn On Attribute Filtering
- Go to Product Filters → Form Manage
- Locate the attribute filter option
- Enable it for the form you want to use
- Save the settings

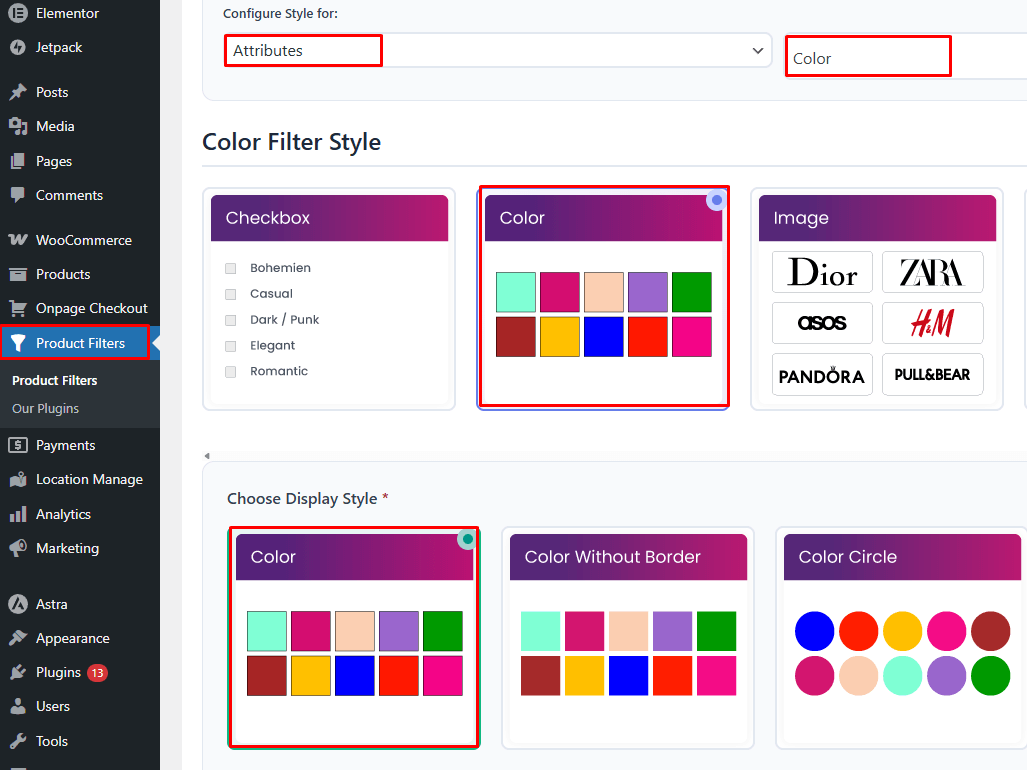
Step 3: Choose the Attribute Filter Layout
- Go to Product Filters → Form Style
- Open the style settings for the attribute filter
- Select the display format that matches your attribute type
- Set advanced terms options
- Configure optional and advanced settings
- Save Changes

Step 4: Add the Filter to the Storefront
After the filter form is ready, place it where shoppers can use it, such as a shop page, category page, sidebar, or custom catalog section.
Use this shortcode: [[plugincy_filters]]
Then save or update the page, widget area, or template.
Step 5: Test the Filter Results
Open the page where the filter was added and try several attribute values.
Check that:
- The filter appears in the correct location
- Product results update properly
- Selected attributes return the right products
- The layout works well on desktop and mobile
Which Method Should You Choose
The right method depends on your WooCommerce theme, catalog size, and how much control you need over filtering. Built-in options work for basic stores, while AJAX filtering is better when shoppers need faster and more flexible product refinement.
| Method | Best For | Main Benefit | Limitation |
| Widget Method | Classic themes and simple sidebar layouts | Easy to set up with built-in WooCommerce tools | Limited layout and advanced filtering control |
| Block Method | Block themes and Site Editor-based shop templates | Fits modern WooCommerce template editing | Attribute filter placement depends on the Product Filters block setup |
| AJAX Attribute Filtering | Larger catalogs, technical products, and multi-attribute filtering | Faster filtering without full page reloads | Requires a plugin setup |
Key Takeaway:
Use widgets for classic themes, blocks for Site Editor layouts, and AJAX filtering for larger catalogs that need faster, more flexible attribute filtering.
How to Choose Which Attributes to Show as Filters
Choose attributes that help shoppers make a clear buying decision. The best WooCommerce attribute filters are based on details people actively compare, such as size, color, brand, material, storage, capacity, fit, or compatibility. Even when using a WooCommerce attribute filter plugin, avoid showing every product attribute as a filter because too many options can make the shop page harder to use.
- Use Buying-Relevant Attributes: Show attributes that directly affect product choice, such as size, material, storage, capacity, brand, or compatibility.
- Avoid Low-Value Attributes: Do not display attributes that shoppers rarely use to narrow products, such as internal codes, minor labels, or technical values with little buying impact.
- Match Filters to Product Type: Use size and color for clothing, storage, and RAM for electronics, material and finish for furniture, and capacity or compatibility for tools and parts.
- Hide Attributes That Apply to Most Products: If nearly every product has the same value, the filter will not help shoppers narrow results.
- Keep Category Filters Relevant: Show different attribute filters for different categories when possible, so shoppers only see options that fit the products they are browsing.
- Prioritize High-Intent Filters First: Place the most important filters near the top, especially attributes that buyers usually decide on early.
- Review Search and Sales Data: Use customer searches, product questions, and best-selling product patterns to decide which attributes deserve front-end filter space.
Common Attribute Filtering Problems and Fixes
WooCommerce attribute filtering can fail when product data, filter placement, or display settings are not configured correctly. Most issues can be fixed by checking global attributes, product assignments, filter location, and cache settings before changing the full shop layout.
| Problem | Common Cause | Fix |
| Attribute filter does not appear | Filter added to the wrong sidebar, widget area, or template | Add the filter to the correct shop sidebar, product archive, or Product Filters block |
| Filter shows empty options | Attribute terms are not assigned to published products | Assign the correct attribute values under Product Data → Attributes |
| Filter returns no products | Selected terms do not match products in the current shop or category | Check product visibility, assigned terms, and category-specific product data |
| Wrong products appear | Products have incorrect or duplicate attribute values | Clean duplicate terms and reassign accurate values to each product |
| Too many filter options show | Every attribute is displayed, including low-value terms | Show only buying-relevant attributes such as size, color, brand, storage, or material |
| Filter is slow or reloads the page | Built-in filtering is being used without AJAX | Use AJAX filtering for faster product updates and smoother browsing |
| Filter does not work on mobile | Layout is not optimized for small screens | Use collapsible filters, dropdowns, or an off-canvas filter panel |
| Filtered pages create SEO issues | Too many filtered URL combinations are indexable | Keep main category pages as primary SEO pages and avoid indexing low-value filter combinations |
Key Takeaway:
Most attribute filter problems come from missing product assignments, poor attribute cleanup, incorrect placement, or limited built-in filtering controls.
FAQs About Adding Filter by Attribute in WooCommerce
WooCommerce attribute filters help shoppers narrow product results by details like size, color, material, brand, storage, or compatibility. These FAQs answer related questions that are useful after setup, especially around usability, product variations, SEO, and store performance.
Can I Use Attribute Filters With Variable Products?
Yes, attribute filters can work with variable products when the attributes are created globally and used consistently in product variations. This is useful for products with options such as size, color, storage, or material.
Should Attribute Filters Be Visible on Every Product Category?
No, attribute filters should only appear where they are useful. A clothing category may need size and color filters, while an electronics category may need storage, RAM, screen size, or compatibility filters.
Do Attribute Filters Slow Down WooCommerce?
Attribute filters can affect speed when a store has many products, many terms, or heavy filtered queries. AJAX filtering, caching, clean attributes, and optimized hosting can help keep filtering smoother.
Can I Create SEO Landing Pages From Attribute Filters?
Yes, but only for valuable filter combinations with real search demand. For example, a dedicated page for “black leather shoes” may be useful, while indexing every random filter combination can create thin or duplicate pages.
What Is the Difference Between Attributes and Variations in WooCommerce?
Attributes describe product details such as size, color, material, or capacity. Variations are purchasable product options created from attributes, such as a medium red shirt or a 256GB phone.
End Note
Clear attribute filtering makes product browsing faster and more focused. When product details are organized properly and shown in the right place, shoppers can move from a broad catalog to relevant options with less effort.
Understanding how to add filter by attribute in WooCommerce is especially useful for stores with size, color, brand, material, storage, capacity, or compatibility-based products. Start with clean attribute data, choose a method that fits your theme, and use AJAX filtering when your catalog needs a faster, more flexible shopping experience.