Styling WooCommerce filters can completely change how your store looks and feels, making it cleaner, more modern, and easier to use. Many store owners want their filters to match their brand’s design but don’t know where to begin. If you’ve ever found yourself wondering how to add advanced Elementor styling to WooCommerce filters, you’re not alone.
Add advanced Elementor styling to WooCommerce filters by installing the Dynamic AJAX Product Filters plugin, editing your page with Elementor, and customizing the filter widget using the Advanced tab. Use motion effects, CSS, and layout settings for full design control.
Do you want to know how to make your filters match your theme or work well on phones? Keep reading—this article covers everything you need to know about styling WooCommerce filters using advanced Elementor tools.
How to Add Advanced Elementor Styling to WooCommerce Filters?
Start by adding the filters to your store. While WordPress provides a manual method, using a plugin is much easier and beginner-friendly, especially for seamless integration with Elementor. Once added, you can style the filters visually through Elementor’s Advanced tab using motion effects, custom CSS, and more. Here’s how you can style WooCommerce filters with advanced Elementor styling.
STEP 1: Plugin Installation (Recommended)
To easily implement product filters in WooCommerce without diving into complex code, using a plugin is the most effective approach. Among the many options available, Dynamic Ajax Product Filters for WooCommerce stands out in 2025 as one of the best solutions. It offers both free and pro versions, making it suitable for beginners and advanced users alike. If you’re looking for a powerful and flexible WooCommerce Ajax product filter plugin, this is a highly recommended choice.
Free Version
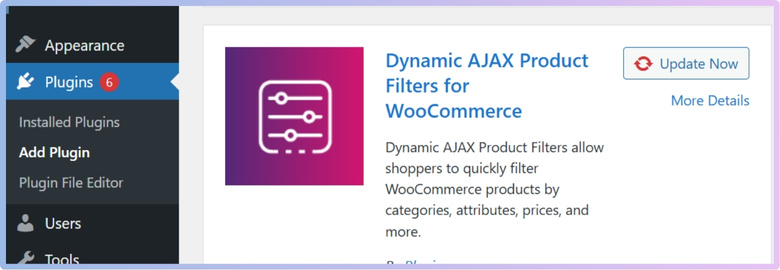
This method uses the free version of the plugin available in the WordPress repository.
- Go to your WordPress Dashboard → Plugins → Add New.
- In the search bar, type: Dynamic AJAX Product Filters for WooCommerce
- Click Install Now → Activate.

Pro Version
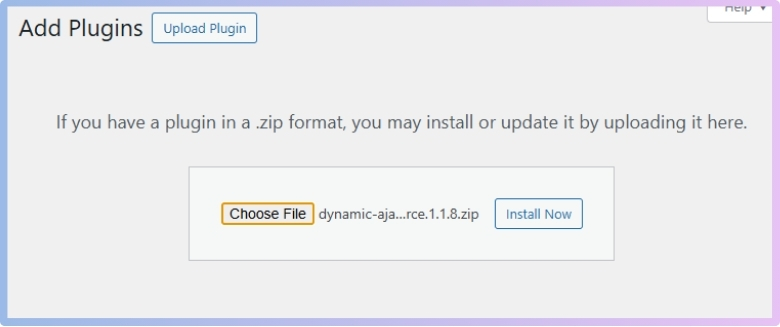
If you’ve purchased the pro version, follow these steps to upload and activate it.
- Download the plugin .zip file from the official website.
- Go to Plugins → Add New → Upload Plugin.
- Click Choose File, select the .zip, then click Install Now → Activate.

STEP 2: Install Elementor
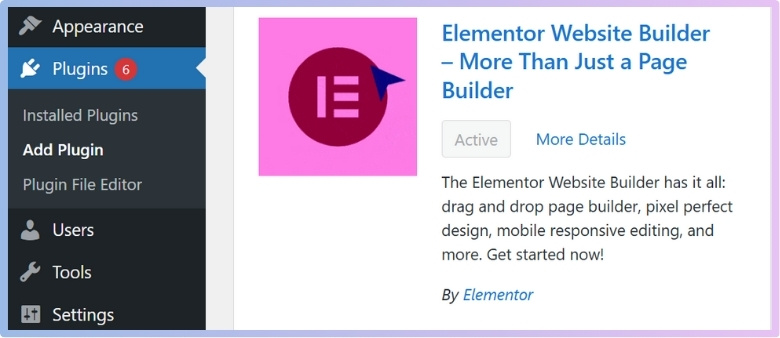
This step ensures you have Elementor installed so you can visually customize your filters.
- Go to Plugins → Add New.
- Search for Elementor Website Builder.
- Click Install Now → Activate.

For advanced styling like Motion Effects, Custom CSS, or Attributes, you’ll need Elementor Pro.
STEP 3: Add and Style Filter with Elementor
Now that everything is installed, it’s time to add the filter widget to your page using Elementor.
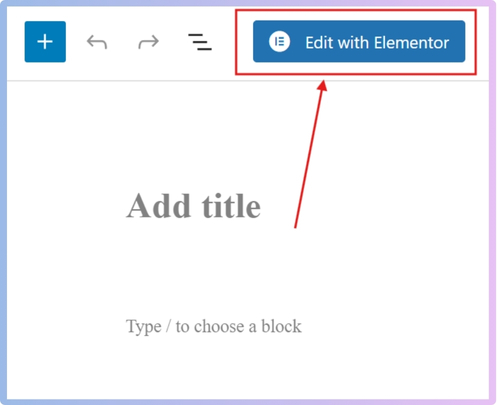
- Open an existing page or create a new one by clicking on “Add Page”.
- Click on “Edit with Elementor”.

- Wait for a few seconds to load Elementor.
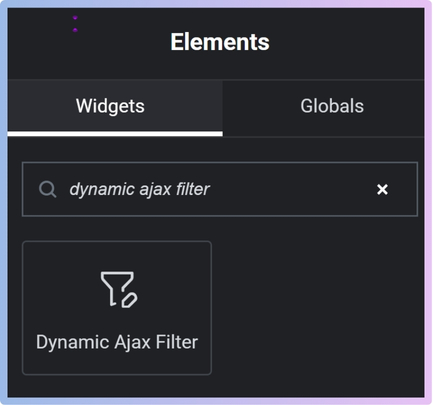
- After fully loading Elementor, go to the widget panel on the left, search for Dynamic Ajax Filter.

- Drag and drop the widget into your desired section.
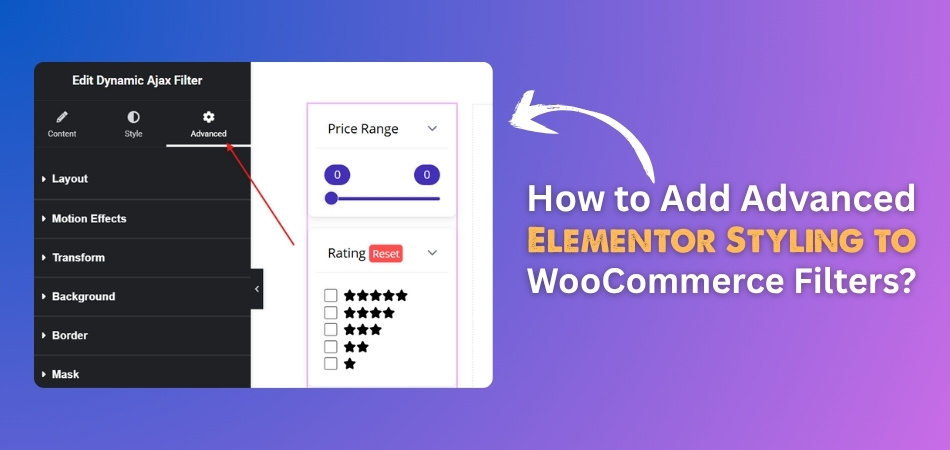
- Click the widget, then open the Advanced tab in the Elementor sidebar.

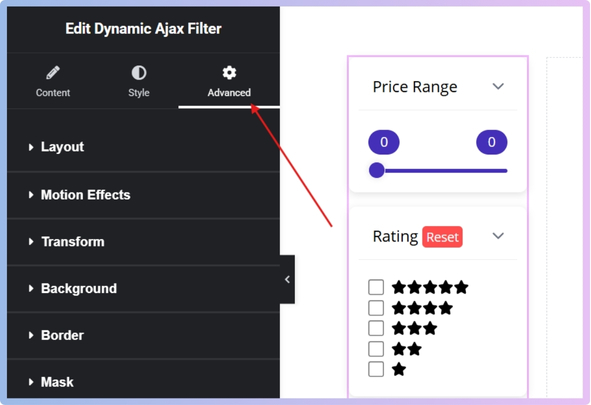
STEP 4: Use Elementor Advanced Settings
Elementor’s Advanced tab unlocks powerful layout , styling, animation, and custom behavior options. Here are the features you can use:
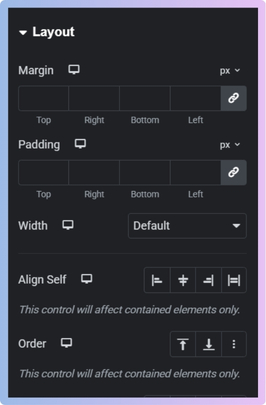
1. Layout
- Margin/Padding: Adjust spacing inside and outside the filter box.
- Z-Index: Controls stacking order.
- Positioning: Choose Default, Absolute, or Fixed.

2. Motion Effects (Pro Only)
- Entrance Animations: Slide, fade, bounce, etc.
- Scrolling Effects: Parallax, rotate, scale on scroll.
- Sticky: Makes the filter remain visible on scroll.
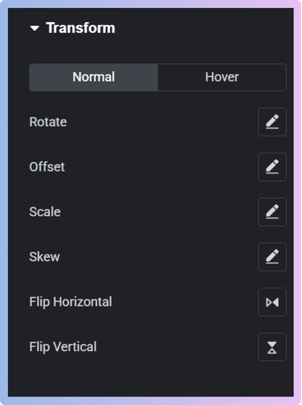
3. Transform
- Use Rotate, Skew, Translate, or Scale to change appearance creatively.
- You can apply these transformations for the normal view as well as for hover effects. When the mouse cursor hovers over the element, the hover style will be displayed.

4. Background
- Apply solid color, gradient, or image.
- Set styles for Normal and Hover states.

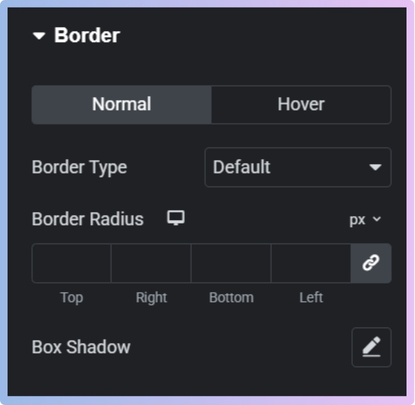
5. Border
- Define border type, color, and width.
- Add border radius for rounded edges.
- Use box shadows for depth.

6. Mask
- Apply pre-made or custom shapes/SVGs over the filter.
- Control the size and position of the mask.


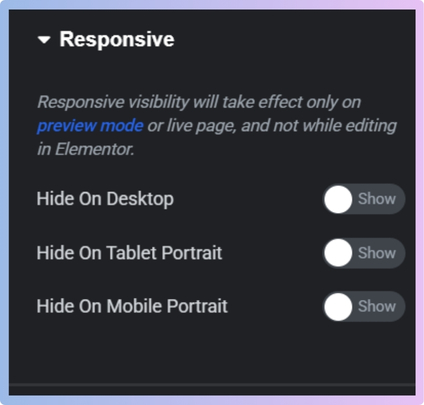
7. Responsive
- Toggle filter visibility on desktop, tablet, or mobile.
- Useful for optimizing layout across devices.

8. Attributes (Pro Only)
- Add custom HTML attributes like data-* or aria-*.
- Useful for analytics, accessibility, or scripting.
9. Custom CSS (Pro Only)
- Write your own CSS directly in Elementor.
- Offers precise control over filter styling.
STEP 5: Save Your Work
After you’ve finished designing your filters, it’s time to save.
- Click Publish to make it live.
- Or click Save Draft to come back and edit later.
Your WooCommerce filters are now fully styled with Elementor, making them not only functional but beautifully integrated with your website design.
How to Match Filter Design With Your WooCommerce Store Theme?
Matching your filter design with your WooCommerce store theme isn’t just about looks—it helps your visitors feel comfortable and makes your store easy to use. When everything looks good together, people stay longer and shop more. Let’s check out how you can make that happen.
Keep It Visually Clean
When your filters look like the rest of your website, everything feels smooth and easy. If your theme uses soft colors, don’t make filters look too bright or different. Try to use simple shapes, matching sizes, and the same style of buttons. This way, people won’t get confused or distracted. A clean and matching look helps visitors enjoy your store more and trust it.

Use Global Styles
Elementor’s global styles can help you set up the look of your whole store in one place. You can pick one style for all your filter boxes, text, and buttons. This means if you change your style later, everything updates at once. It’s like setting the main look of your room and making sure all furniture fits in. It saves time and keeps things neat.
Match Color Palettes
Colors help people remember your store. If your store uses blue and white, your filters should also use blue and white. Elementor lets you choose colors from your theme and apply them to your filters. This way, everything feels like part of the same family. Using the same colors across your site makes it look more professional and easier to follow.
Set the Right Fonts
Fonts can say a lot about your brand. If your store uses big, fun fonts, your filters should use the same kind. Elementor allows you to set your font style once, so you don’t have to do it again and again. When the fonts match, your store looks more organized, and people can read things easily without effort or confusion.
Check on Mobile
Most people use phones to shop. So, your filters should also look good on small screens. Elementor helps you preview and change how your filters show up on phones or tablets. Make sure nothing looks too tight or too small. When your filters work well on all devices, people are more likely to stay and shop without trouble.
That’s how you can make your filters match your WooCommerce store theme. When everything looks and feels connected, it makes shopping easier and more fun. A neat and matching design builds trust and keeps visitors happy. Try these simple steps to give your store a smooth and polished look.
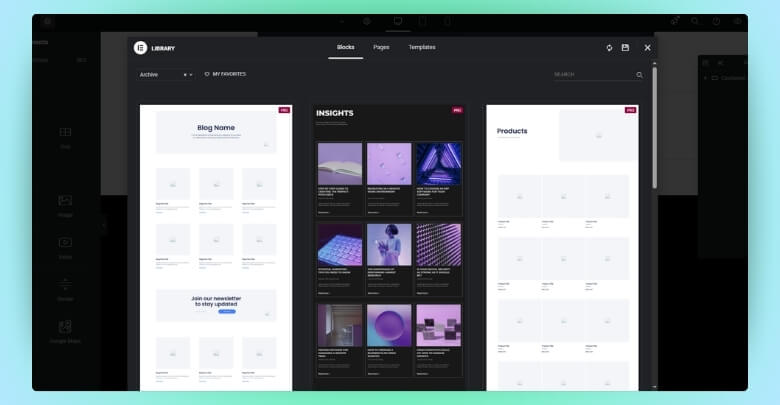
How to Use Elementor Templates to Reuse Filter Layouts Across Pages?
Using Elementor templates can make your website look cleaner and save you a lot of time. If you’re building pages with the same style, there’s an easy way to copy your filter sections without redoing everything. Let’s see how it works step-by-step.
Saving Your Filter Design
Once you create a filter section the way you like it, you can save it as a template. Just right-click on the section and choose “Save as Template.” Give it a simple name that helps you remember what it is. This way, you don’t need to build it from scratch every time you want to use it somewhere else.
Loading Saved Templates
Whenever you’re working on a new page, you can load your saved filter layout by clicking on the folder icon in the Elementor editor. Then go to the “My Templates” tab. Pick the filter section you saved earlier, and it will appear right on your page.
Keeping the Same Look
Using templates keeps your filter sections looking the same on every page. That helps visitors understand your site better because they’re seeing the same style everywhere. It also saves you from making design changes over and over again. One design, many pages—super easy!
Making Quick Edits
If you ever want to change the look of your filter section, you can update the template itself. Once you do that, the change can be applied wherever the template is used. No need to go and edit each page one by one—just update the template once.
Staying Organized
It’s a good idea to name your templates clearly and store only the ones you use often. This way, you won’t be searching through a big, messy list. Keeping things tidy helps you work faster and find what you need in seconds.
Using Elementor templates is a smart way to build pages faster without starting from scratch every time. It helps you keep your designs neat and matching across all your pages. You can easily make changes in one place and see them everywhere. Try saving your filter layouts as templates and make your work a whole lot easier.
Tips to Make WooCommerce Filters Responsive with Elementor
More people shop on phones and tablets now, so it’s really important that your WooCommerce filters work well on every screen size. If filters look messy or hard to tap, people might leave. That’s why making them responsive matters a lot.
- Use Mobile View Option: Check how your filters look on mobile using Elementor’s mobile preview to spot anything that looks too small or messy.
- Adjust Column Widths: Filters often appear in columns, so make sure they don’t get squished or look crowded on smaller screens like phones.
- Set Padding and Margins: Use the spacing settings in Elementor to give filters some breathing space so they don’t look too tight or overlapped.
- Hide Extra Filters: On small screens, you can hide less-used filters to keep things simple and show only the important ones first.
- Enable Toggle or Accordion: Use accordion or toggle widgets so filters can be opened and closed easily, saving space on mobile screens.
- Use Touch-Friendly Buttons: Make sure filter buttons are big enough to tap with a finger without clicking the wrong thing by mistake.
- Set Font Sizes by Device: You can choose different text sizes for desktop, tablet, and mobile to make sure the words stay clear and readable.
- Avoid Too Many Filters: Too many options at once can look messy on phones, so try to keep the filter list short and clean.
- Test on Real Devices: Don’t just check on the screen; try opening your site on a phone or tablet to see how it really looks and works.
- Keep It Simple: Simple designs with less clutter always look better on mobile. A clean layout helps people find what they need faster.
Responsive design is essential, especially for high-traffic or inventory-heavy sites. As your product catalog grows, it’s equally important to optimize AJAX filters for large WooCommerce stores to maintain fast filtering on all devices
Common Design Mistakes in WooCommerce Filters and How to Avoid Them
Adding filters to a WooCommerce store should make shopping simpler, not more frustrating. Small design mistakes, though, can confuse visitors or even cause them to leave. Let’s look at what to avoid and how to fix those issues quickly.
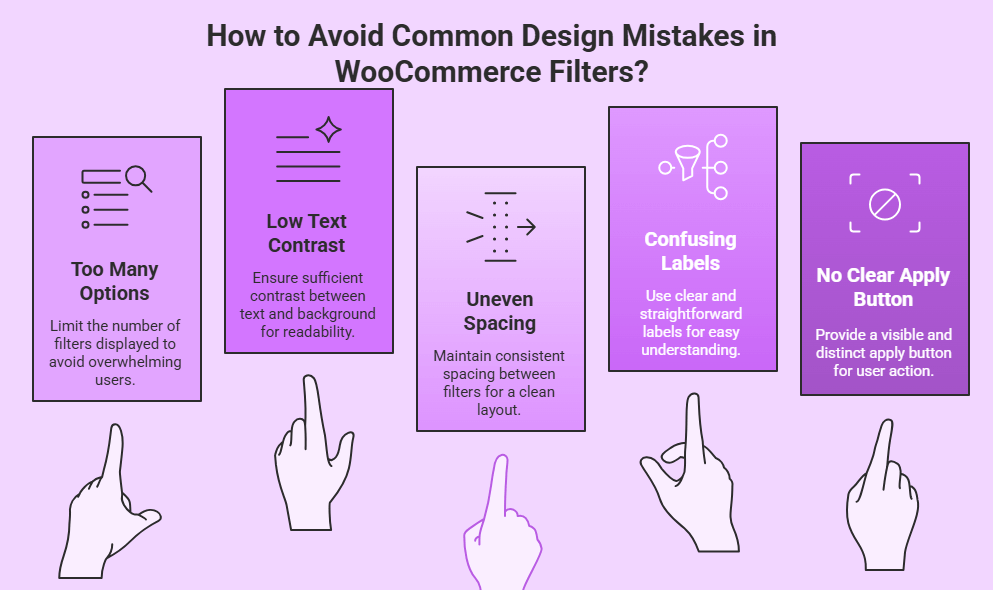
Too Many Options
It’s tempting to show every filter possible, but that can overwhelm your visitors. When there are too many choices, people might feel lost and give up. Try to show only the most important filters first. If needed, you can add more filters in a “More Options” section. Keeping things simple helps people shop faster and with less confusion.
Low Text Contrast
If your filter text is too light or blends into the background, it’s hard to read. This can make people skip over filters or click the wrong one. Always make sure the text and background have enough contrast. Dark text on a light background or the other way around works best. Clear and bold text makes filters more user-friendly.
Uneven Spacing
When filters look messy or the space between them keeps changing, the page feels unorganized. Spacing should be even and balanced across all filter items. This helps the layout look clean and makes it easier for people to scan and choose options. A neat layout gives a better shopping feel and keeps everything in order.
Confusing Labels
If filter names are not clear or are too technical, people won’t understand what they do. Use simple and easy-to-understand words like “Size,” “Color,” or “Price.” Avoid using short forms or strange labels. The more straightforward the filter labels are, the faster users will find what they’re looking for. Clear names make everything smoother.
No Clear Apply Button
Some filter sections apply changes right away, while others need you to press a button. If that button is missing or hard to spot, people might not realize they have to click it. Always make sure there’s a clear “Apply” or “Filter” button. It should stand out with a bold color and be placed where it’s easy to see.
Before applying heavy styling, make sure you properly implement advanced product filters in WooCommerce, as skipping essential filter setup can lead to layout issues and poor functionality, regardless of design polish.
FAQs About How to Add Advanced Elementor Styling to WooCommerce Filters?
If you’re just getting started with styling WooCommerce filters using Elementor, you might have a few questions. This section covers some of the most common doubts beginners have. Each answer is explained in a simple way to help you understand clearly. These tips will guide you in making your store filters not just work well, but look great too.
Can I Use Elementor Styling on Filters From Other Plugins?
Yes, you can use Elementor styling on filters from many popular WooCommerce filter plugins. As long as the filter widget or shortcode is placed inside an Elementor section, you can style it using the Elementor editor. However, some plugins may use complex layouts that limit styling unless you use Elementor Pro features. Always test the widget inside Elementor to make sure it supports custom design.
What Happens If My Filter Styles Break After a Theme Update?
Sometimes, a theme update might change the default styles and override your custom Elementor designs. To avoid this, use Elementor’s Custom CSS or save your filter section as a template for easy recovery. You can also use a child theme or custom class names to protect your styles. Always check your filters after an update to ensure they still look right.
Is It Possible to Animate Filter Buttons When Hovered?
Yes, you can easily add hover animations using Elementor’s built-in motion effects and hover settings. Go to the Advanced tab, select “Hover” state, and apply changes like background color, scale, or shadow. This makes your filters more interactive and fun to use. Just don’t overdo the effects—keep them smooth and simple.
How Can I Make Filter Sections Stick to the Side While Scrolling?
To keep your filters visible while scrolling, use Elementor’s “Sticky” option in the Motion Effects panel. Set the section position to “Sticky” and choose whether it sticks on desktop, tablet, or mobile. This way, customers can keep using filters without scrolling back up. Sticky filters are great for improving user experience on long product lists.
Can I Use Elementor Popups to Show Product Filters?
Yes, you can place filters inside an Elementor pop-up if you want a cleaner look or save space. Create a popup using Elementor Pro and drag the filter widget inside. Then trigger the popup with a button like “Show Filters.” This method is helpful on mobile or for minimalist layouts.
How Do I Stop My Filters From Overlapping With Other Page Elements?
If your filters are overlapping with other parts of your page, it’s likely due to wrong spacing or Z-index settings. Open the filter section in Elementor and adjust the margin, padding, and Z-index in the Advanced tab. Also, check for conflicts in custom CSS if you’re using any. A balanced layout will help filters stay where they should.
Can I Add Filter Icons Using Elementor?
Yes, you can add icons next to filter labels using Elementor’s icon or image widgets. Just place them beside the filter text or use custom HTML if needed. Icons help users quickly understand what each filter does, like a paint icon for color or a tag for brand. Make sure the icons match your store’s design style.
What Should I Do If Filters Look Different on Safari or Firefox?
Different browsers may render styles slightly differently. To fix this, test your filter design on popular browsers like Chrome, Safari, Firefox, and Edge. If something looks off, use custom CSS in Elementor to adjust it. Always use standard fonts, flexible units like %, and simple animations to keep your design browser-friendly.
Is There a Way to Hide Filters Until a User Clicks a Button?
Yes, you can use Elementor’s toggle or accordion widgets to hide filters by default. Add your filters inside these widgets so they only expand when clicked. This makes your page look cleaner, especially on mobile. It’s also helpful if you have many filters and want to show only the important ones first.
Can I Add a Filter Section Inside a Sidebar Template?
Absolutely! Elementor lets you create custom sidebar templates with filter widgets inside them. Once created, you can use that sidebar across multiple pages using Elementor’s template feature. It helps keep your layout consistent and saves time. Just make sure the sidebar width is enough to show your filters clearly.
End Note
With the right plugin and Elementor tools, styling your product filters becomes simple, clean, and creative. You now know exactly how to add advanced Elementor styling to WooCommerce filters—just follow the steps, use the Advanced tab, and customize every detail.
As you start designing, remember to keep filters simple, mobile-friendly, and matched with your store theme. Avoid clutter, test on real devices, and don’t forget to save your layouts as templates. Best of luck turning your WooCommerce filters into a polished, user-friendly part of your site!