Store owners in WooCommerce often look for ways to improve the shopping experience while keeping things secure and organized. Whether it’s guiding users through checkout or managing who can place orders, there’s a lot you can customize. You might already be wondering how to enable mandatory login for checkout in WooCommerce.
Enable mandatory login for WooCommerce checkout by installing the “One Page Quick Checkout for WooCommerce” plugin. Go to Onpage Checkout > Features, then toggle “Force login before checkout” ON. This setting blocks guest checkout and allows only registered users.
Do you want to understand how this setting affects your customers and how to make the process smooth for them? Keep reading this article—you’ll find everything you need to know, from setup steps to how login rules impact checkout and what you can do to avoid losing buyers.
How to Enable Mandatory Login for Checkout in WooCommerce?
Mandatory Login for Checkout is a setting that requires customers to log in or create an account before they can complete a purchase. Instead of allowing guest checkout, your store will only accept orders from registered users.
Why It’s Used:
- Helps manage customer data more effectively
- Can prevent spam or fake orders
- Allows for a personalized experience for repeat customers
Note: While it adds security and data control, it may also discourage first-time buyers who prefer quick guest checkouts.
Use a Plugin for Simpler Setup
Instead of customizing code manually, using a plugin simplifies the process. One highly useful and beginner-friendly option is One Page Quick Checkout for WooCommerce, which supports this feature in both free and pro versions. You can enable mandatory login easily using the WooCommerce 1 Page checkout interface, without touching any code. Here’s how you can install the plugin:
Free Version
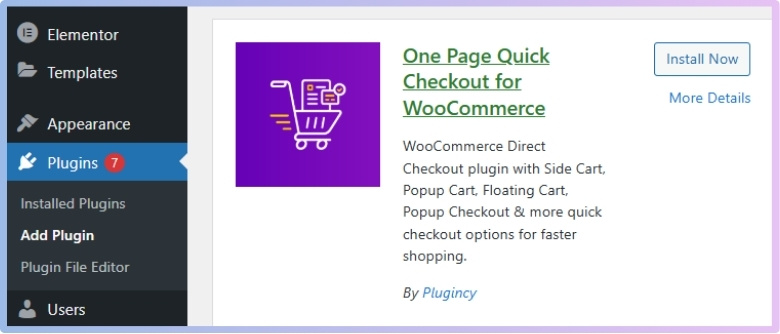
Here’s how to install the free version of the plugin directly from your WordPress admin panel:
- Go to the WordPress Admin Dashboard → Plugins
- Click on “Add New Plugin”
- In the search bar, type:
One Page Quick Checkout for WooCommerce - Click “Install Now”
- After installation, click “Activate”

PRO Version
If you want advanced features or premium support, the PRO version is available for purchase. Here’s how to install it:
- Purchase the PRO Version:
Visit the official website and buy the PRO plugin. - Download the PRO Plugin:
After purchase, check your email for a download link.
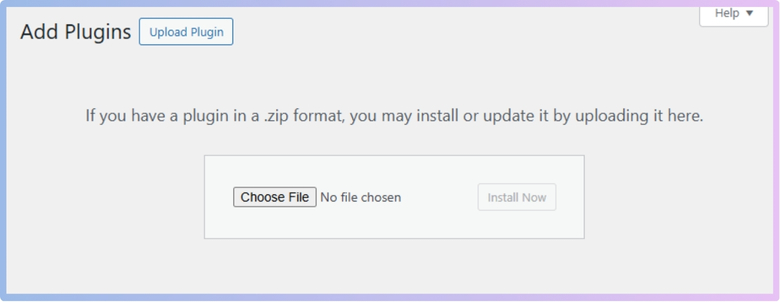
Click the link to download the ZIP file. - Install the Plugin:
- Go to WordPress Admin Dashboard
- Navigate to Plugins > Add New
- Click on Upload Plugin
- Select the downloaded ZIP file
- Click Install Now

- Activate the Plugin:
- Once installed, click Activate
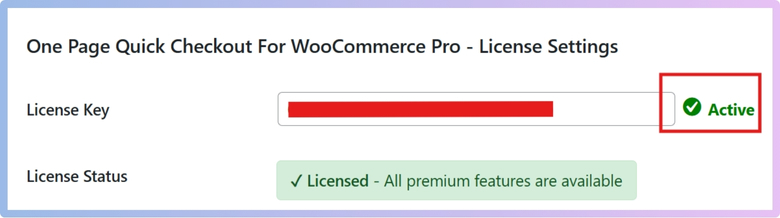
- Enter Your License Key:
- Go to Onoage Checkout > Plugin License
- Enter your license key to unlock PRO features

Enable Mandatory Login for Checkout
After the plugin is installed and activated (either free or pro), follow these steps to enable the login requirement before checkout:
Step-by-Step Guide:
- Log in to your WordPress dashboard
- On the left sidebar, click Onpage Checkout
- Click on the “Features” tab
- Find the option called “Force login before checkout”
- Toggle the switch ON to activate it

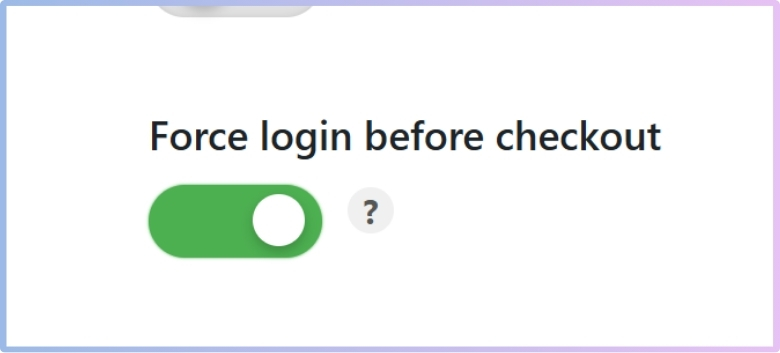
From now on, when a customer tries to access the checkout page on your WooCommerce store, they will be required to log in first. This ensures only registered users can place orders on your site.
How Mandatory Login Impacts Conversion Rates (and How to Minimize Drop-Off)
Many online stores ask people to log in before buying anything. This can be a big reason why some shoppers leave the site. People want things to be quick, easy, and simple. Let’s look at how login steps affect sales and what you can do.
Slower Checkout Frustrates
People often leave if buying takes more time than they expected. Extra steps like login make the checkout feel slow and annoying. Some users even feel stuck or confused and leave the store right away. Making the process fast is important to keep people from quitting. Even one small delay can change their mind and ruin the sale. Every second counts when someone is ready to buy something online.
First-Time Shoppers Leave
Many people who shop online are doing it for the first time. If they’re asked to log in, it may feel like too much work. Some shoppers don’t want to make an account just to buy once. This extra step can cause them to leave without buying anything. Giving a faster option helps more people finish their order. A simple path can make first-time buyers feel more comfortable.
Small Wins Matter
Tiny changes can make the whole checkout process feel smoother and better. One small way to help is by letting users remove items quickly. To counteract any potential hesitation caused by mandatory login, consider optimizing other parts of the checkout journey—such as enabling features like single-click product removal in WooCommerce—to reduce user frustration and keep the process smooth. Simple things like this can make users feel more in control and less annoyed. These little wins help keep people moving forward.
Trust Issues Pop Up
Some people feel nervous when they are asked to log in early. They may not want to give their details before seeing anything else. When they feel unsure, they often leave the website and shop somewhere else. It’s important to show that your store is safe and honest. Giving clear messages and small signs of trust can help ease their mind. Slow and steady trust works better than rushing them.
Offer Simple Options
Giving people easy ways to log in can make them stay longer. They might feel better if they can use Google or Facebook instead. Some like getting a code on their email instead of using a password. These options make the process feel faster and less stressful for everyone. Letting people choose how they log in helps them feel in control. This way, you don’t lose them before the sale is done.
Asking for a login is sometimes needed, but it should not block sales. Making small changes can help people stay and buy with ease. Think about ways to make the steps shorter and less stressful. A smoother experience can turn more visitors into happy customers.
What Happens When a User Tries to Checkout Without Logging In?
When someone shops online, they usually expect a smooth checkout without any extra steps. But sometimes, logging in is necessary to continue. If you’re wondering what really happens when a user skips that part, keep reading below.
Redirect to Login
As soon as the user hits the checkout button without logging in, they’re usually taken straight to the login page. It might feel a little sudden, especially if they’ve already filled their cart. This step is important for security and making sure the order is tied to the right account. It’s quick, but if the user doesn’t remember their login info, it can slow things down and might even lead to giving up on the purchase.
No Guest Checkout
On some sites, guest checkout is turned off, which means users must log in before they can pay. If someone tries to go around that, they’ll get a message telling them to log in first. There’s no way to skip it. This kind of setup is often used to keep order details and tracking all in one place, but it can feel like a bit of a roadblock for someone who’s just trying to buy something quickly.
Form Reset Trouble
One of the annoying things that can happen is when a user fills out the checkout form and then gets pushed to log in; all their entered details vanish. They have to type everything again, which feels like a waste of time. To make this part smoother, many stores now add small tools that help keep user info ready for the next step. Some even enable address suggestions in WooCommerce to make refilling the form much faster and easier.
Confusing Error Messages
Sometimes, the message that pops up when login is required isn’t clear. It might just say “Please log in” without explaining why or what’s next. This can confuse the user and make the process frustrating. Clear and friendly error messages that guide the user back to login or even suggest password recovery can make a big difference and help users stay on track with their purchase.
Repeat Buyers Expect Speed
When someone shops often from the same store, they expect a fast checkout. Having to log in every time might seem like a small step, but it can still feel like a hassle. Making the login part quick and simple helps a lot. Even better, if the checkout form is smart enough to remember past info or fill in addresses quickly, it saves time and makes people want to come back and shop again.
A smooth checkout experience keeps users happy and coming back. When logging in is required, every step should feel easy, not like a chore. Small delays or confusing messages can lead to lost sales. Make it simple, clear, and quick every time.
Can You Allow Guest Checkout Alongside Mandatory Login for Certain Products?
Sometimes, when you’re shopping online, you might be asked to log in before you can buy something. Other times, you can just check out as a guest. But did you know websites can control this? Keep reading to see how it works.
Guest Checkout Basics
Guest checkout is when you buy something without creating an account. It’s quick and easy, and many people like it because they don’t want to remember another password. For simple products like clothes or gadgets, guest checkout works great. It saves time and helps shoppers who just want to buy and go without extra steps.
Why is needed
Some products need more care. Things like digital downloads or membership plans often require an account. This is because the website might need to track what you bought or give you special access later. So, for these products, logging in makes sure everything works properly after the purchase is complete.
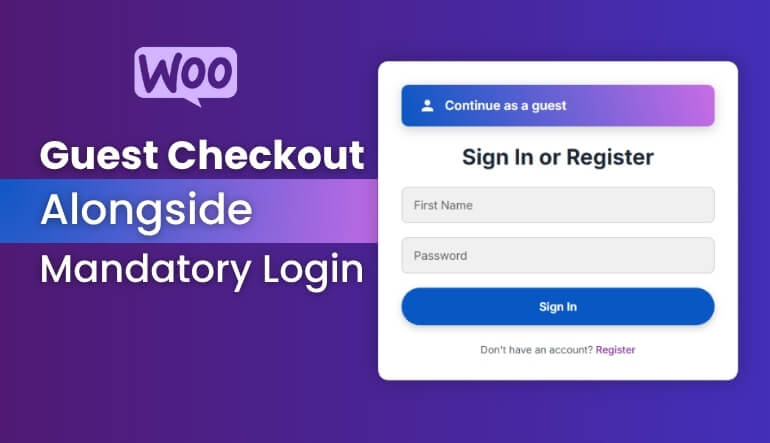
Mixing both options
Good news: websites can offer both! They can allow guest checkout for regular stuff and ask for login only for special items. This means you can shop freely for most things and only log in when it’s really needed. It keeps the shopping smooth without making things too strict or confusing.
Setting it up
Store owners can set rules in their website settings. These rules can say which products need a login and which don’t. For example, they can set a rule that says, “If someone buys a digital item, ask them to log in.” This way, the website knows when to show the login screen and when to skip it.
Making it simple
Even if a login is needed, websites can make the process easy. They can use short forms, quick email sign-ins, or social logins. For guest checkout, they can skip long steps and ask only for the important details. A smooth and clear checkout page keeps everyone happy and avoids any drop in sales.
Now you know how websites can handle both guest checkout and login for different products. This setup makes shopping easier for buyers and keeps things organized for sellers. It’s all about making sure the right steps show up at the right time. With the right setup, everyone gets a smoother and smarter shopping experience.
Legal and Data Privacy Considerations When Forcing Account Creation
Asking customers to create an account before checkout can impact their privacy and your legal responsibilities. It’s important to follow data protection rules and handle personal information with care. Here’s what you need to know to stay compliant and build trust with your users.
- User permission: Always ask clearly before collecting personal data. People must know what’s being taken and why it’s needed during checkout.
- Clear privacy rules: Show your privacy policy in a simple way. Customers should easily understand what will happen with their information.
- Only needed data: Don’t ask for more details than needed. If the info doesn’t help with the order, don’t collect it.
- Easy opt-out options: Give users a way to say no to things like emails or data sharing. This must be clear and easy to do.
- Data storage rules: Make sure all stored user data is safe and protected. Use secure systems to stop anyone from misusing them.
- GDPR compliance: If you’re dealing with customers in Europe, follow the GDPR law. It’s all about keeping user data safe and private.
- Consent before cookies: Let users know if your site uses cookies and ask before turning them on. This is important for legal safety.
- Update rights: Allow users to change or delete their data if they ask. They should have control over what stays and what goes.
- Account deletion: Give users the option to delete their account completely. This shows respect for their privacy and freedom of choice.
- No hidden tricks: Don’t hide consent checkboxes or mix them with other buttons. Users should give permission without being tricked.
Understanding privacy rules isn’t just for big companies—it matters for every website that collects personal info. When users feel safe, they trust the store more. These tips help follow the law and keep things simple. Always be honest and clear about data use.
Commonly Asked Questions
Here are some common questions people ask when setting up Add to Cart notifications in WooCommerce. These FAQs are helpful if you’re just getting started or if something isn’t working right. Take a look below to find simple answers to common issues and tips to make everything run better.
How Do I Turn on Add to Cart Notifications?
To turn on Add to Cart notifications in WooCommerce, go to your WordPress dashboard and click on WooCommerce > Settings. From there, choose the “Products” tab and look for settings related to Add to Cart behavior. You can enable messages that appear when someone adds an item. This helps customers know the product was added successfully.
Where Do Add to Cart Messages Appear?
By default, WooCommerce shows Add to Cart messages near the top of the page or just above the product. But this can change based on your theme. Some themes show it in different places or even hide it completely. You can change where it shows using a plugin or custom code.
Can I Change the Notification Text?
Yes, you can change the message that shows when a product is added to the cart. To do this, you can use a code snippet or a plugin that helps with editing text. This is useful if you want to match the message with your store’s tone or brand. It also makes the experience more personal for your customers.
Why Are Notifications Not Showing?
If Add to Cart messages are not showing, it could be because of a theme or plugin issue. Some themes turn off WooCommerce default messages, or a plugin might block them. You should try switching to the default theme and turning off other plugins to test. That way, you can find what’s causing the problem.
Can I Show a Popup Instead of a Message?
Yes, you can show a pop-up instead of a regular message. You’ll need a plugin that supports this kind of feature. Many popup-style plugins work with WooCommerce and let you customize how the message looks. Popups are great for grabbing attention quickly.
How Can I Add a Sound to the Notification?
Adding sound to a cart notification isn’t a default WooCommerce feature, but you can do it with custom code or a plugin. The sound plays when someone clicks “Add to Cart” and makes the process feel more fun or exciting. Make sure the sound isn’t too loud or annoying. Always test it to see how it feels for your shoppers.
Can I Add a Product Image to the Notification?
Yes, you can show a small product image inside the notification. This helps the shopper feel sure about what they just added. Some plugins make it super easy to turn on this feature. It adds a nice visual touch to the cart alert.
Is It Possible to Show Multiple Notifications?
WooCommerce usually shows one message at a time, but you can set it up to show more. This is useful if someone adds several products quickly. You might need a special plugin or custom setup to do this. It helps keep shoppers informed without missing any action.
Will the Notification Work on Mobile?
Yes, most Add to Cart notifications work on phones and tablets too. But you should always test to make sure it looks okay on smaller screens. Some themes or plugins may not adjust well. It’s important that the message is easy to see and read on all devices.
Can I Add a Link in the Notification?
You can add a clickable link inside the notification, like “View Cart” or “Go to Checkout.” This makes it easier for users to move forward after adding something. Some plugins let you change the link or add new ones. It’s a good way to guide shoppers smoothly through the buying steps.
Last Words
Making login mandatory before checkout can give store owners more control and security while helping manage orders better. If you’re wondering how to enable mandatory login for checkout in WooCommerce, simply use the One Page Quick Checkout plugin and toggle the “Force login before checkout” option under the Features tab—no coding required, just a few clicks to activate it.
To help reduce drop-offs, improve the checkout experience by keeping the process fast, offering social logins, and using clear error messages. Small steps like these can boost conversions. Best of luck with your WooCommerce store—may your sales grow and your customer experience shine!