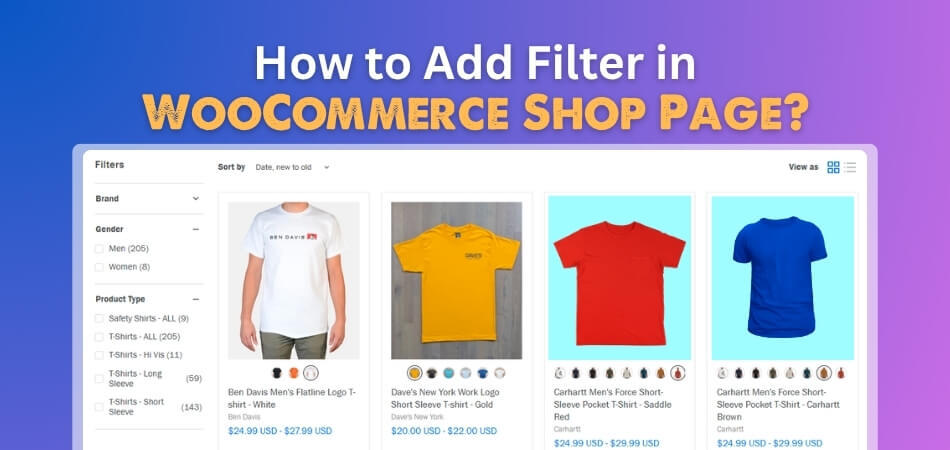
The WooCommerce shop page is where many shoppers start browsing products. To add filter in WooCommerce shop page, place product filters in the shop sidebar, product archive template, custom section, or AJAX filter form so users can narrow results by category, price, rating, stock, tags, brand, or attributes.
In this guide, you’ll learn how to add filter in WooCommerce shop page using widgets, block templates, and AJAX-based methods. You’ll also learn where to place filters, the best position to place filters in the shop page, and how to fix when the shop page filters do not work.
Quick Answer
Filters on the WooCommerce shop page are added by placing filter widgets, blocks, or shortcodes inside the shop layout. The exact method depends on whether your theme uses classic sidebars or block templates.
Use the steps for a basic setup. We’ll cover the advanced setups later in the guide.
- Check whether your theme uses widgets or block templates
- Add filter widgets or blocks to the Shop layout
- Save changes and test filtering on the shop page
What “Shop Page Filtering” Means in WooCommerce
Shop page filtering lets shoppers narrow the main WooCommerce product catalog from the shop page itself. Instead of scrolling through every product, users can refine the product grid by category, price, rating, brand, stock status, attributes, tags, or other filter options.
This makes shop page filters useful for:
- First-time visitors who need a quick way to explore products
- Large catalogs with many product types
- Stores where shoppers browse broadly before choosing a specific product group
- Layouts where the shop page acts as the main product discovery hub
Shop page filters work as an early navigation layer. They help shoppers move from a broad catalog view to a smaller, more relevant product set before opening individual product pages.
Example:
In a store with hundreds of products, a shopper lands on the shop page and uses filters like Category, Price, or Brand to narrow results immediately. This reduces unnecessary scrolling and helps users find relevant products faster.

Check How Your WooCommerce Shop Page Is Built First
Before adding filters, first check how your WooCommerce shop page is controlled by the theme. The setup path changes depending on whether your store uses classic widget areas or a block-based template system.
Two Common Shop Page Setups
| Shop Page Type | How It Works | Where Filters Are Added |
| Classic Theme | Uses sidebars and widget areas to control shop layout | Appearance > Widgets |
| Block Theme | Uses Site Editor templates and blocks for shop layout | Appearance > Editor |
How to Add Filter in WooCommerce Shop Page: Step-by-Step Methods
You can add filter in WooCommerce shop page through widget areas, block templates, or an AJAX filter form once you know how your shop page is built. The best method depends on your theme structure, catalog size, and how much control you need over the filtering experience.
Method 1 (Classic Themes): Add Filters Using Widgets
Classic WooCommerce themes often use sidebars to display product filters beside the shop grid. This method works best when your theme already has a visible shop sidebar, and you only need basic filters such as price, rating, or product attributes.
Step-by-Step Setup (Widgets)
- Go to Appearance > Widgets
- Open the sidebar used for Shop or Product Archives
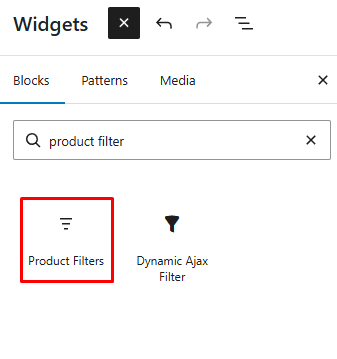
- Add the Product Filters widget to the sidebar
- Adjust the filters you want to keep or remove
- Save the widget area
- Open the shop page and test the filters

When This Method Works Best
- Small to medium stores
- Classic themes with visible shop sidebars
- Stores that only need basic filtering
- Layouts where a sidebar already fits the design
Method 2 (Block Themes): Add Filters Using the Site Editor
Block-based WooCommerce themes manage the shop layout through templates rather than classic sidebars. This method is useful when your shop page is controlled from the Site Editor, and filters need to appear directly inside the product catalog layout.
Step-by-Step Setup (Block Editor)
- Go to Appearance > Editor
- Open Templates
- Select Shop, Product Catalog, or the relevant product archive template
- Add the Product Filters block where the filter area should appear
- Adjust the filter based on your needs
- Save the template
- Test the filters on the shop page

Method 3 (Recommended): Use AJAX Filters on the Shop Page
AJAX filtering is the strongest option when the shop page has many products or several filter types. It lets shoppers combine filters like price, category, rating, stock, tags, attributes, or brand while product results update without reloading the full page.
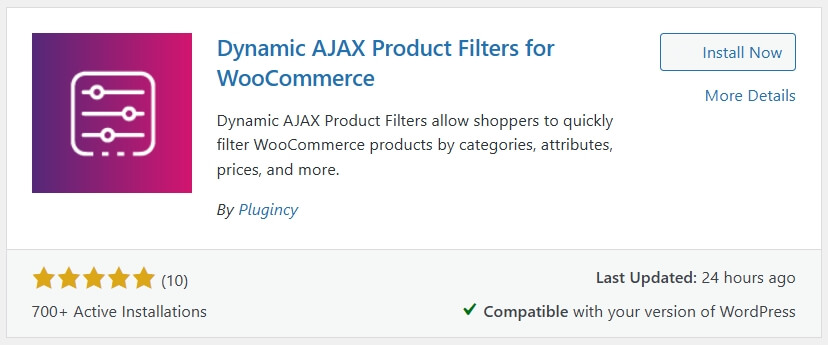
Step 1: Install the Plugin
Start by adding Dynamic AJAX Product Filters for WooCommerce to your store.
Free Version
- Go to Plugins > Add New Plugin
- Search for Dynamic AJAX Product Filters for WooCommerce

- Click Install Now
- Click Activate
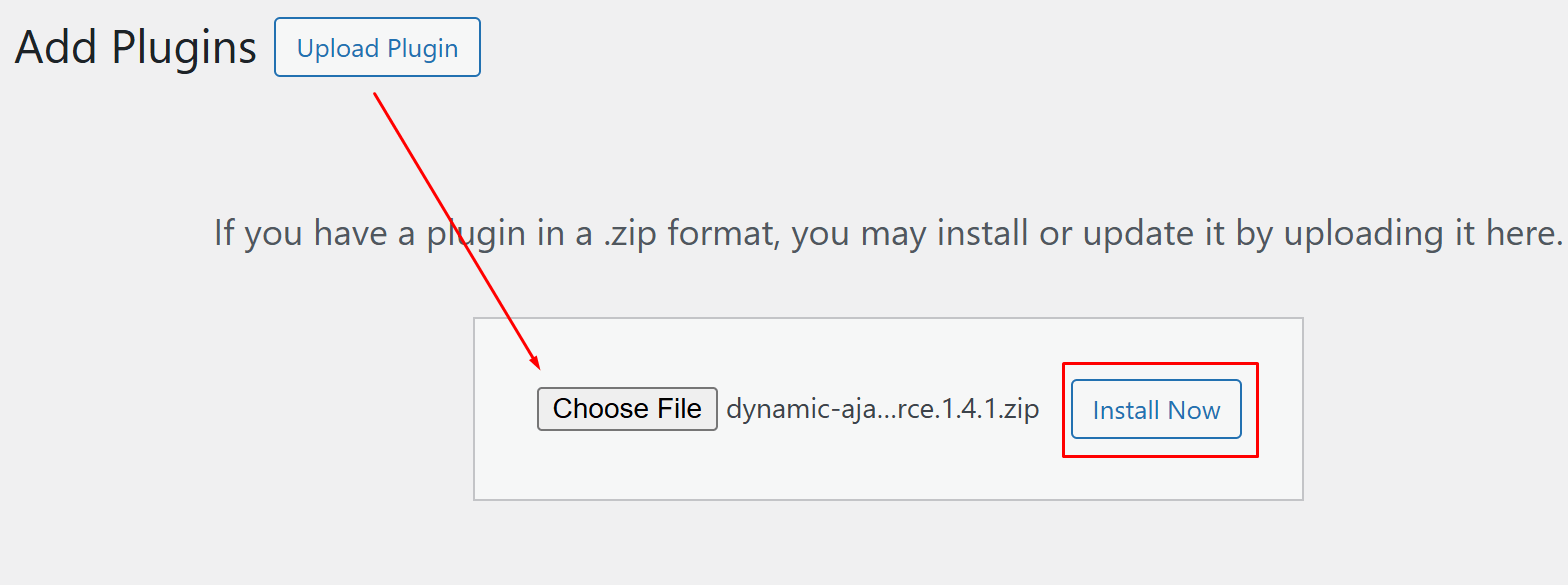
Pro Version
- Download the Pro ZIP file from the official source
- Go to Plugins > Add New Plugin > Upload Plugin
- Upload the ZIP file
- Click Install Now
- Click Activate

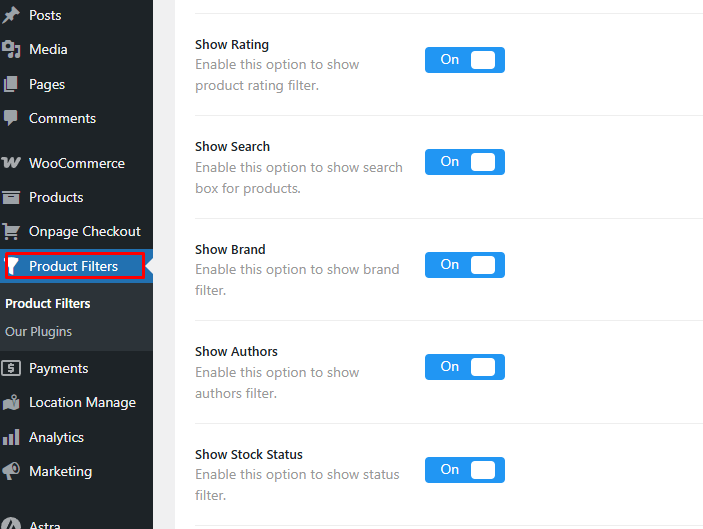
Step 2: Choose Filters for the Shop Page
After activation, decide which filters should appear on the main shop page. Choose only the filters that help shoppers narrow products faster.
- Go to Product Filters > Form Manage
- Open the filter form you want to use
- Enable useful filters such as Brand, Tag, Category, Rating, etc
- Save the form settings

Step 4: Style the Filter Form
Once the filter options are selected, adjust how each filter should appear on the front end.
- Go to Product Filters > Form Style
- Open the style settings for the shop page filter form
- Choose layouts based on the selected style
- Configure AND/OR and other settings based on availability
- Save the style settings


Step 5: Add the Filter to the Shop Page
After the filter form is ready, place it in a visible area of the shop page. The widget method is useful when you want the AJAX filter to appear in a sidebar, header, footer, or WooCommerce widget area.
- Go to Appearance > Widgets
- Decide where the filter should appear on the shop page:
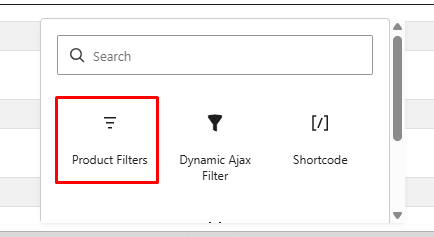
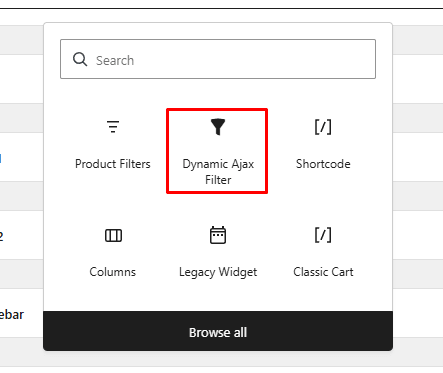
- Find the Dynamic AJAX Filter block or widget
- Add it to your chosen widget area
- Save the widget placement

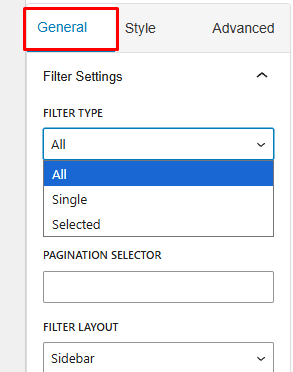
Adjust the Widget Settings
- Open the widget settings from the right-side panel
- Choose the filter type from the General tab

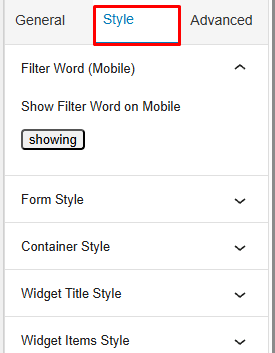
- Adjust available settings from the Style tab

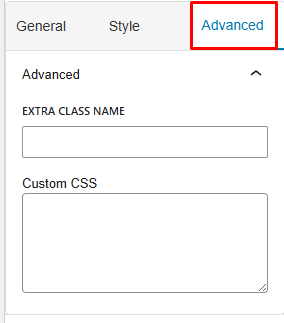
- Add Custom CSS from the Advanced tab if needed

Step 6: Test the Shop Page Filters
Finally, test the filter setup from the storefront before publishing changes widely.
- Open the main shop page
- Select different filter options
- Check whether the products update correctly
- Test multiple filters together
- Confirm pagination and sorting still work properly
Best Method to Choose: Fast Decision Guide
Pick the shop page filter setup based on how many products you sell and how complex the browsing path is. A smaller catalog can work with basic placement, while bigger stores often need AJAX product filters for WooCommerce to handle multiple filter choices without slowing shoppers down.
| Store Type | Recommended Method | Why |
| Small Stores | Widgets or blocks | Quick to set up and simple to maintain |
| Medium Stores | Blocks or AJAX | Gives more control over layout and filter behavior |
| Large Catalogs | AJAX filters | Handles more products, more filters, and faster browsing needs |
Match the method to catalog complexity. Basic layouts work for smaller stores, while AJAX is better for busy shop pages with many products and filter options.
Where to Place Filters on the WooCommerce Shop Page
Filter placement affects how quickly shoppers can narrow products on the WooCommerce shop page. The best position depends on your theme layout, catalog size, screen size, and how many filters you want to show.
Use these placement options to keep filters easy to find without making the shop page feel crowded.
- Left Sidebar: Best for desktop layouts where shoppers expect filters beside the product grid. This works well for category, price, rating, brand, and attribute filters.
- Above Product Grid: Useful when you only need a few high-priority filters. It keeps filtering visible without taking up a full sidebar.
- Off-Canvas Drawer: Best for mobile-heavy stores because filters stay hidden until shoppers open them. This keeps the product grid cleaner on smaller screens.
- Header Area: Helpful when filters should be visible as soon as the shop page loads. Use this for important filters, but avoid adding too many options there.
- Sticky Filter Button: Useful for mobile users who need to reopen filters while scrolling. It makes filtering easier without forcing users back to the top of the page.
- Footer Area: Better for secondary or optional filters. Avoid placing important filters only in the footer because many shoppers may not scroll that far.
SEO Notes for Shop Page Filters
WooCommerce shop filters are mainly browsing tools, not automatic SEO pages. When each filter choice creates a crawlable URL, search engines may find many near-identical shop views with the same products, titles, and intent.
Practical Indexing Rule
Let the main shop page and important collection pages carry SEO value. Keep routine filter results out of the index unless a filtered view is intentionally built as a unique landing page with clear demand, stable content, and a useful product set.
| Page Type | SEO Action | Reason |
| Main Shop Page | Index | Main catalog entry point |
| Core Category Pages | Index | Clear product group intent |
| Basic Filter Results | Noindex | Usually repeats existing shop content |
| Multiple Filter Combinations | Noindex | Can create too many similar pages |
| AJAX Filter States | Keep for UX | Useful for browsing, not ranking |
| Custom Landing Pages | Index only when valuable | Works when content and search intent are unique |
Use WooCommerce shop filters to help shoppers refine products, while keeping SEO focus on the main shop page, category pages, and intentionally created landing pages.
Conversion Tips for Shop Page Filters
Shop page filters can improve WooCommerce conversions when they help shoppers narrow products quickly, compare relevant options, and avoid unnecessary scrolling. Strong filters reduce decision fatigue by showing buyers the products that match their budget, needs, preferences, and purchase intent.
Use these tips to make shop page filtering easier to use and more effective for sales.
- Place High-Intent Filters First: Put the most useful filters near the top, such as category, price, brand, size, stock, or rating.
- Keep the Filter List Focused: Avoid showing every possible filter. Too many options can slow down decision-making and make the shop page feel crowded.
- Use AJAX for Faster Browsing: Let product results update without full page reloads, especially when shoppers combine multiple filters.
- Add a Clear Reset Option: Make it easy for shoppers to remove selected filters and return to the full product list.
- Hide Empty Filter Values: Remove filter choices that return no products so shoppers do not run into dead-end results.
- Make Mobile Filtering Simple: Use a drawer, dropdown, sticky filter button, or collapsible layout so filters do not push products too far down.
- Match Filters to Buying Intent: Use price for budget, rating for trust, stock for availability, attributes for product details, and tags for discovery.
- Test Filter Order Regularly: Review clicks, searches, and sales data to see which filters shoppers use most, then move those filters higher.
Troubleshooting: When Shop Page Filters Are Not Working
Shop page filters usually fail because the filter area is connected to the wrong layout, the theme uses a different shop template, or the selected filter method does not match how the page is built. Start by checking whether your store uses widgets, Site Editor templates, shortcodes, or AJAX filters.
| Problem | Likely Cause | Fix |
| Filters Are Not Showing | Added to the wrong sidebar or template area | Check whether the shop page uses Appearance > Widgets or Appearance > Editor |
| Filters Only Work on Category Pages | Main shop template does not include the filter area | Edit the shop or product catalog template and add the filter there |
| Products Reload After Every Selection | Filtering is not using AJAX | Enable AJAX filtering or use an AJAX filter plugin |
| Filters Do Not Appear in Custom Layouts | Widget or block placement is not supported in that section | Use a shortcode-based filter placement |
| Filter Options Look Empty | Product data is missing or not connected to the filter source | Check categories, attributes, tags, stock, rating, or brand data |
| Mobile Filter Layout Looks Broken | Filter area is too wide, long, or not collapsible | Use a drawer, dropdown, collapsible group, or sticky filter button |
Most WooCommerce shop page filter issues come from mismatched layout placement, missing product data, non-AJAX behavior, or theme/template limitations.
FAQs: Shop Page Filters in WooCommerce
Store owners often need more than basic setup steps when adding filters to the main WooCommerce catalog. These FAQs cover practical details about multiple filters, mobile layouts, empty results, page builders, and search behavior.
Can I Add Multiple Filters to the WooCommerce Shop Page?
Yes, you can add multiple filters to the WooCommerce shop page, such as price, category, rating, brand, stock, attributes, and tags. For larger catalogs, AJAX filtering is usually better because shoppers can combine several filters more smoothly.
Should Filters Appear on Mobile Devices?
Yes, filters should be available on mobile, but they should not take too much space above the product grid. A drawer, collapsible panel, dropdown, or sticky filter button usually works better for smaller screens.
Why Do Some Filter Options Show No Products?
Filter options may show no products when the related product data is missing, hidden, or not assigned correctly. It can also happen when a filter value exists, but no visible products match that value.
Can Filters Work With Page Builders?
Yes, filters can work with page builders if your filter plugin or extension supports shortcode, widget, or block placement. For custom product layouts, shortcode-based placement is often the most flexible option.
Do Filters Replace Product Search?
No, filters and search serve different purposes. Filters help shoppers narrow visible products by selected options, while search helps users find products by typing specific keywords, names, or phrases.
End Note
Strong filtering turns the shop page from a broad product list into a guided browsing path. Instead of adding every possible filter, focus on the options that help shoppers decide faster, such as product type, price range, availability, rating, brand, or key product details.
Understanding how to add filter in WooCommerce shop page helps you build that path with the right setup method. Keep the filter area easy to find, avoid layout clutter, and use AJAX filtering when the catalog needs quicker, more flexible product refinement.