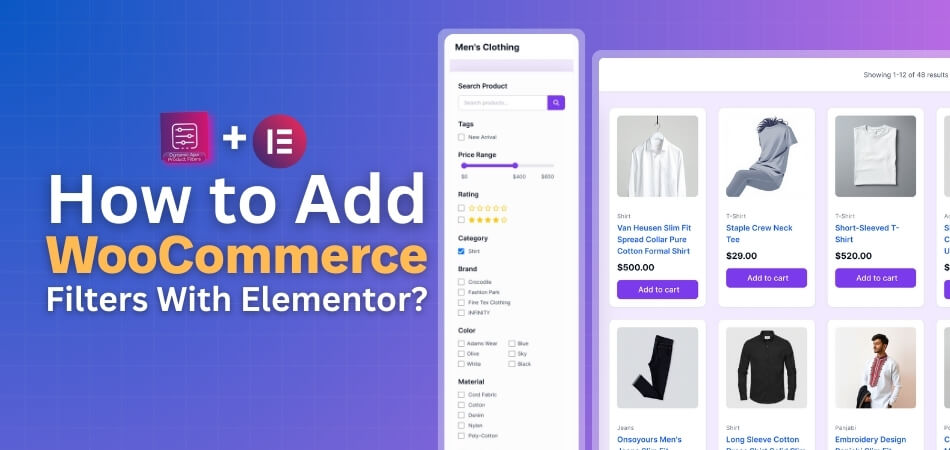
Elementor is a popular page builder that helps design WooCommerce stores with drag-and-drop tools. It allows you to place filters, product grids, and other elements anywhere on your page. Many store owners want to make it even more flexible and often wonder how to add WooCommerce product filters with Elementor.
Add WooCommerce product filters with Elementor by installing the Dynamic AJAX Product Filters plugin. In Elementor, create a two-column layout, drag the filter widget to the left, and add a [[products]] shortcode or product widget to the right. Publish the page to enable live, reload-free filtering.
If you’re curious about improving your store design and making product search smoother, this article covers everything you need. It explains setup steps, filter types, and ways to fix common issues so your WooCommerce store runs fast and looks neat on every device.
How to Add WooCommerce Product Filters With Elementor?
You can add WooCommerce product filters using Elementor, but the built-in filter options are quite limited and don’t allow much customization. To get more control over design, layout, and filtering style, it’s better to use a dedicated plugin. For this setup, we’ll use the Dynamic Ajax Product Filters plugin, one of the most flexible tools for creating and styling product filters for WooCommerce. This plugin helps you design filters that not only look good but also improve the shopping experience by showing results instantly without reloading the page.
Before setting up the filters, make sure the Elementor plugin is installed and active.
Step 1: Install Elementor
If you don’t have Elementor installed yet, here’s how you can do it:
- Go to your WordPress Dashboard → Plugins → Add New
- In the search bar, type Elementor
- Click Install Now, then Activate
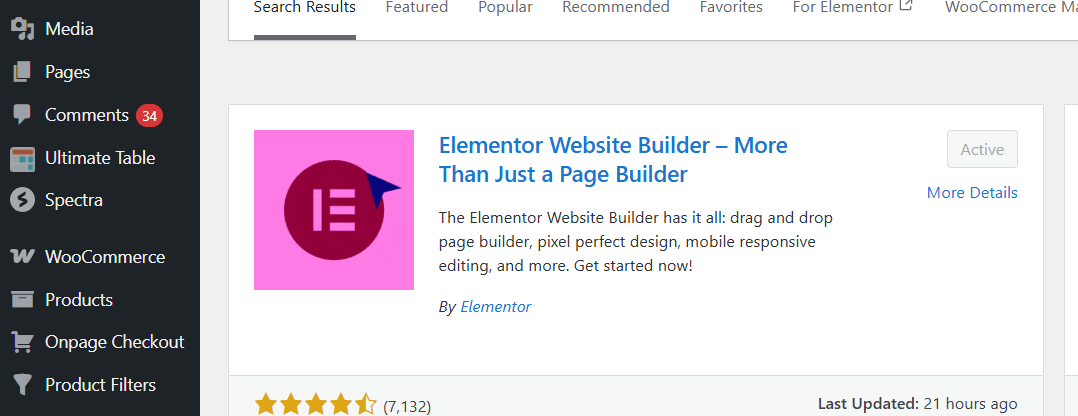
Once Elementor is active, you can start designing your pages with drag-and-drop elements.
Step 2: Install the Dynamic Ajax Product Filters Plugin
This plugin comes in both free and pro versions. You can choose whichever suits your store’s needs.
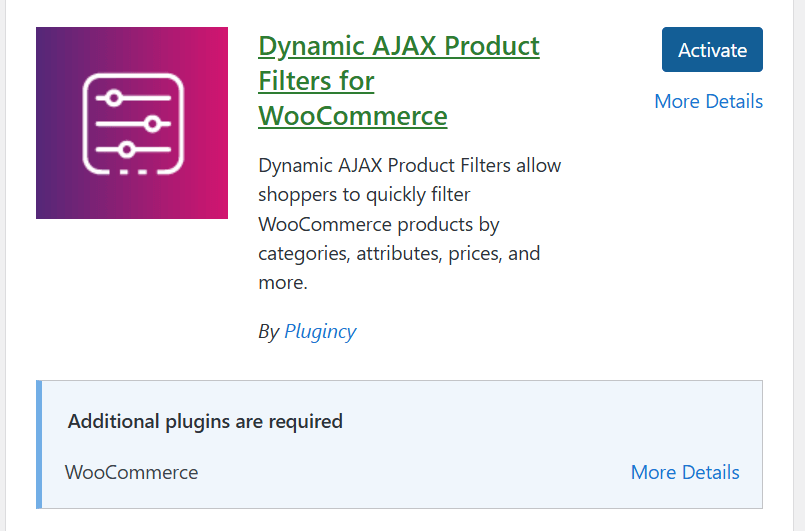
Free Version
- Go to Plugins → Add New Plugin
- Type Dynamic AJAX Product Filters for WooCommerce in the search bar
- Click Install Now, then Activate
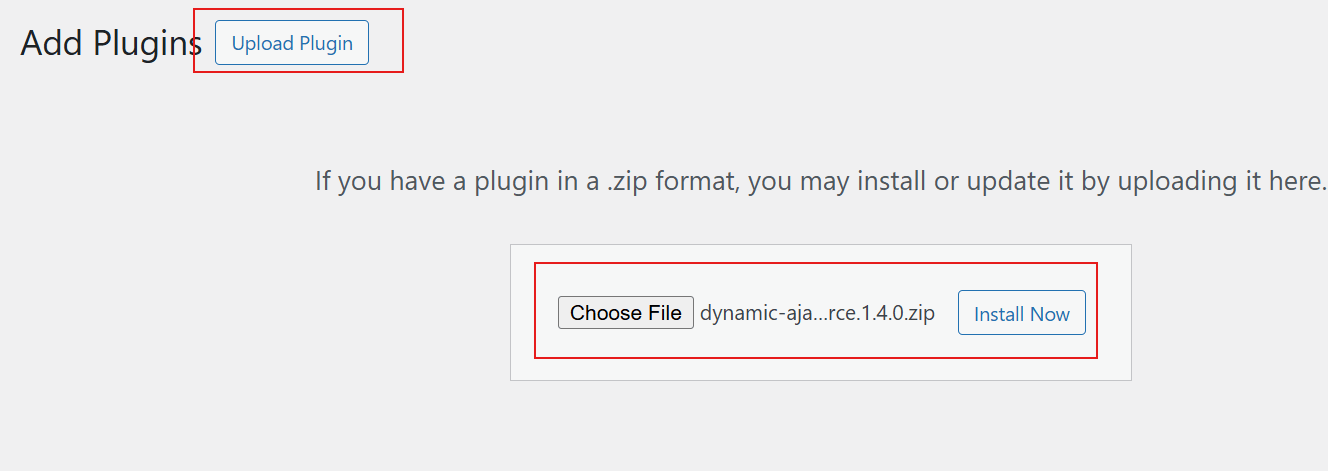
Pro Version
If you’ve purchased the premium version, follow these steps:
- Go to Plugins → Add New Plugin
- Click Upload Plugin
- Choose the plugin ZIP file from your computer
- Click Install Now, then Activate
After activation, both Elementor and the filter plugin will be ready to use together.
Step 3: Add Product Filters Using Elementor
Once everything is installed, you can start adding filters directly on your product page.
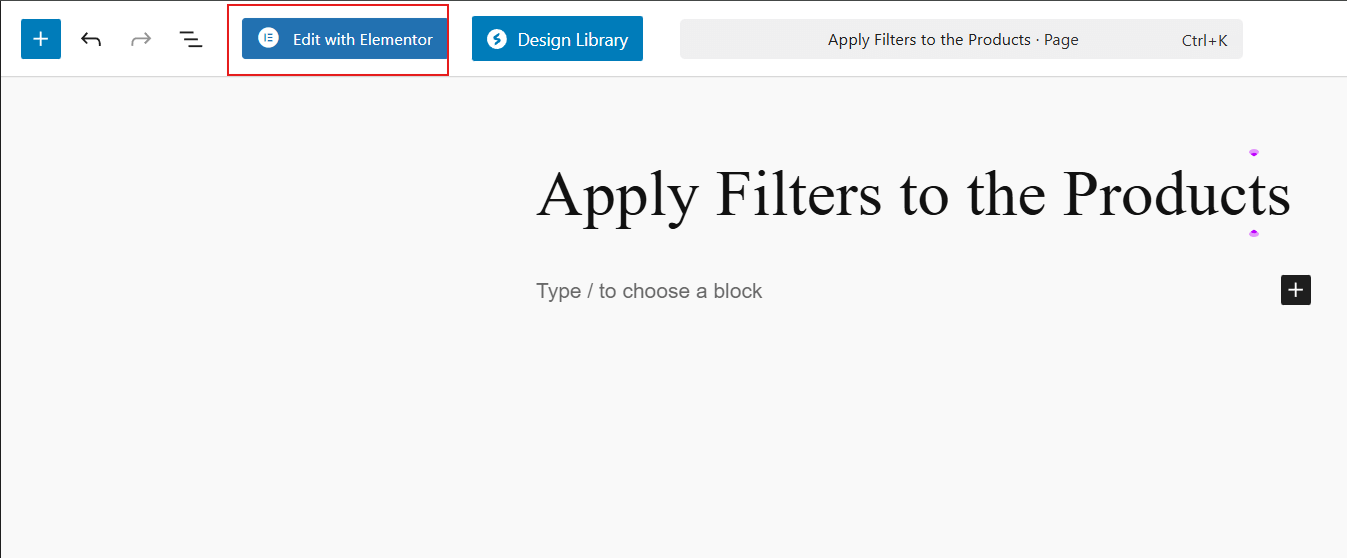
- Go to Pages → All Pages, or create a new page for your shop.
- Click Edit with Elementor to open the page editor.

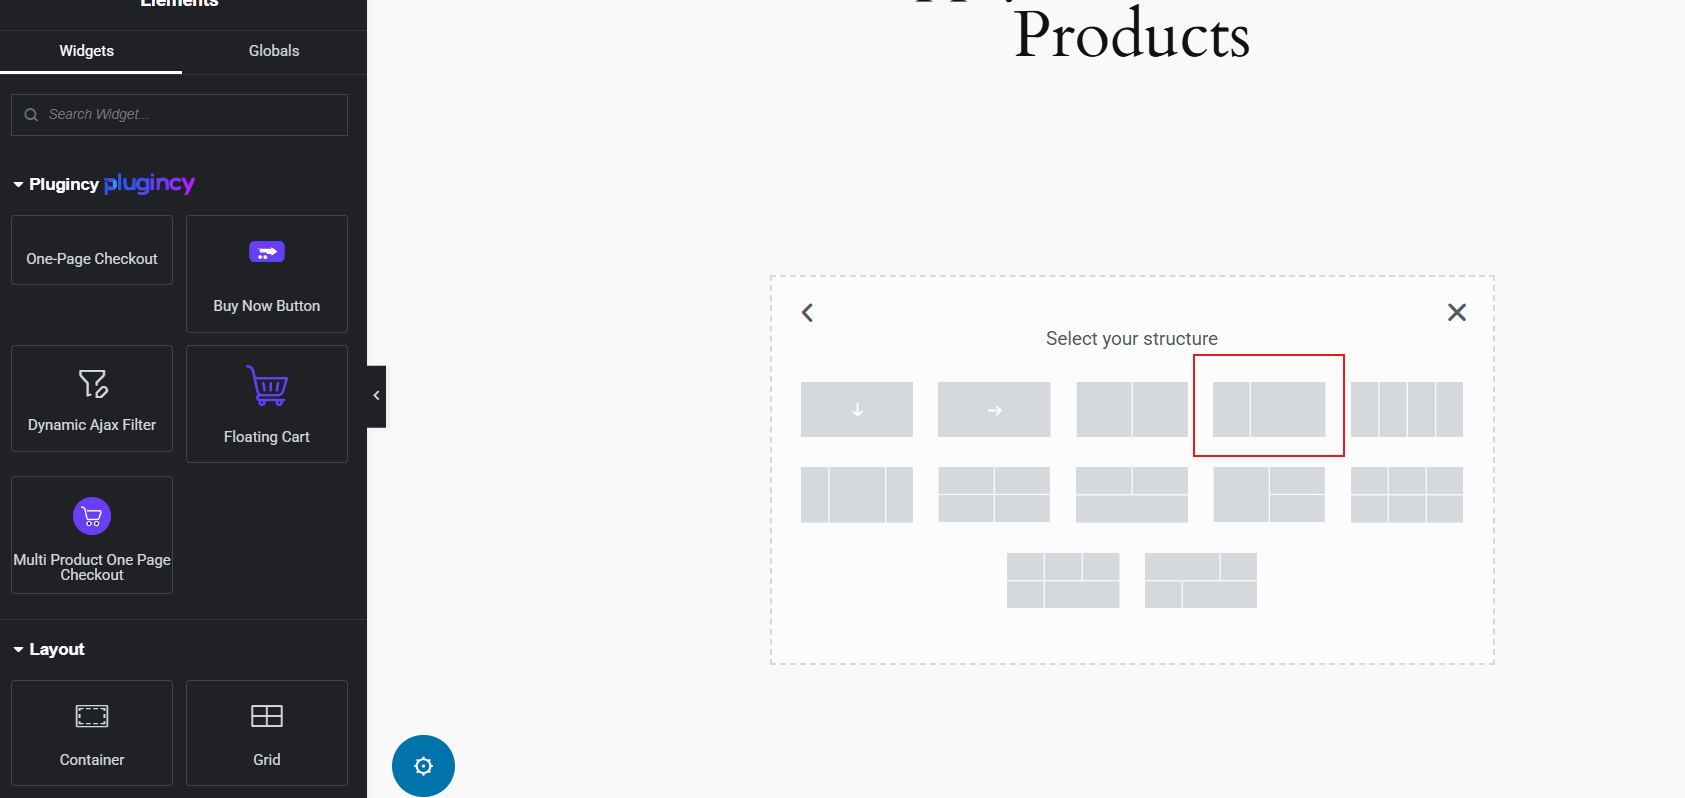
- Inside Elementor, click the ( + ) icon to add a new section.
- Choose Flexbox layout and pick your desired structure — for example, the fourth layout option, which gives you two columns.
Now you’ll set up one side for filters and the other for products.
Step 4: Add the Filter Block
- Click the ( + ) icon in the left column.
- Search for the Dynamic Ajax Filter in the Elementor widgets list.
- Drag and drop it into the left column.
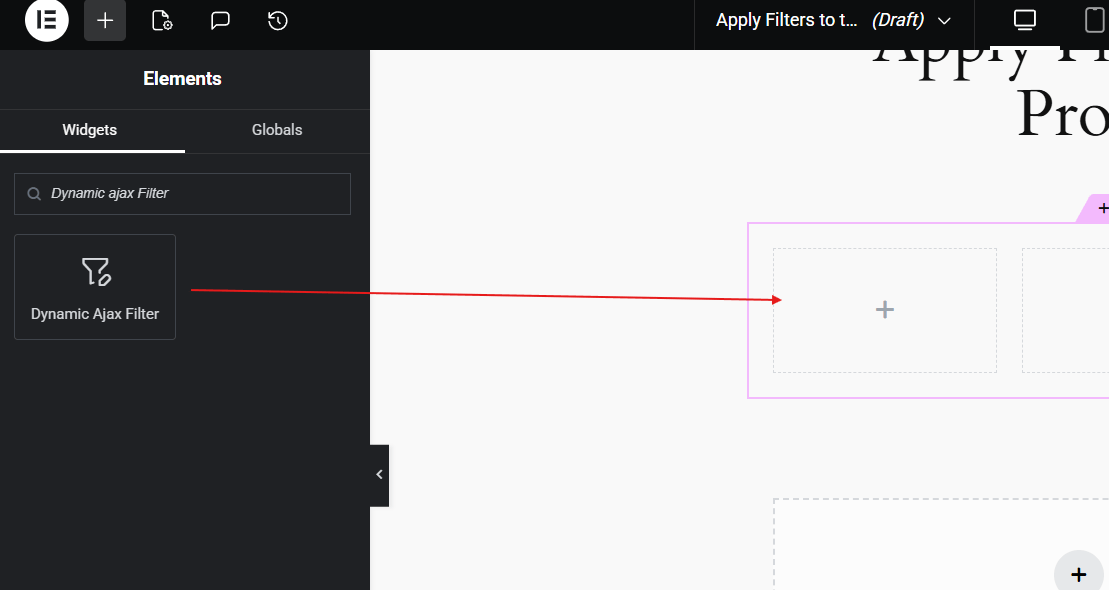
This block will show your product filters. You can later customize it from the plugin’s settings or through Elementor’s styling options.
Step 5: Add the Product Block
Next, display your products beside the filters.
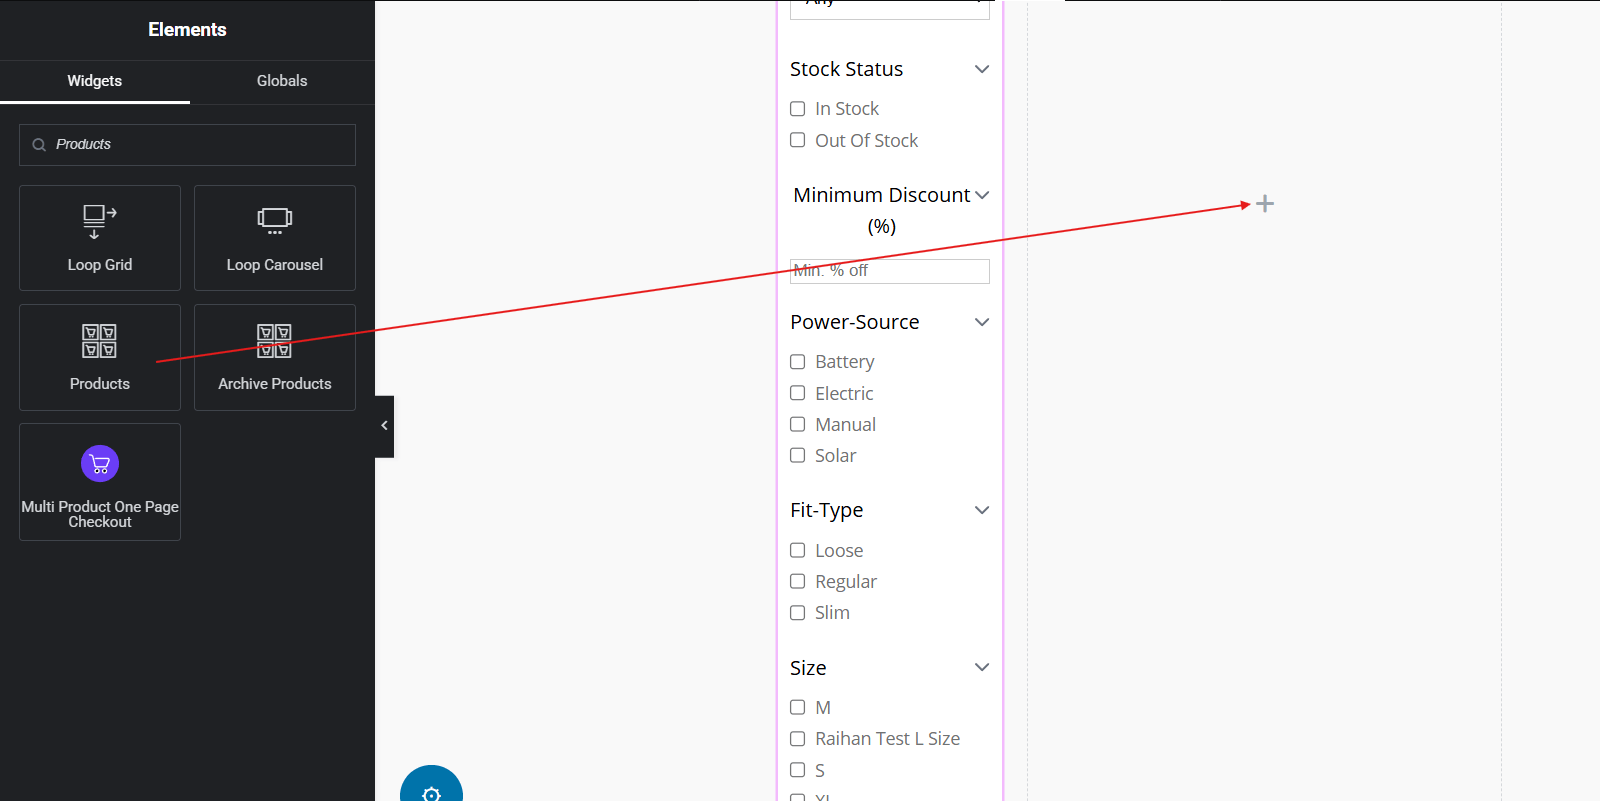
- Click the ( + ) icon in the right column.
- Search for the Products block.

- If it’s unavailable or requires the premium version, use a Shortcode block instead.

- Drag and drop the Shortcode block and paste this code: [[products]]
![Drag and drop the Shortcode block and paste this code [[products]]](data:image/svg+xml;base64,PHN2ZyB4bWxucz0iaHR0cDovL3d3dy53My5vcmcvMjAwMC9zdmciIHdpZHRoPSIzODMiIGhlaWdodD0iMzI1IiB2aWV3Qm94PSIwIDAgMzgzIDMyNSI+PHJlY3Qgd2lkdGg9IjEwMCUiIGhlaWdodD0iMTAwJSIgc3R5bGU9ImZpbGw6I2NmZDRkYjtmaWxsLW9wYWNpdHk6IDAuMTsiLz48L3N2Zz4=)
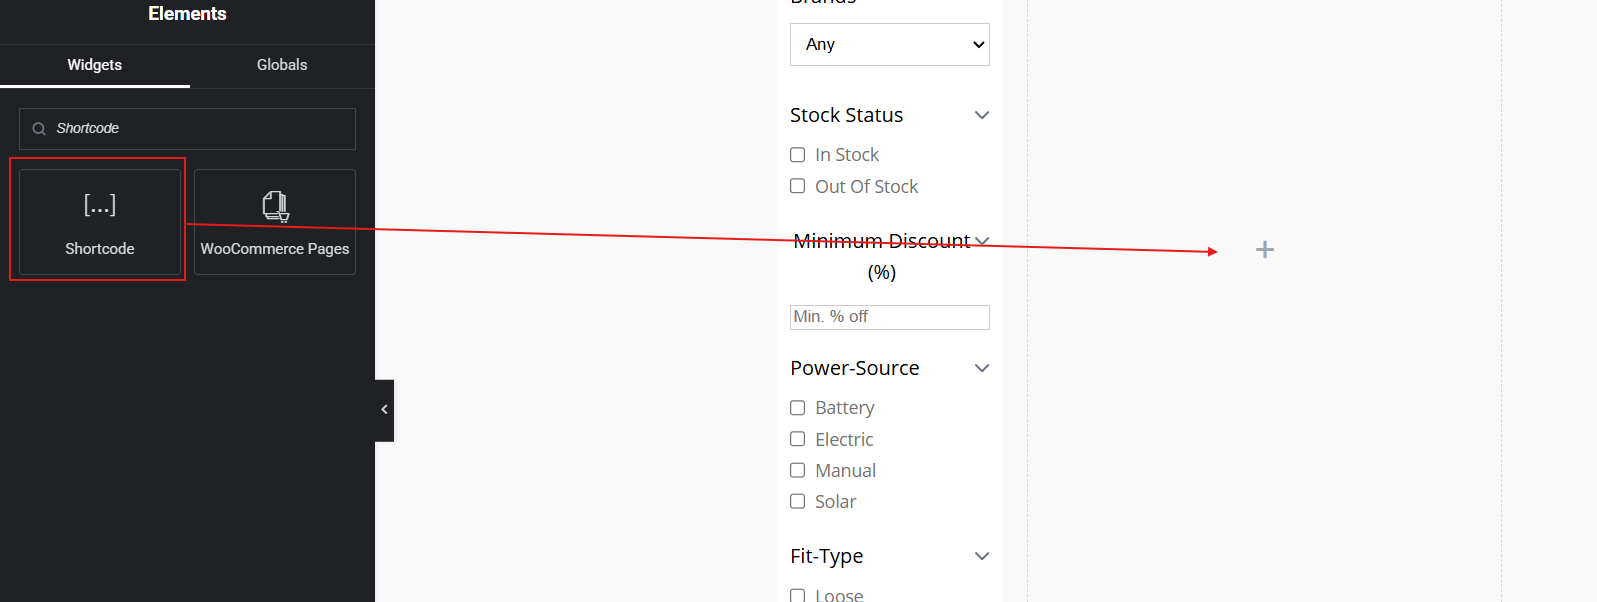
![Drag and drop the Shortcode block and paste this code [[products]]](https://plugincy.com/wp-content/uploads/2025/11/Drag-and-drop-the-Shortcode-block-and-paste-this-code-products.png)
(Remember to remove any extra square brackets if you see them.)
You’ll now see your products displayed alongside your filters in real time.
Step 6: Final Adjustments
Once you’re satisfied with how your filters and products look:
- Click Publish (or Update) to save your changes.
- Visit the page to test your filters; they should load products instantly without reloading the page.
Note on Themes
This guide is based on the Astra theme, which works smoothly with Elementor and the Dynamic Ajax Product Filters plugin. If you’re using another theme, some options or layouts may appear slightly different. Before you begin, check your theme’s compatibility with Elementor to make sure filters and product blocks display correctly.
Benefits of Adding Product Filters in WooCommerce Store with Elementor
Adding product filters in a WooCommerce store helps people find things faster. It lets shoppers sort products by size, price, color, or brand. When you build your store with Elementor, filters fit perfectly with your design. Keep reading to see how filters make your WooCommerce store work better.
Makes Product Search Easier
Filters help shoppers find what they want without scrolling too much. They can quickly choose the exact features or price range they like. This saves time and makes shopping simple. People stay longer when they get quick results. Easy searching leads to happy customers who return again.
Keeps Store Design Clean
Using Elementor, filters blend smoothly with your page layout. They can sit neatly on the side or under the main menu. This keeps your store looking tidy and well-arranged. A clean design helps people focus on products instead of getting distracted. A clear layout always feels more professional.
Improves User Experience
Well-placed filters make shopping feel simple and friendly. Shoppers can explore items step by step without confusion. They enjoy choosing from clear options that make sense. Smooth filter use builds trust and comfort. When people feel relaxed, they are more likely to buy.
Increases Sales Conversions
Quick and easy product search turns visitors into buyers. Filters help them reach what they want in fewer clicks. This reduces the chance of leaving the page early. Clear results also boost buyer confidence. A faster shopping path means more successful checkouts.
Works Well On All Devices
Elementor filters fit perfectly on both large and small screens. On phones, collapsible or dropdown filters save space. People can use them with simple taps instead of scrolling too much. Mobile-friendly filters improve usability. A smooth mobile setup helps every visitor enjoy your store.
Product filters are one of the easiest ways to improve shopping. They save time, keep designs clean, and help buyers stay focused. When used with Elementor, they look modern and blend naturally with your pages. Try adding them to make your WooCommerce store smarter and easier to shop in.
What Types of Product Filters Can You Add in Elementor?
Elementor makes it easy to design product pages that look clean and simple. You can add different filters to help shoppers find items faster. These filters guide people to what they want without too much scrolling. Read below to learn about the main filter types you can use in Elementor.
Price Filters
This filter lets users set a price range that fits their budget. It helps shoppers skip products that are too high or too low in cost. A simple slider or number box makes it easy to adjust prices. This tool keeps browsing quick and helps customers find what they can afford.
Category Filters
Customers can use category filters to view only specific product types that interest them. You can set them for sections like clothing, shoes, or electronics. This keeps your shop organized and helps users reach what they want faster. Elementor allows you to create product filters for categories, prices, attributes, and ratings. You can also apply filters on product grids to display only items that match a customer’s chosen preferences, improving the browsing experience.

Attribute Filters
Products are sorted using attribute filters according to specifics like material, color, or size. Shoppers can pick what they want without going through all the products. This makes the shopping process smoother and saves time. Clear options help users make quick choices that match their needs.
Rating Filters
Customers can use rating filters to select products with the highest number of positive reviews. People often look for highly rated items before buying something new. Adding this filter builds trust and helps them find top-quality products. It also highlights your best-performing items, which can boost sales.
Stock Status Filters
This filter shows which products are in or out of stock. Shoppers can avoid unavailable items and focus only on what’s ready to buy. It keeps your store more transparent and prevents frustration. Customers appreciate knowing right away if something can be purchased.
Using the right filters in Elementor makes online shopping faster and easier. They help people find what they want without getting lost in long product lists. A clear filter setup also makes your store look tidy and well-organized. Try using these filters to give your customers a smoother shopping experience.
Common Issues When Adding Product Filters in Elementor
Adding product filters in Elementor can sometimes cause small display problems. Filters might not update items right away or may stop showing results. These issues can make your store look broken or slow to visitors. Let’s go through the common issues and how to fix them fast.
Filters Not Updating Products
One of the most common issues is when filters fail to refresh results. This often happens if AJAX settings are turned off or misconfigured. You can fix it by enabling AJAX in your filter plugin. Sometimes, filters may not display properly due to theme conflicts or caching problems. If you’ve previously tried using filters in Gutenberg, you’ll notice that Elementor offers more visual control but can still face similar compatibility issues that need troubleshooting.
Plugin Conflicts
When two plugins use the same scripts, it can cause filter errors. Try disabling other plugins one by one to find the issue. Once the problem plugin is found, you can update or replace it. Keeping all plugins updated reduces these clashes and helps filters load the right products.
Theme Compatibility
Some WordPress themes change WooCommerce layouts or script files. This can stop your filters from working correctly. You can switch to a default theme like Storefront for testing. If the filters work fine there, the issue is inside your main theme and may need small code fixes.
Caching Problems
Caching speeds up page load time but can sometimes interfere with live filter updates. When you notice filters showing old products, clear both your website and browser cache. Exclude your shop page from caching if possible. Doing this ensures filters always show current results without delay.
Wrong Filter Placement
Filters added in the wrong Elementor section can fail to link properly. Make sure your filter widget is placed inside a WooCommerce product archive template. If not, it might not detect or update product grids. Fixing the placement often restores normal filtering right away.
Elementor filters can make your shop look clean and easy to use. But small setup mistakes can cause display or loading problems. Always check plugin settings, theme updates, and cache tools first. These small steps can keep your filters smooth and your store running well.
Tips to Keep WooCommerce Store Speed Optimized After Adding Filters With Elementor
Too many filters can make a WooCommerce store slow and clunky. Each filter adds more work for the site to load and display products. A few smart steps can keep everything fast and smooth. Try these simple tips to keep your Elementor store running better.
- Limit Active Filters: Keep only useful filters visible so pages load faster, and avoid unnecessary layers that slow down the system during product searches.
- Use Caching Plugins: Caching saves data for quick loading, reducing repeated work for your site and helping filters show results much faster.
- Compress Images: Large product photos take time to load, so compress them to smaller sizes without losing quality and improve filter performance.
- Optimize Database Queries: Clean old records and reduce heavy queries that run every time filters load, helping your store respond much quicker.
- Enable Lazy Loading: Load images and product lists only when users scroll, which saves time and makes filters work smoothly on mobile devices.
- Avoid Overlapping Widgets: Too many Elementor widgets running together can clash and slow filters, so use only the ones that truly serve a purpose.
- Use a Good Hosting Plan: Shared hosting may slow filters during high traffic, so upgrade to a reliable plan for faster filter response.
Fast filters help users find what they want easily. When the site runs smoothly, visitors stay longer and buy more. Keep your WooCommerce store clean, light, and updated for better results.
FAQs About How to Add WooCommerce Product Filters With Elementor?
Adding product filters with Elementor makes your WooCommerce store easier to use. Still, many people have small doubts about setup, use, and customization. These FAQs will help you understand how to add and manage filters the right way. Read below to clear your common questions simply and quickly.
What Is The Main Benefit Of Adding WooCommerce Product Filters With Elementor?
Product filters make shopping faster and easier for your customers. They help people sort items by price, size, color, or brand. Elementor makes it simple to place these filters wherever they fit best on your page. When used well, they make your store cleaner and more user-friendly.
Do I Need A Plugin To Add Product Filters In Elementor?
Yes, Elementor’s built-in filters are very basic and limited. To get better designs and live results, you need a plugin like Dynamic Ajax Product Filters for WooCommerce. This plugin helps you create advanced filters that load instantly. It also lets you customize layouts, colors, and filter styles easily.
Can I Add Product Filters On Any Page Using Elementor?
Yes, you can place product filters on any page created with Elementor. You can add them to your shop page, category pages, or even custom pages. Just drag the filter widget into your chosen section. This flexibility helps you design pages that look neat and fit your store’s layout.
How Do WooCommerce Product Filters Improve The Shopping Experience?
Filters let customers find items quickly without scrolling through long lists. They can select exactly what they want in just a few clicks. This reduces confusion and helps them enjoy shopping more. A smooth search experience also increases the chance of making a sale.
Can I Style Product Filters To Match My Elementor Design?
Yes, you can match the filter design to your website’s look easily. Elementor and the Dynamic Ajax Product Filters plugin let you change colors, fonts, and layouts. You can also adjust spacing and icons to fit your theme. This keeps your store design clean and professional.
Do Product Filters Work On Mobile Devices With Elementor?
Yes, they work well on all screen sizes, including phones and tablets. You can make filters collapsible or dropdown-style to save space. This makes it easier for people to use them with simple taps. A mobile-friendly design helps every visitor browse comfortably.
How Can I Test If My Product Filters Work Correctly?
After setting them up, visit your shop page and test the filters. Try using each option to see if products update instantly. Check both desktop and mobile views for smooth performance. Testing helps you catch small issues early and keeps your store running well.
Can I Combine Multiple Filter Types In Elementor?
Yes, you can use many filters together, like price, color, and brand. Combining filters gives customers more control over what they see. Just make sure your layout stays clean and easy to follow. Too many filters at once can confuse people, so keep it balanced.
Bottom Line
Adding product filters with Elementor helps your WooCommerce store look neat and easy to use. It also makes product searches faster and more enjoyable for visitors. You can set them up by installing Elementor, adding the Dynamic Ajax Product Filters plugin, and connecting filters with your product grid. This simple setup gives a quick and complete answer to how to add WooCommerce product filters with Elementor.
Once your filters are live, check them on both desktop and mobile to be sure they work smoothly. Update plugins often, avoid too many widgets, and clear your cache for better speed. A clean and steady layout keeps shoppers happy and helps your store run well. Keep improving your design, and best of luck with your WooCommerce store.