
This guide adds a WooCommerce product slider to a page in about five minutes with Slidario: pick the products, choose a style, publish, and place it with a block or a shortcode. No code is needed, and the slider takes your theme’s colours and buttons on its own.
Step 1: Open the builder
Go to Slidario → Add new, or click a type under Create a slider on the dashboard. Give the slider a name, for example Best sellers.
Step 2: Choose Products as the slider type

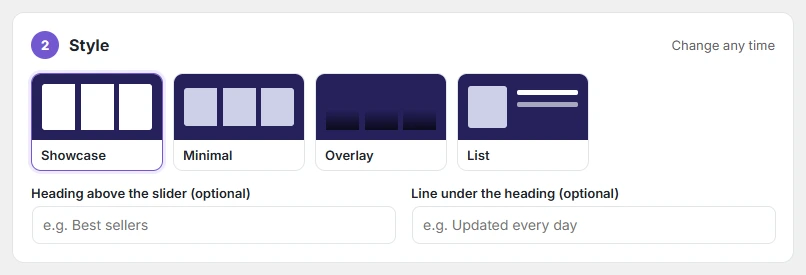
Step 3: Pick a style
Products has four styles: Showcase and Minimal are free, Overlay and List are Pro. Add an optional heading above the slider, such as Best sellers.
Step 4: Choose which products to show
Under Products from, choose for example On sale or Best sellers. The slider updates itself when products change. All 15 sources are explained in creating a WooCommerce product slider.
Step 5: Check the preview and publish
The Live preview on the right shows the slider on desktop, tablet and phone. Click Publish. The preview card now shows the shortcode, for example [slidario id="64"].

Step 6: Put it on a page
Edit the page, add the Slidario block and choose your slider, or paste the shortcode. Page builders are covered in using Slidario in Elementor, Bricks, Divi and other builders. With Pro, auto-placement can show it on every product, shop or cart page without a shortcode.

