Installation (Free Version)
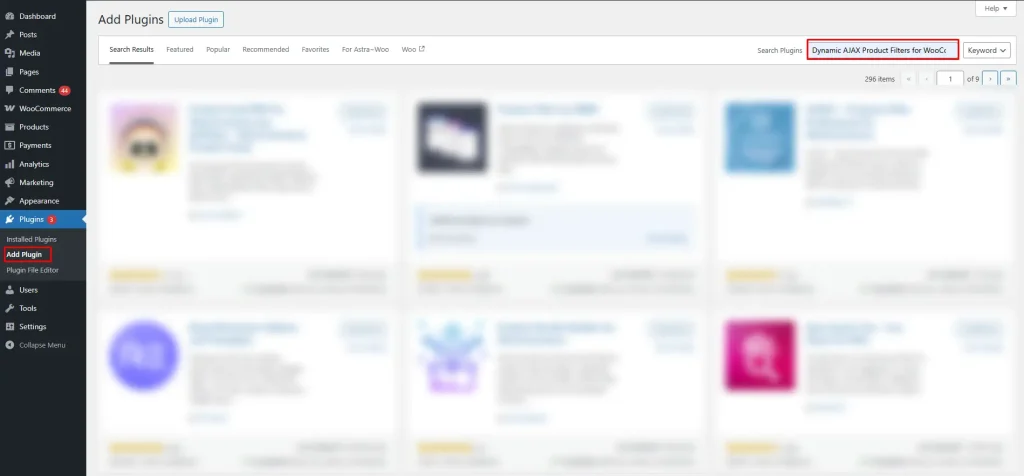
- Go to the WordPress Admin Dashboard -> Plugins
- Click “Add New Plugin”
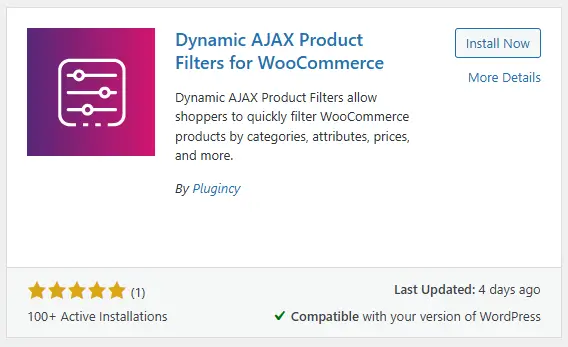
- In the search bar, type “Dynamic AJAX Product Filters for WooCommerce”.
- Click “Install Now” and “Activate”
Installation (PRO Version)
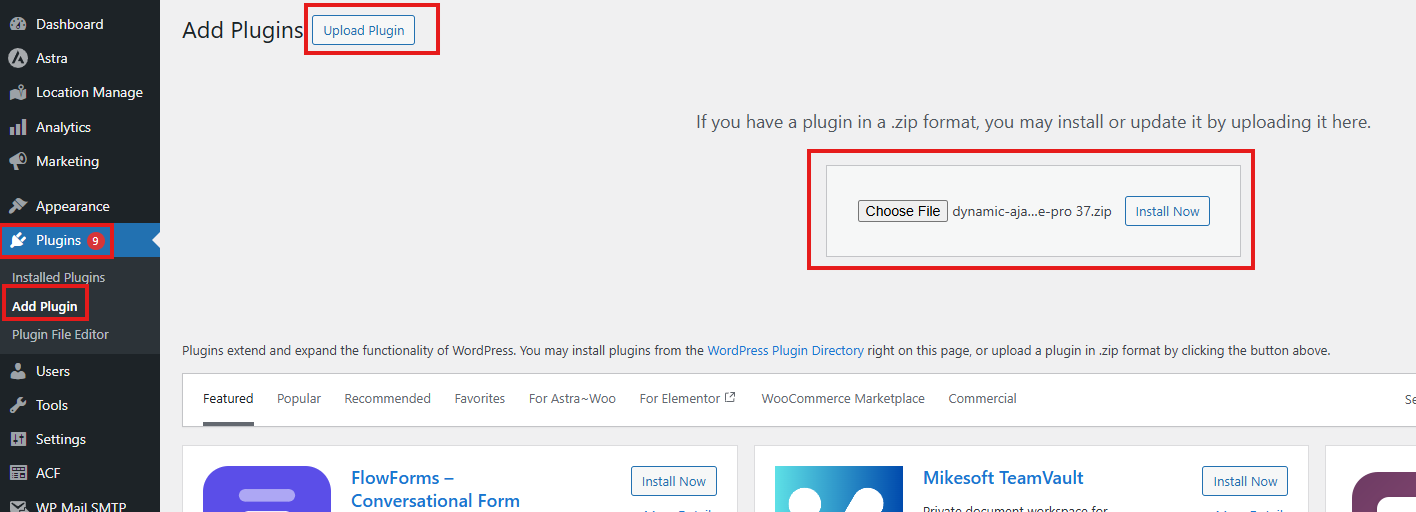
- Go to Plugins.
- Click Add New Plugin.
- Select Upload Plugin.
- Click Choose File and select the plugin ZIP.
- Click Install Now and then Activate.
Activate Product Filter & License
- After activation, you will see a new menu called Product Filter in the dashboard.
- Click on Product Filter, then navigate to Plugin License.
- Enter the plugin license key you received via email at the time of purchasing the plugin.
- Click Install and Update Pro to activate the Pro version and receive updates.
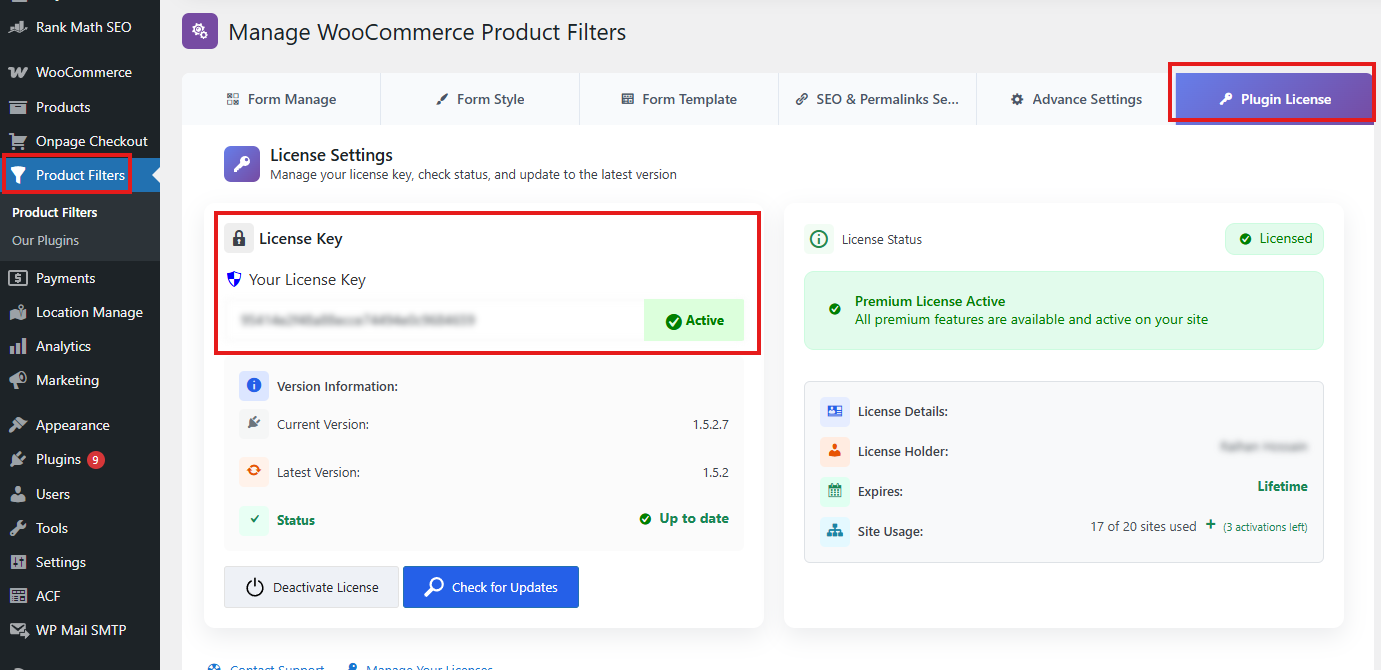
Verify Installation
Once the license is activated successfully, all Pro features will be unlocked, and the plugin will be ready to use.
Manual Plugin Installation Using FTP
If you prefer to install the Dynamic AJAX Product Filters for WooCommerce plugin manually using FTP, follow these steps:
- Download the Plugin:
- Download the plugin ZIP file from the WordPress repository or your account.
- Extract the ZIP File:
- Unzip the downloaded file on your local computer. This will create a folder named something like
dynamic-ajax-product-filters.
- Unzip the downloaded file on your local computer. This will create a folder named something like
- Connect to Your Server via FTP:
- Use an FTP client (like FileZilla) to connect to your web server. Enter your FTP credentials (host, username, password, and port).
- Upload the Plugin Folder:
- Navigate to the
/wp-content/plugins/directory on your server. - Upload the extracted plugin folder (
dynamic-ajax-product-filters) to this directory.
- Navigate to the
- Activate the Plugin:
- Go to your WordPress dashboard.
- Navigate to Plugins > Installed Plugins.
- Find the Dynamic AJAX Product Filters for WooCommerce plugin in the list and click Activate.
- After activation, you will see a new menu called Product Filter in the dashboard.
- Click on Product Filter, then navigate to Plugin License.
- Enter the plugin license key you received via email at the time of purchasing the plugin.
- Click Install and Update Pro to activate the Pro version and receive updates.
Your plugin is now installed and activated!