
All sections
Getting StartedForm ManageFilters ByDisplaying FiltersFilter Design & StylingSearch, Sorting & PaginationAdvanced Filter Logic & Query BehaviorSEO & Filter URLsMobile & User ExperienceCompatibilityImport, Export & ResetAdvanced SettingsForm TemplatesDeveloper DocumentationTroubleshooting & DebuggingApply & Reset Button
Updates bring fixes and improvements, so it is worth keeping the plugin current. Updating does not remove your filter settings. If your shop is busy, take a backup first and update at a quiet time.
Update from your dashboard (the easy way)
- Go to Plugins > Installed Plugins.
- When an update is ready, you see a notice under the plugin’s name.
- Click Update Now and wait for it to finish.
Updating the Pro version
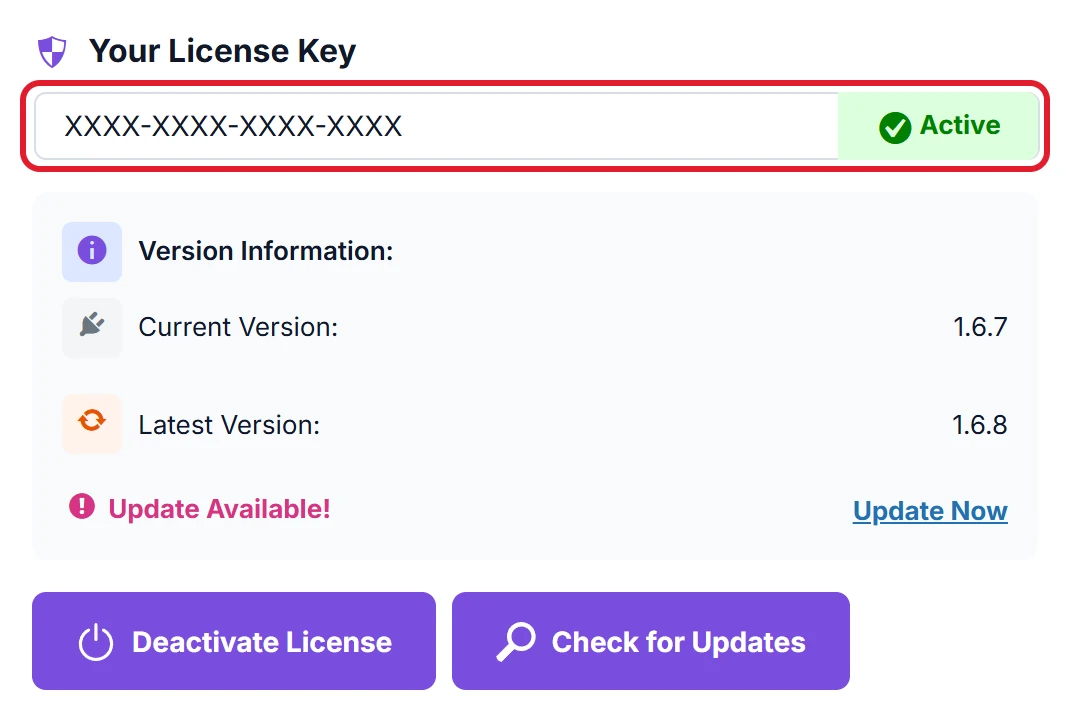
Pro updates need an active licence. To check for one, go to Product Filters > Plugin License and click Check for Updates. The box shows your current and latest version. Our guide to activating your Pro licence helps if the key is not active yet.
Update by uploading a ZIP file
Use this if the button does not appear or the update fails.
- Download the latest ZIP file. The free version is on the WordPress plugin directory, and Pro is in your Plugincy account under Orders.
- Go to Plugins > Add Plugin > Upload Plugin.
- Choose the file and click Install Now.
- WordPress notices the plugin already exists. Click Replace current with uploaded.
After you update
- Open a page with filters and try one.
- If you use a caching plugin, clear its cache.
- If the filters look out of date, go to Product Filters > Advance Settings and click Clear Cache.