
All sections
Getting StartedForm ManageFilters ByDisplaying FiltersFilter Design & StylingSearch, Sorting & PaginationAdvanced Filter Logic & Query BehaviorSEO & Filter URLsMobile & User ExperienceCompatibilityImport, Export & ResetAdvanced SettingsForm TemplatesDeveloper DocumentationTroubleshooting & DebuggingApply & Reset Button
The Apply button lets shoppers make several choices and update the products once. The Reset button clears all their choices. These settings decide whether the buttons appear, what they say and where they go.
You can try the Apply button on the live demo.
Open the settings
- Go to Product Filters > Form Style.
- Choose Apply, Reset Button under Configure Style for.
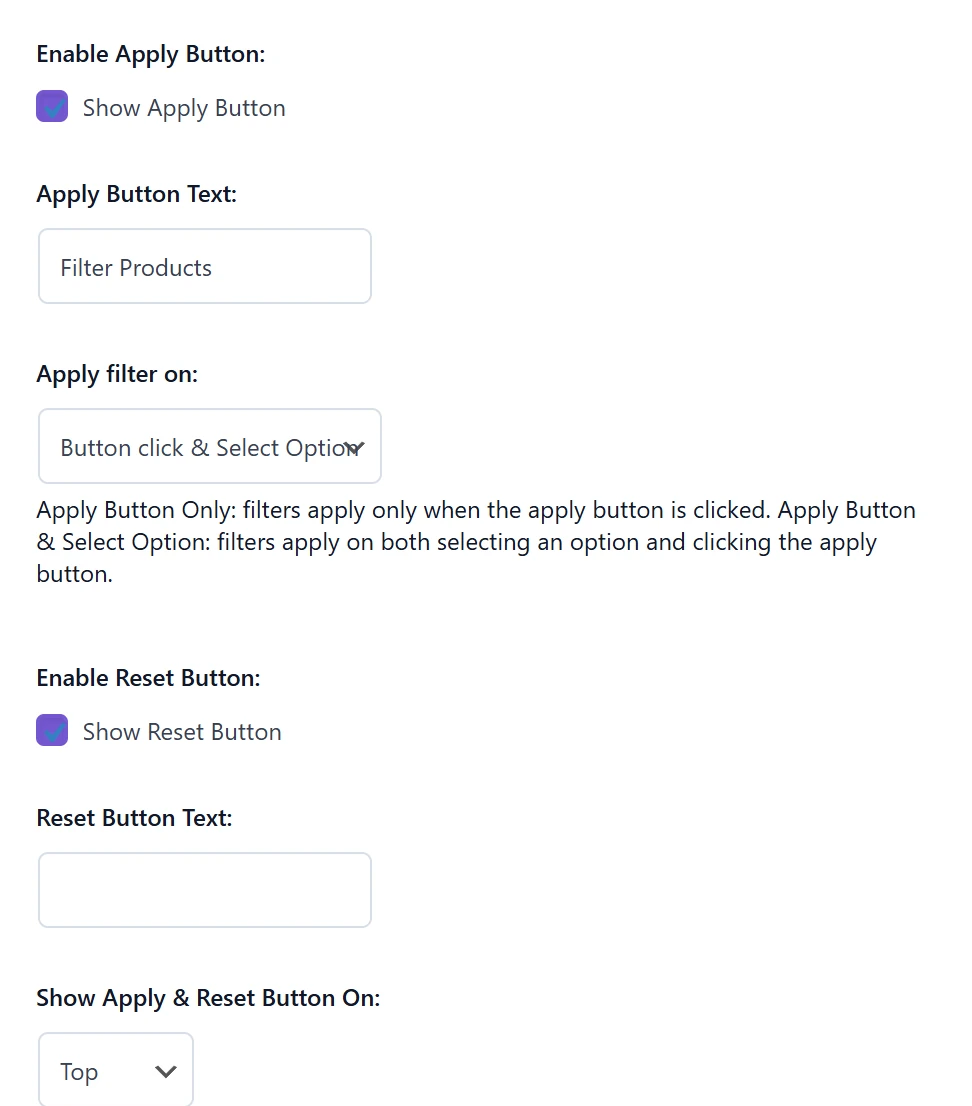
Do you need an Apply button?
- Without it: products update at each click. This feels fast, and most shops can use it.
- With it: shoppers choose everything first, then click once. This helps when you have many filters, a very large shop or slow hosting.
The settings
| Setting | What it does |
|---|---|
| Enable Apply Button | Shows the Apply button. |
| Apply Button Text | The word on the button, such as “Show products”. |
| Apply filter on | Button click updates products only when the button is clicked. Button click & Select Option also updates when an option is chosen. |
| Enable Reset Button | Shows the Reset button. Keep it on, because shoppers need an easy way to start again. |
| Reset Button Text | The word on the button, such as “Clear all”. |
| Show Apply & Reset Button On | Top, Bottom or Separately. A note on the screen explains when Separately is available. |
The free plugin also has Desktop Filter Heading, Desktop Filter Heading Text and Mobile Drawer Title here, for the words above the filter panel.
Click Save Changes when you finish.
Which position is best?
- Bottom: shoppers finish choosing, then find the button. This suits most panels.
- Top: the buttons stay easy to reach when the filter list is long.
If something looks wrong
- Products change before clicking Apply: set Apply filter on to Button click.
- A button is missing: check its Enable setting, and clear your caching plugin’s cache.