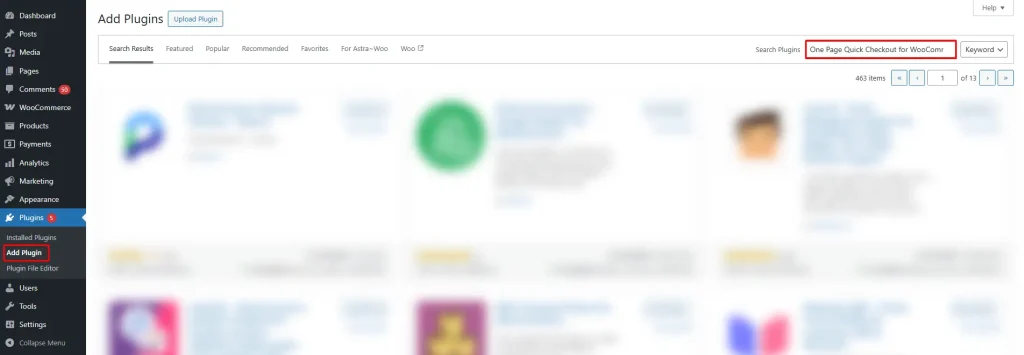
Installation (Free Version)
- Go to the WordPress Admin Dashboard -> Plugins
- Click “Add New Plugin”
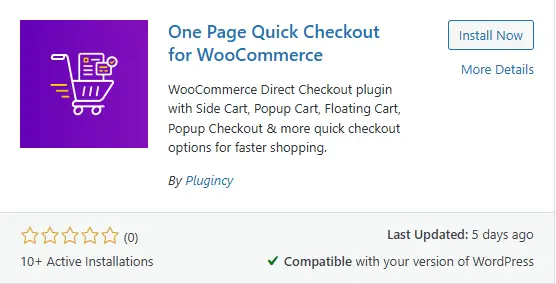
- Search for “One Page Quick Checkout for WooCommerce“.
- Click “Install Now” and “Activate”
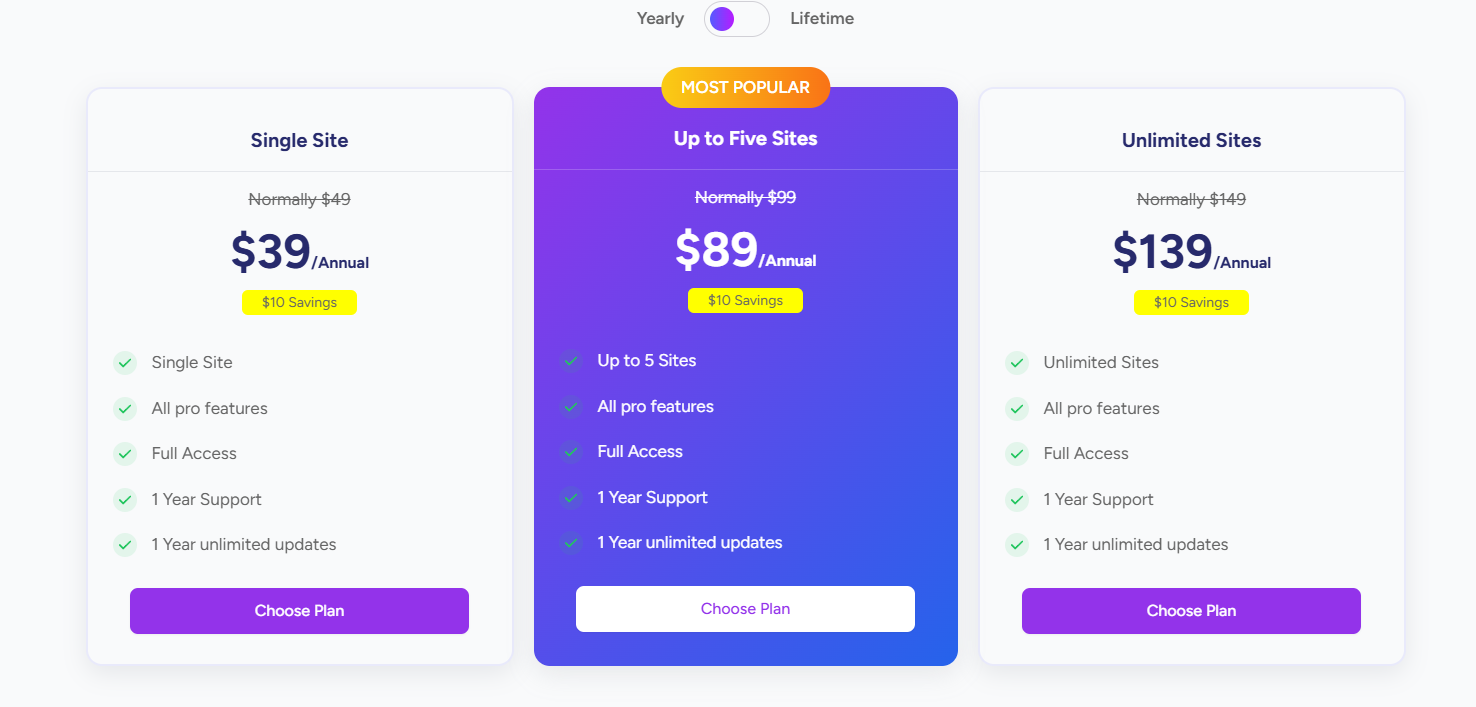
Installation (PRO Version)
- Purchase the PRO Version:
- Visit our official website to purchase the PRO version.
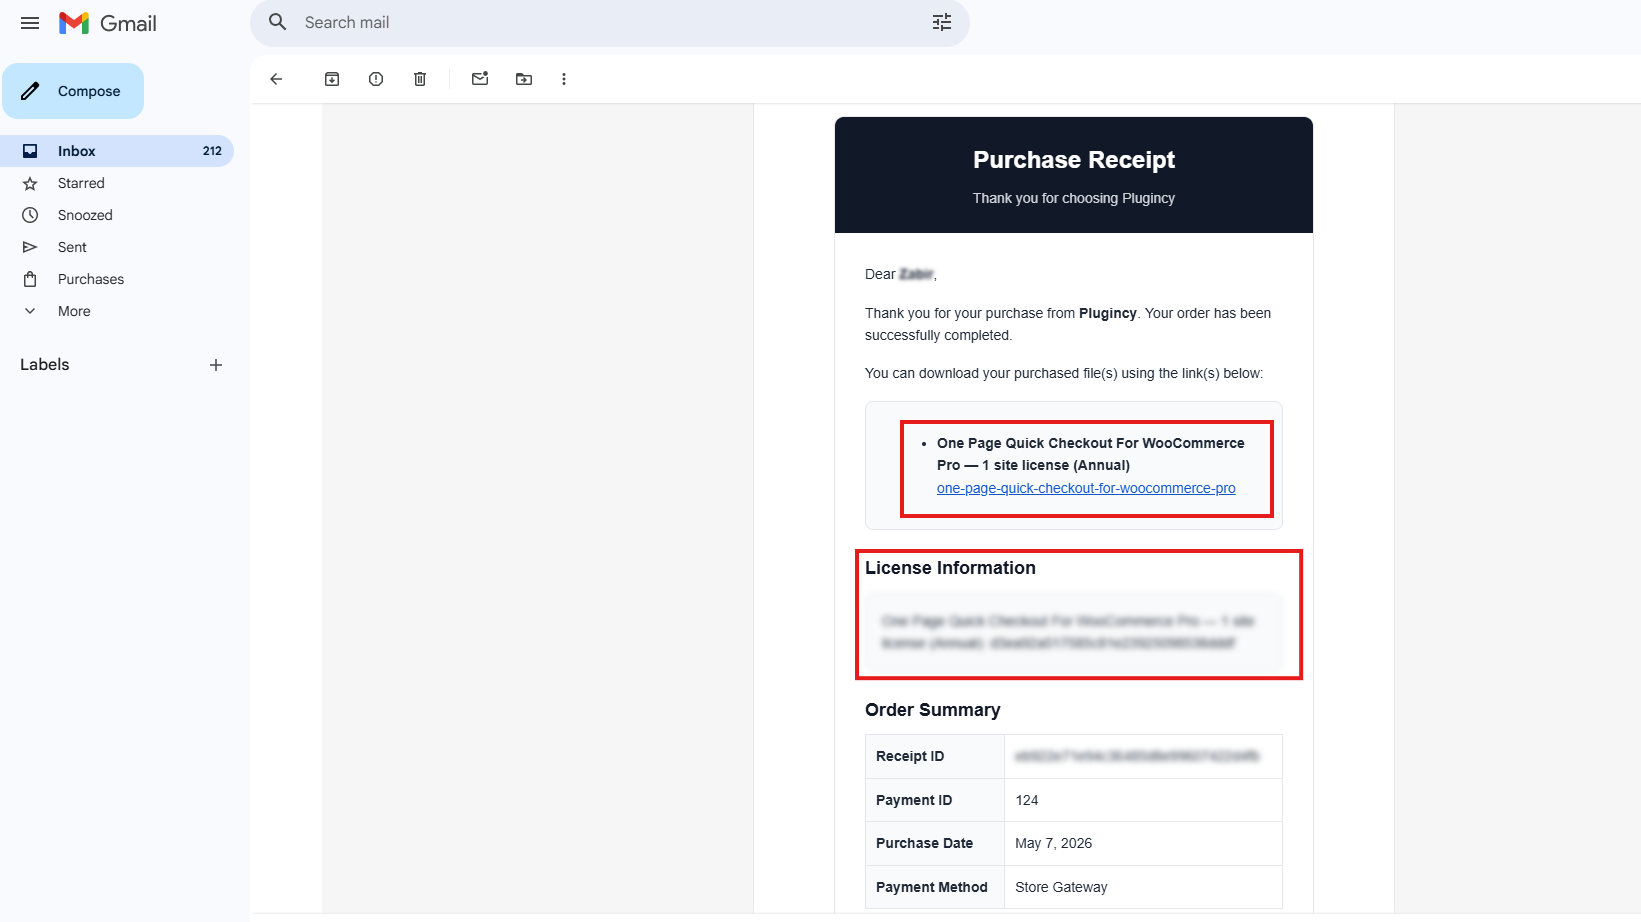
- Download the PRO Plugin:
- After your purchase, you will receive a download link in your email. Click the link to download the ZIP file.
- Install the Plugin:
- Log in to your WordPress admin dashboard.
- Go to Plugins > Add New.
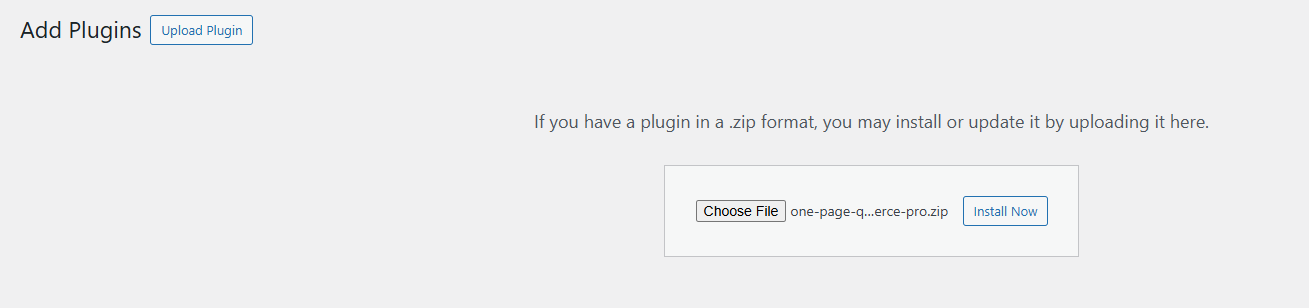
- Click on the Upload Plugin button.
- Select the downloaded ZIP file and click Install Now.
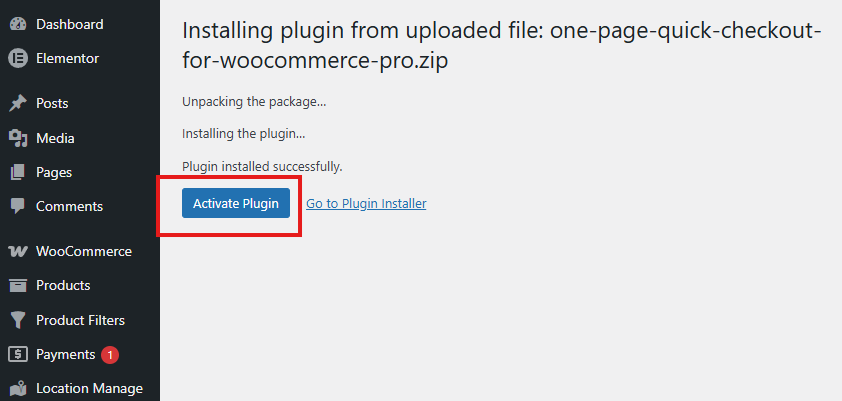
- Activate the Plugin:
- Click on the Activate button after installation.
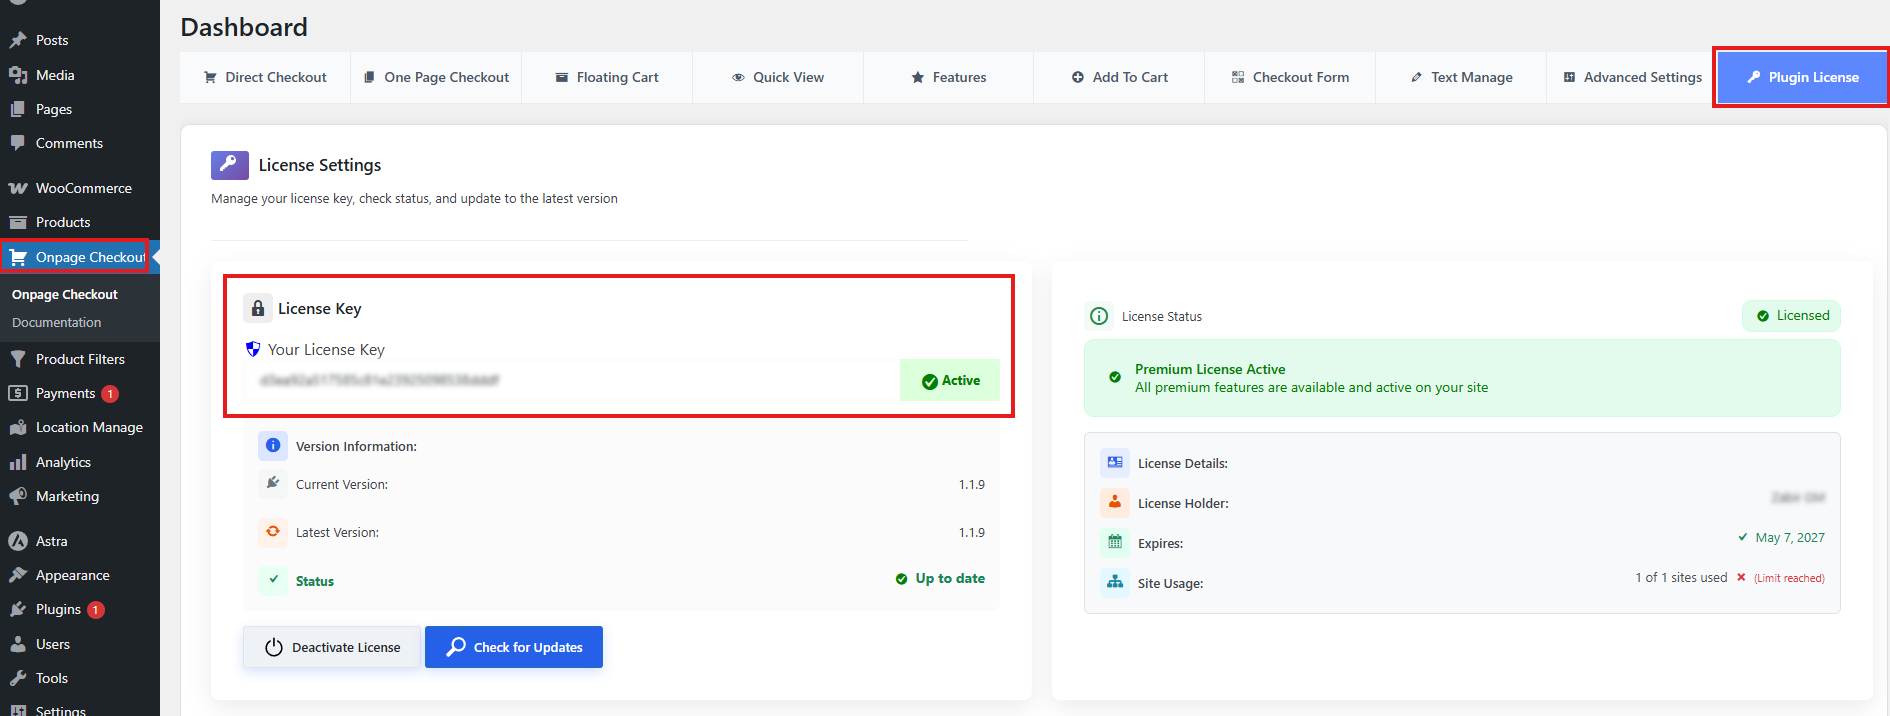
- Enter License Key:
- Navigate to Onpage Checkout > Plugin License.
- Enter your license key to unlock PRO features.
Manual Plugin Installation
- Download the Plugin:
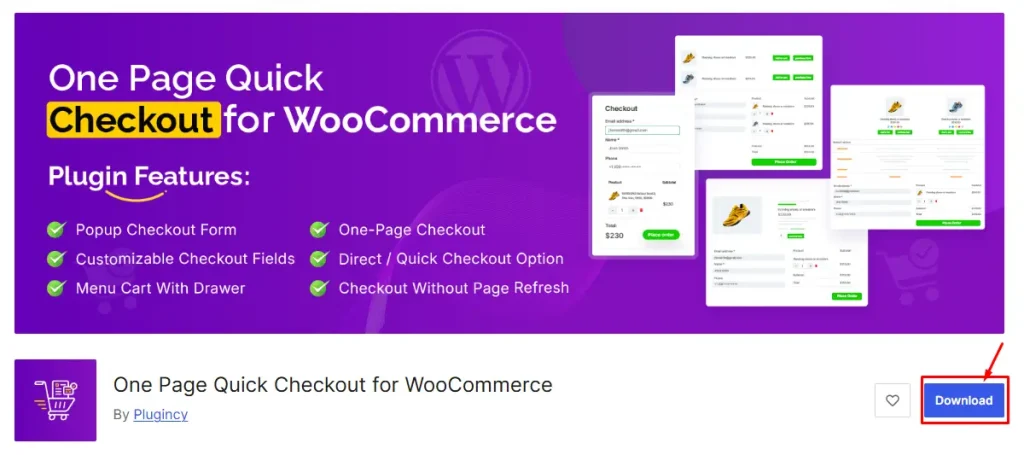
- Navigate to the One Page Quick Checkout WordPress Plugin Repository.
- Click on the “Download” button to save the plugin ZIP file.
- Install the Plugin:
- Log in to your WordPress admin dashboard.
- Go to Plugins > Add New.
- Click on the Upload Plugin button.
- Select the downloaded ZIP file and click Install Now.
- Activate the Plugin:
- Once the installation is complete, click on the Activate button.
Manual Plugin Installation Using FTP
- Download the Plugin:
- Extract the ZIP File:
- Extract the contents of the ZIP file to a folder on your computer.
- Upload via FTP:
- Use an FTP client (like FileZilla) to connect to your website’s server.
- Navigate to the
/wp-content/plugins/directory. - Upload the extracted plugin folder to the
pluginsdirectory.
- Activate the Plugin:
- Log in to your WordPress admin dashboard.
- Go to Plugins and find “One Page Quick Checkout for WooCommerce”.
- Click on the Activate button.
This guide should help you install and activate the One Page Quick Checkout plugin for WooCommerce smoothly. For further assistance, please refer to the support section on our website.