Here’s a complete Installation Guide documentation section for Multi Location Product & Inventory Management for WooCommerce, covering both Free and Pro versions — clear, professional, and formatted for use in your plugin docs:
Installation Guide
This guide will help you install and set up the Multi Location Product & Inventory Management for WooCommerce plugin step by step.
Follow the instructions below according to the version you are using — Free or Pro.
System Requirements
Before installation, please ensure your server meets the following requirements:
| Requirement | Minimum Version |
|---|---|
| WordPress | 5.0 or higher |
| WooCommerce | 4.0 or higher |
| PHP | 7.2 or higher |
| MySQL | 5.6 or higher |
Installing the Free Version (from WordPress.org)
You can install the free version directly from your WordPress admin dashboard or manually via FTP.
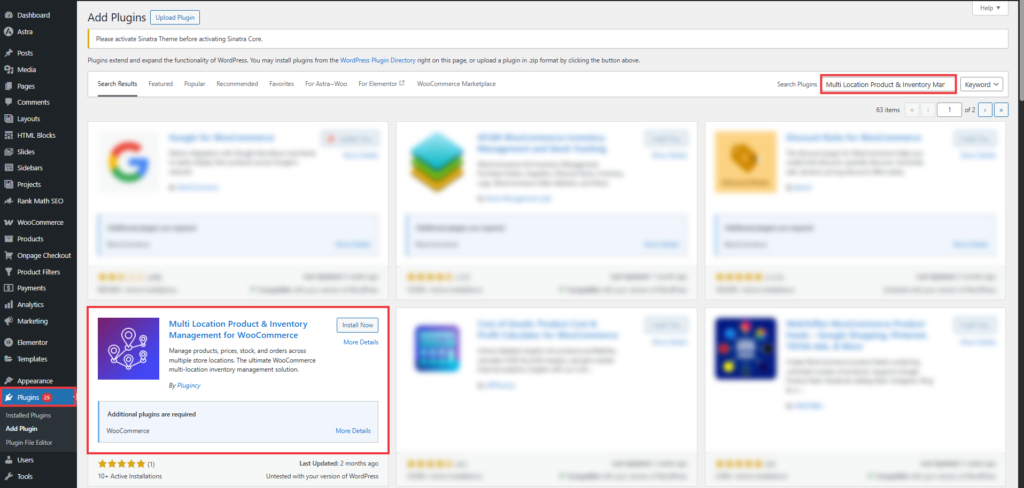
Option 1: Install via WordPress Dashboard
- Login to your WordPress admin panel.
- Navigate to Plugins → Add New.
- In the search bar, type Multi Location Product & Inventory Management.
- Locate the plugin in the search results.
- Click Install Now.
- After installation, click Activate to enable the plugin.
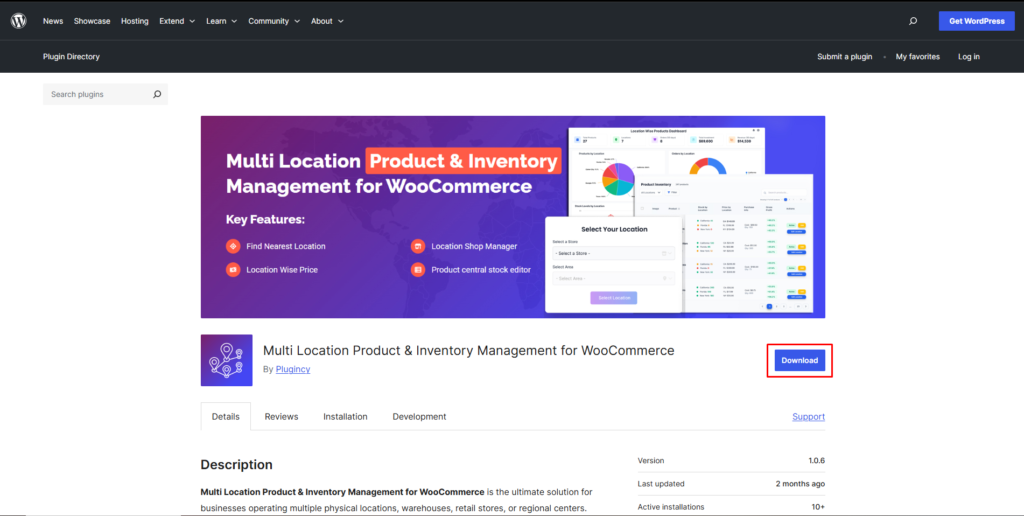
Option 2: Install via Manual Upload
- Download the plugin ZIP file from the WordPress Plugin Directory (search for Multi Location Product & Inventory Management).
- In your WordPress admin dashboard, go to Plugins → Add New → Upload Plugin.
- Click Choose File, select the downloaded ZIP file, and click Install Now.
- Once the installation is complete, click Activate Plugin.
Installing the Pro Version
If you have purchased the Pro version, please follow these steps:
- Download the Pro plugin ZIP file from your account on our website after purchase.
- Go to your WordPress dashboard → Plugins → Add New → Upload Plugin.
- Upload the ZIP file and click Install Now.
- Once the installation is complete, click Activate Plugin.
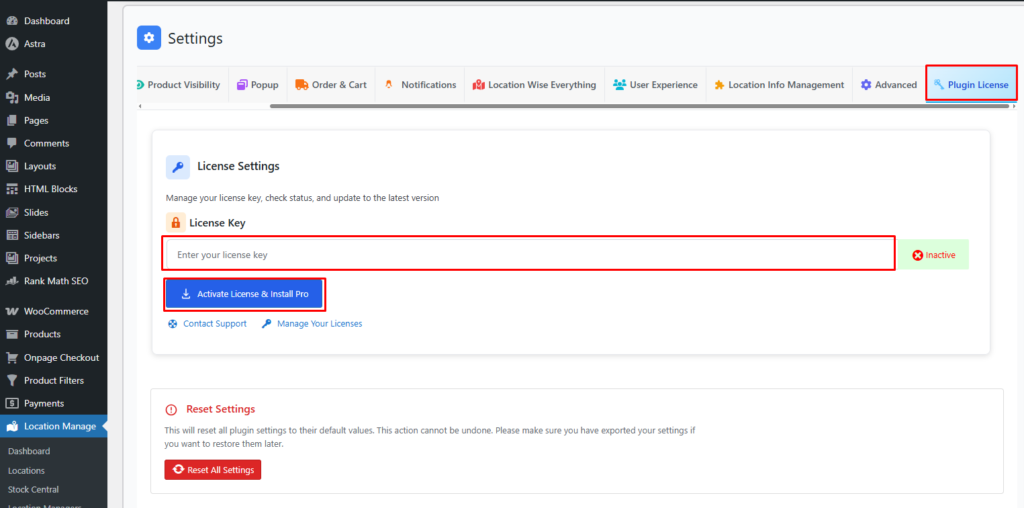
- Navigate to Location Manage → Plugin License to enter your license key.
- Enter the key provided in your purchase email.
- Click Activate License to enable Pro features.
Important: If you have the free version installed, it will be automatically deactivated when you install the Pro version. All your data will be preserved.
After Activation
Once the plugin is activated, follow these setup steps:
- Go to Location Manage → Settings in your WordPress admin panel.
- Configure your default options such as:
- Store location names and addresses
- Stock management per location
- Default location selection rules
- Add or edit product inventory per location from the Products section.