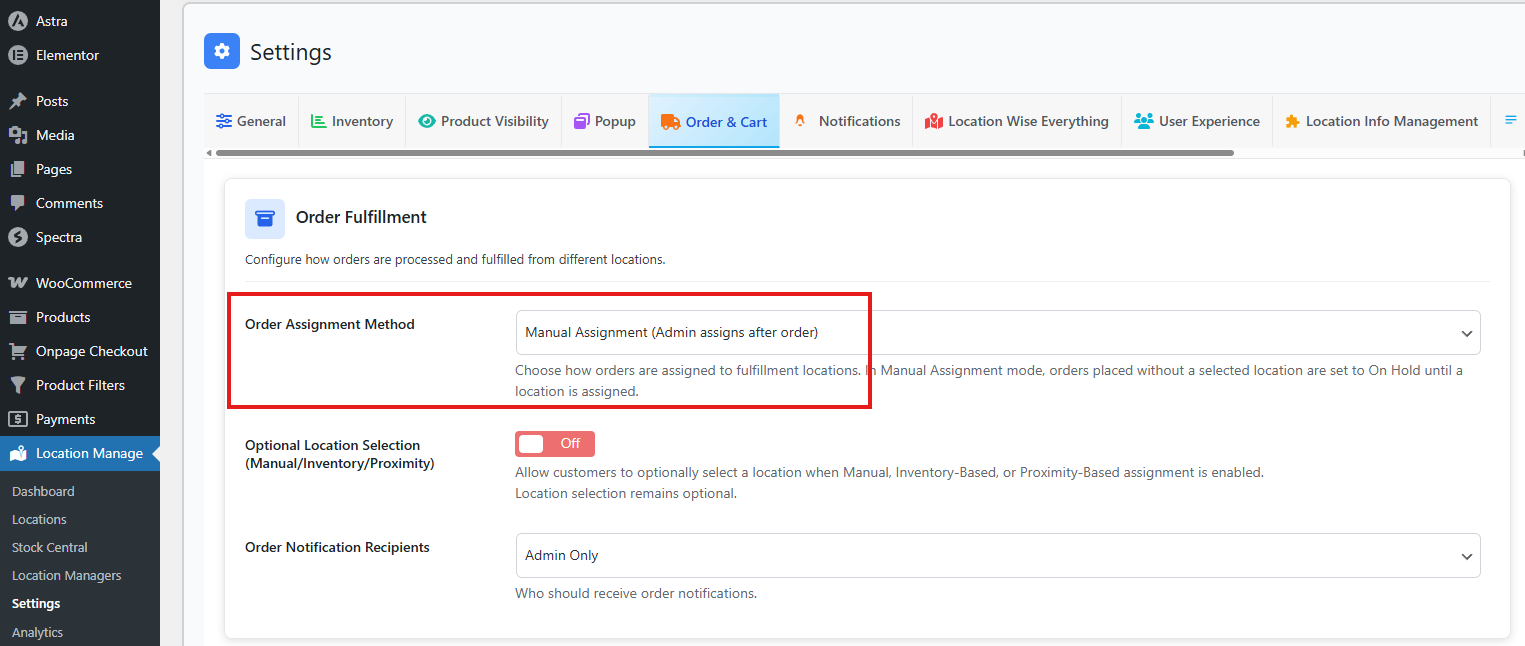
In Manual Assignment mode, fulfillment locations are not assigned automatically.
All orders placed without a selected location are set to On Hold until an admin manually assigns a fulfillment location.
How to Access
To configure this feature:
- Go to Location Manage → Settings → Order & Cart
- Find Order Fulfillment
- Then, from Order Assignment method, choose Manual Assignment
This mode gives administrators full control over where and how orders are fulfilled.
If the Location Wise Currency option is enabled, you will not be able to select the Manual Assignment option.
To make Manual Assignment selectable:
- Go to Location Manage > Settings > Inventory.
- Turn off the Location Wise Currency option.
- Return to the assignment settings.
Now, the Manual Assignment option will be available for use.
How Manual Assignment Works
- Orders are created without a fulfillment location by default.
- Order status is automatically set to On Hold.
- Inventory is not deducted until a location is assigned.
- Once a location is assigned:
- Inventory is deducted from the selected location
- Order notifications are triggered
- Fulfillment responsibility is finalized
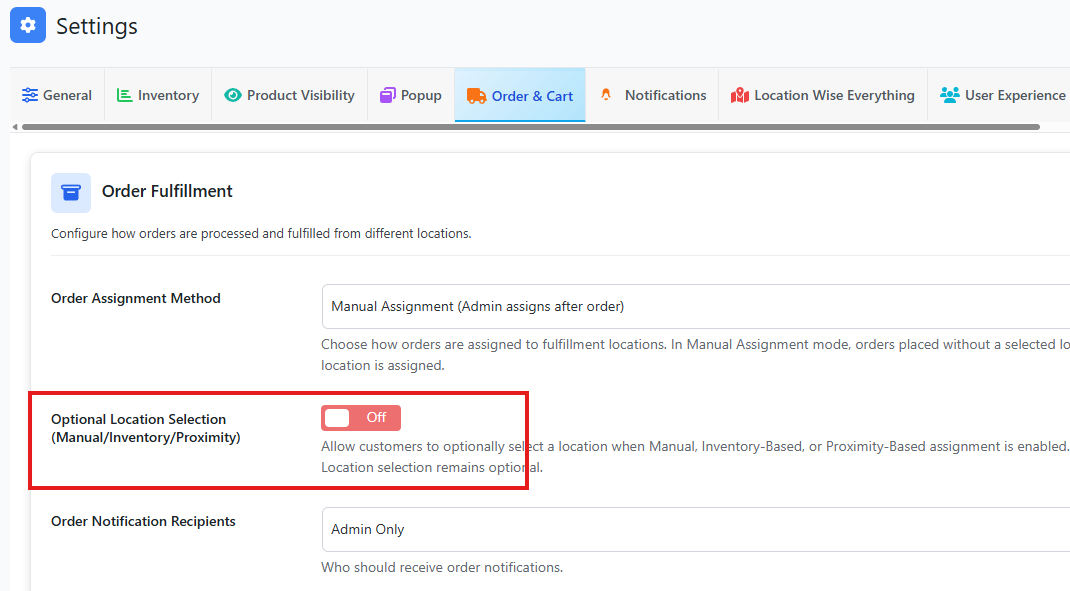
Optional Location Selection
(Manual / Inventory-Based / Proximity-Based)
Default: Off
This option allows customers to optionally select a location during checkout, even when Manual Assignment is enabled.
Behavior:
- If the customer selects a location:
- The selected location is applied to the order immediately
- Order does not go On Hold
- If no location is selected:
- The order is placed On Hold
- Admin must assign a location manually
Recommended Use Case:
- When you want admin control but still allow customer preference
- Hybrid pickup and delivery workflows
Manual Location Assignment (After Order Is Placed)
Admins can assign or update order locations after checkout using multiple methods.
Method 1: Bulk Assign from Orders List (Store Column)
- Go to WooCommerce → Orders
- Locate the Store Location column
- Select a location from the dropdown for the order
- The order updates immediately
If the Store Location column isn’t visible, click on Screen Options and enable Store Location. The column will then appear in your view.
Method 2: Bulk Action – Assign Location
- Go to WooCommerce → Orders
- Select one or more orders using the checkboxes
- Open the Bulk Actions dropdown
- Choose Assign Location
- Click Apply
- Select the location
- Click Assign Location to confirm
When using the bulk action, you may notice some orders belong to different locations. In this case, the “Assign Location” bulk action will highlight which orders have mismatched locations and suggest removing them. This way, you can assign the correct location to those orders later.
Method 3: Assign Location from Order Edit Screen
- Go to WooCommerce → Orders
- Click Edit on the desired order
- In the right sidebar, find Store Location
- Select the desired location
- Click Update to save changes
Method 4: Assign Different Locations Per Product
(Advanced / Split Fulfillment)
- Go to WooCommerce → Orders
- Open the order you want to edit
- Scroll down to the Items section
- Under each product line item:
- Use the Location dropdown next to the product
- Assign or change the location for each product individually
- Click Update to save
Use Case:
- Orders fulfilled from multiple warehouses
- Partial stock availability across locations
- Split shipments
Important Notes
- Manual assignment overrides automatic routing logic.
- Inventory is adjusted only after a location is assigned.
- Supports single-location and multi-location per order fulfillment.
- Works seamlessly with order notifications and stock thresholds.
If location-wise currency is enabled, manual assignment may be limited because the plugin keeps the order location and currency context consistent. In this case, proximity-based assignment may be used internally.