These options control how your store handles orders, cart behavior, and checkout when you have stock in more than one location (like different warehouses or branches).
How to Access
To configure this feature:
- Go to Location Manage → Settings → Order & Cart
1) Order Fulfillment
This section decides which location will fulfill an order and who gets notified.
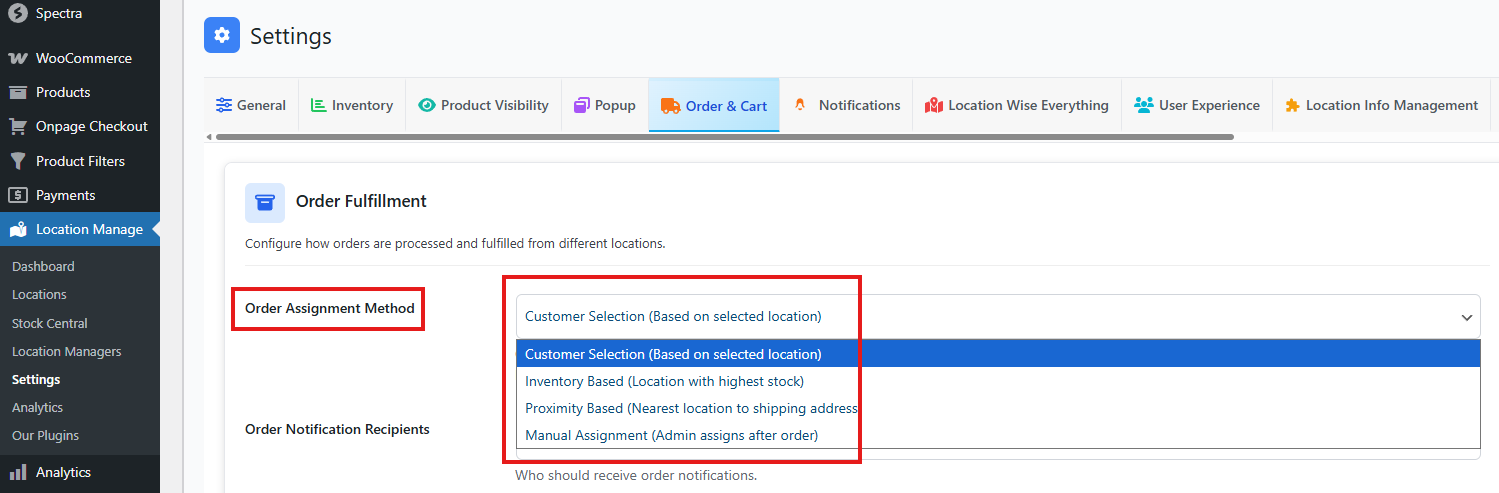
Order Assignment Method
Pick one way to assign orders to a location:
- Customer Selection (Based on selected location)
The customer chooses the location while shopping or before checkout. The order is fulfilled from that selected location. - Inventory Based (Location with highest stock)
The system automatically selects the location that has the most stock for the ordered items. - Proximity Based (Nearest location to shipping address)
The system selects the closest location based on the customer’s shipping address. This can help with faster delivery. - Manual Assignment (Admin assigns after order)
The admin picks the fulfillment location from the order page after the order is placed.
Important note: If the customer does not select a location, the order goes On Hold until a location is assigned.
Order Notification Recipients
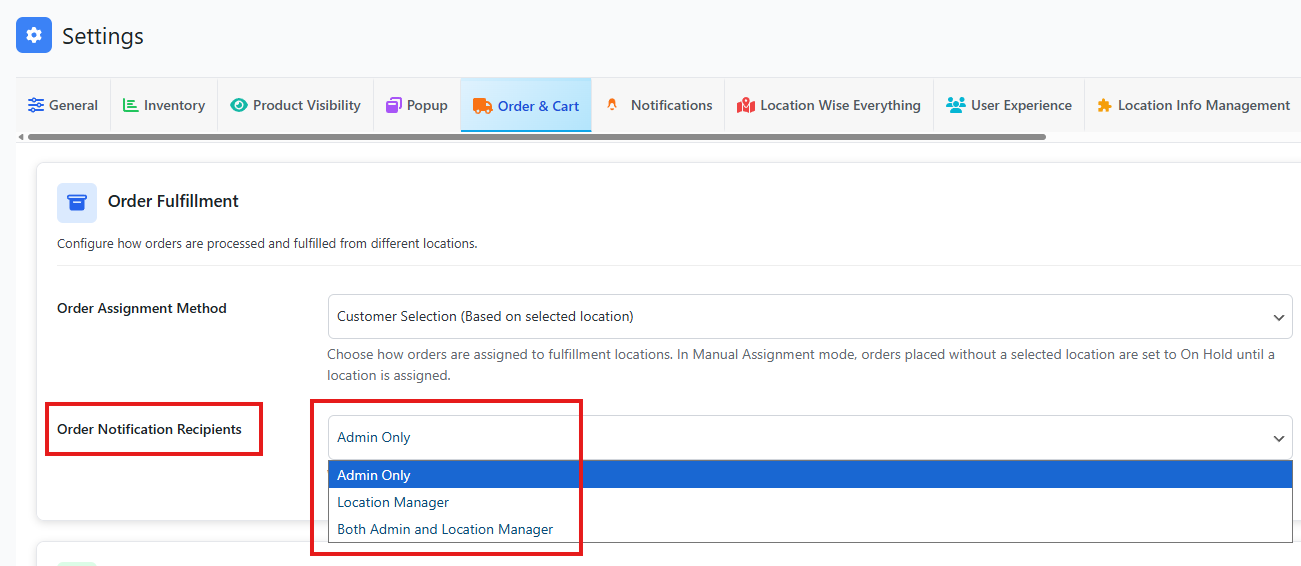
Choose who should get order alerts:
- Admin Only: Only store admin receives notifications
- Location Manager: Only the manager of the selected location receives notifications
- Both Admin and Location Manager: Both get the notifications
2) Cross Location Order Management
This section controls what happens when a cart has products from more than one location.
- Allow Mixed-Location Cart (On/Off)
- If ON, customers can add items from different locations into the same cart.
- If OFF, customers must shop from one location at a time.
- Group Cart Items by Location (On/Off)
- If ON, cart items are shown in groups by location, so customers can clearly see which items belong to which store/warehouse.
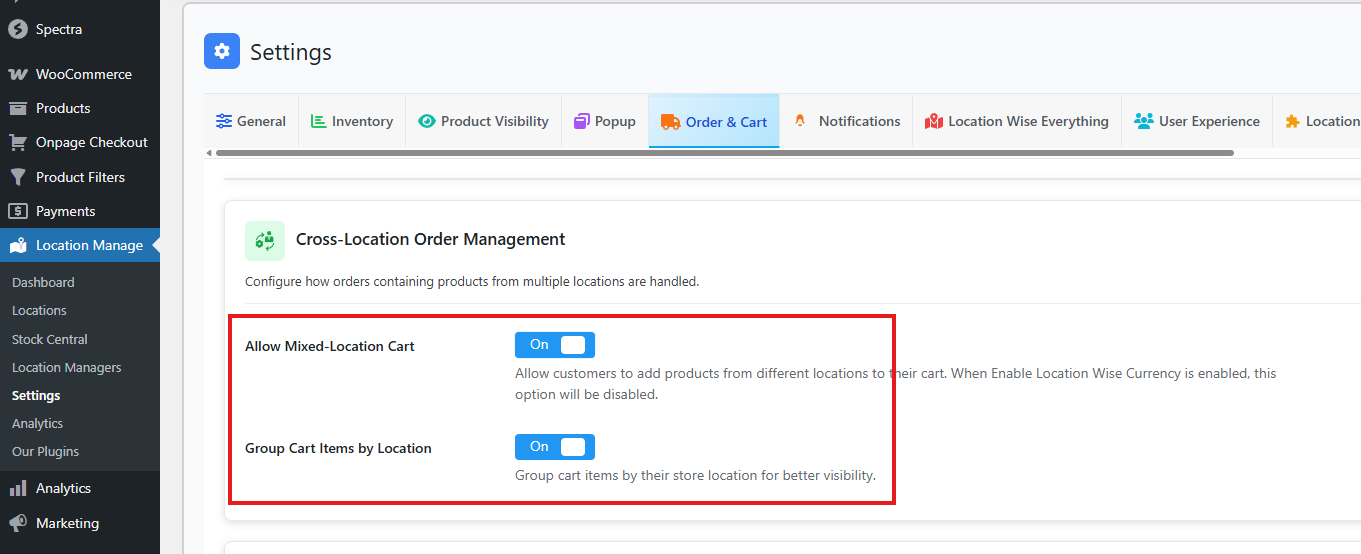
You may see that the Allow Mixed-Location Cart button is not clickable. This usually happens because Location Wise Currency is enabled, which conflicts with the mixed-location cart setting.
Follow these steps to fix the issue:
- From your WordPress dashboard, go to Location Manage > Settings > Inventory.
- Locate the option Location Wise Currency.
- Disable Location Wise Currency.
- Return to Location Manage > Settings > Order & Cart.
- Find the setting Allow Mixed-Location Cart.
- Toggle the option On.
- Click Save Changes.
Disabling Location Wise Currency ensures that the Allow Mixed-Location Cart option becomes clickable and can be enabled.
3) Cart Settings
This controls whether customers can switch locations inside the cart.
- Allow Location Change in Cart (On/Off)
- If ON, customers can change the location for a product in the cart, but only if that product is available in multiple locations.
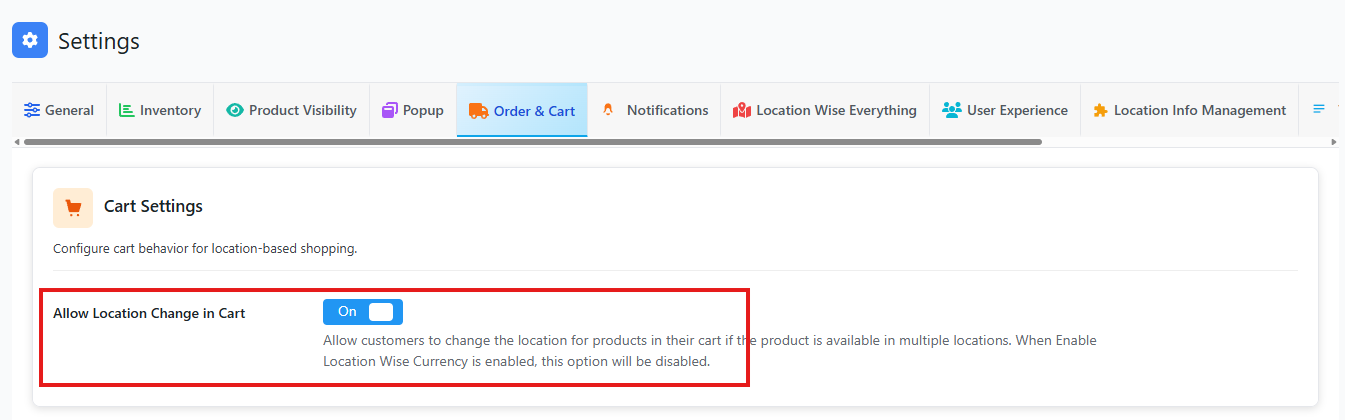
This is helpful when one location runs out and the customer wants to switch to another.
If you notice that the Allow Location Change in Cart option is not clickable, it’s likely because the Location Wise Currency feature has been enabled.
To fix this:
- Go to Location Manage > Settings > Inventory.
- Disable the Location Wise Currency option.
- Return to the cart settings and check again.
Now, the Allow Location Change in Cart option will be clickable and ready to use.
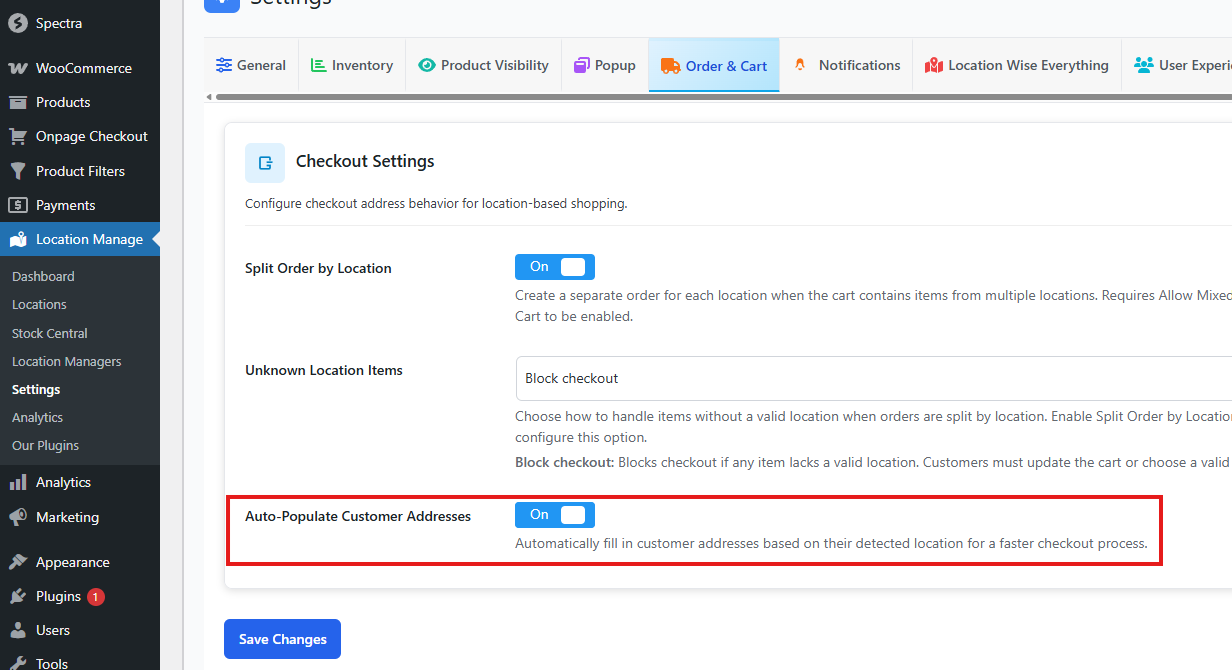
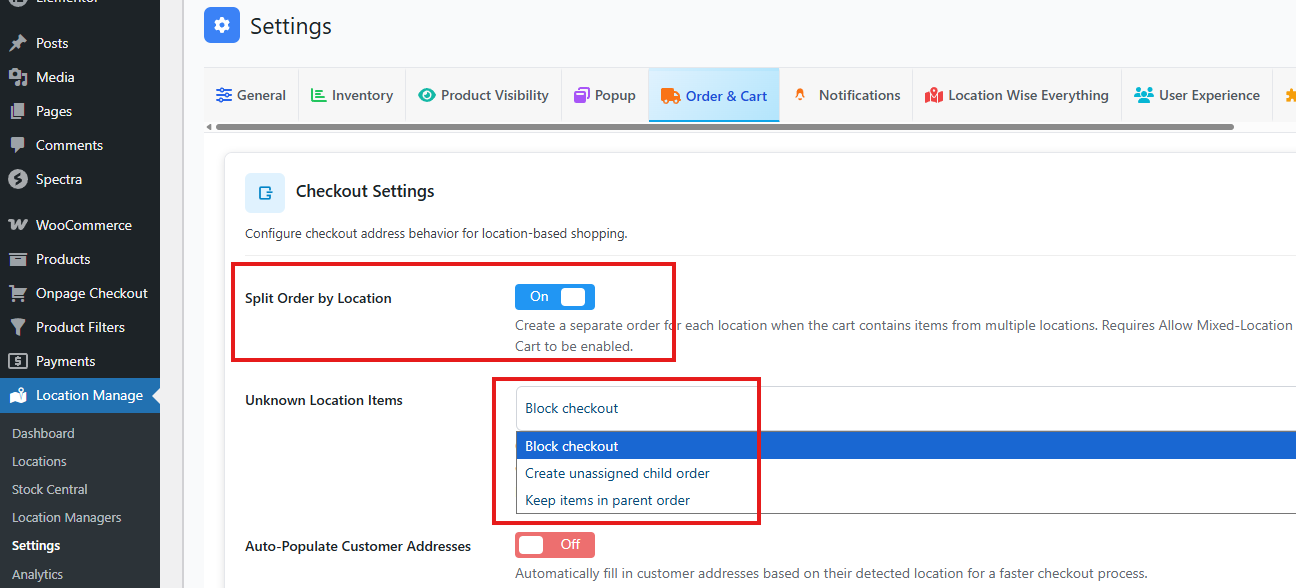
4) Checkout Settings
In the Checkout Settings, you’ll first see the Split Order by Location option. Enabling this allows you to split orders based on product locations.
Once enabled, another setting appears: Unknown Location Items. This controls how items without a valid location are handled when orders are split. You can choose from three options:
- Block Checkout
- Prevents checkout if any item does not have a valid location.
- Customers must update their cart or assign a valid location before placing the order.
- Create Unassigned Child Order
- Items without a valid location are placed into a separate child order.
- This keeps them distinct from location-based orders.
- Keep Items in Parent Order
- Items without a valid location remain in the main (parent) order.
- Checkout proceeds normally, with those items grouped together.
If you find that the Split Order by Location option is not clickable, it’s because the Allow Mixed‑Location Cart setting has not been enabled.
To fix this:
- Enable the Allow Mixed‑Location Cart option.
- Return to the Split Order by Location setting.
Now, the Split Order by Location option will be clickable and ready to configure.
The next option is Auto‑Populate Customer Addresses. When enabled, this feature automatically fills in customer address fields based on their detected location.
- This helps speed up the checkout process.
- Customers benefit from reduced manual input, making the experience smoother and more convenient.